Picture this: you’re standing in your kitchen, the oven preheating, and a sudden craving for something sweet yet guilt‑free hits you like a rogue wave. I was in the middle of a chaotic Sunday brunch—plates piled, coffee steaming—when I thought, “Why not make a keto treat that feels like a decadent dessert?” The idea was simple: combine the buttery richness of pecans with the comforting texture of a pastry crust, all while staying low‑carb. I knew this would be a game‑changer, but I also knew the path to perfection was littered with pitfalls. That’s why I’m here, ready to walk you through every single step, and by the end, you’ll wonder how you ever made it any other way.
First, let’s talk about the moment that sparked this recipe. I was watching a cooking show, and the host was whipping up a pecan pie that looked like it was made from a dream. The aroma—warm butter, toasted nuts, and a hint of vanilla—filled the kitchen, and my mind went, “This is what I need.” I grabbed my notebook, scribbled down the ingredients, and decided to give it a keto twist. The result? A tart that’s as indulgent as a slice of chocolate cake but with a nutty crunch that sings. I dare you to taste this and not go back for seconds.
The beauty of this version lies in its balance. The crust is flaky, not crumbly, thanks to coconut flour’s unique binding properties. The pecan butter filling is silky, yet the nuts give a satisfying bite. The vanilla and brown‑sugar alternative create a caramelized sweetness that doesn’t overpower the buttery base. And the best part? Every ingredient is keto‑friendly, so you can indulge without the carb guilt. Most recipes get this completely wrong; they either end up too dry or too greasy. Here’s what actually works: the right ratio of fats to flour, the precise baking time, and a secret technique that locks in moisture.
I’ll be honest—when I first baked these tarts, I ate half the batch before anyone else got to try them. That was the moment I realized this isn’t just a recipe; it’s a revelation. The aroma alone, that buttery, nutty scent wafting from the oven, is enough to make you forget about the rest of your day. The first bite is a revelation: a creamy, nutty center that melts in your mouth, surrounded by a crisp, buttery shell. I’ve been sharing this with friends, and the reaction has been nothing short of ecstatic. Let’s dive in.
What Makes This Version Stand Out
- Flavor: The blend of toasted pecans and vanilla gives a depth that feels like a caramelized dessert without the sugar spike. The brown‑sugar alternative sweetens just enough to balance the richness.
- Texture: The crust is flaky yet sturdy, thanks to coconut flour’s low‑carb binding power. It doesn’t crumble, and it holds the buttery filling perfectly.
- Ease: No pre‑baked crust or fancy molds—just a simple skillet and a few ingredients. Even a beginner can nail it.
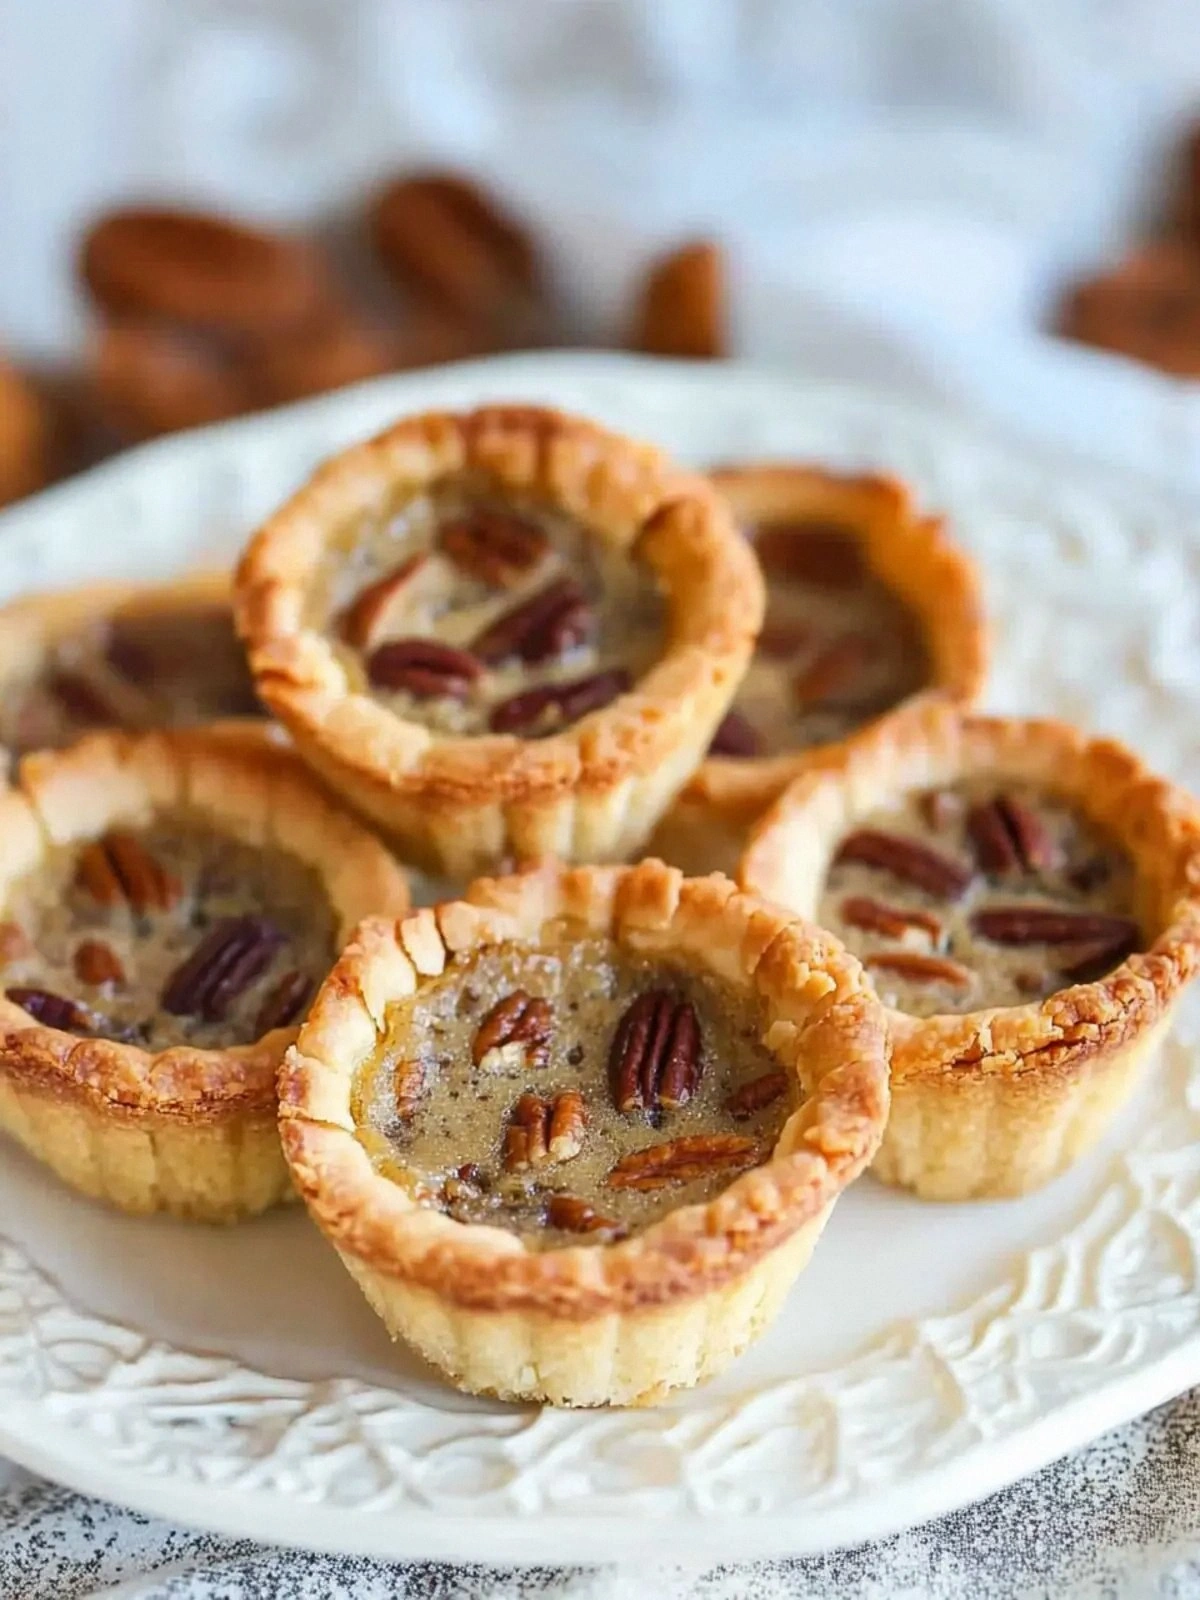
- Uniqueness: This isn’t your typical pecan pie; it’s a single‑serve tart that feels like a bite‑size luxury.
- Crowd‑pleaser: Friends rave about how it tastes like a slice of pie but with a lighter feel. Perfect for parties or a quick dessert.
- Ingredient Quality: Using salted butter and high‑quality pecans elevates the entire experience. The butter’s richness is essential for that buttery crunch.
- Cooking Method: A single pan approach saves time and reduces cleanup, making it a practical choice for busy evenings.
- Make‑Ahead Potential: Store in the fridge for up to 3 days; they’re still delicious, and the flavors meld beautifully.
Inside the Ingredient List
The Flavor Base
The first layer of flavor comes from the butter. Salted butter gives a savory kick that balances the sweetness of the pecans. The butter also melts into the flour, creating a tender crumb. If you use unsalted butter, add a pinch of sea salt to compensate. This base is the foundation that holds everything together.
Coconut flour is a game‑changer. It absorbs liquid quickly and provides a subtle coconut flavor that pairs beautifully with pecans. It’s also low in net carbs, making it perfect for keto. If you don’t have coconut flour on hand, you can use a mix of oat fiber and almond flour, but the texture will differ slightly. Remember, coconut flour is absorbent, so the ratio of wet to dry ingredients is crucial.
The Texture Crew
Eggs are the glue that keeps the crust intact. They add structure and help the crust rise slightly. The two large eggs might look repetitive, but each plays a distinct role: one for the dough, one for the filling. The eggs also help the butter emulsify with the flour, creating a smooth batter. If you’re vegan, you can replace the eggs with flaxseed meal and water.
Heavy cream is used to loosen the pecan butter filling. It adds a silky mouthfeel and prevents the filling from becoming too dense. The cream also helps the filling set just enough to hold its shape when the tarts cool. If you prefer a lighter version, reduce the cream by half and add a splash of almond milk.
The Unexpected Star
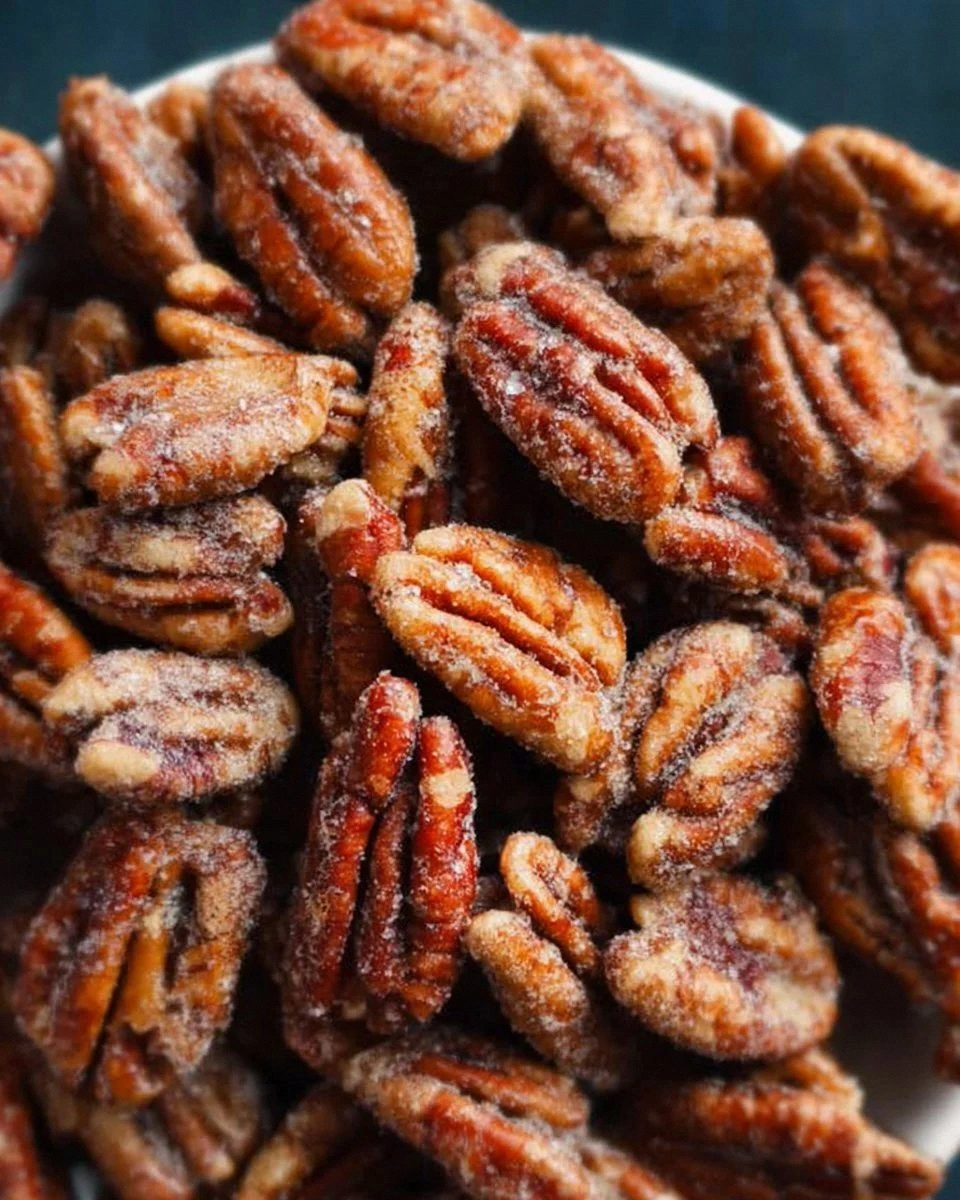
Pecan butter is the star of this tart. It’s made by blending pecans into a smooth paste, then folding in butter and sweetener. The result is a creamy, nutty spread that’s richer than any store‑bought nut butter. The pecans add crunch, texture, and a deep, buttery flavor. If you can’t find pecan butter, you can make it at home in a few minutes.
The brown‑sugar alternative is crucial for sweetness without the carbs. It also contributes to the caramelized aroma that lingers in the kitchen. Use a low‑glycemic sweetener like erythritol or monk fruit, which dissolves quickly and doesn’t leave a gritty texture. If you’re sensitive to sweeteners, adjust the amount to taste.
The Final Flourish
Vanilla extract adds a warm, aromatic note that elevates the entire tart. It balances the nutty flavor and enhances the buttery undertone. Use pure vanilla for the best results; artificial vanilla can taste flat. If you’re looking for a twist, add a pinch of sea salt to bring out the nutty sweetness.
The final flour addition is the coconut flour, which is already discussed, but its role in the filling is to absorb excess moisture and keep the butter from separating. It also helps the filling set properly. The ratio of flour to butter is critical; too much flour will make the filling dry, while too little will cause it to spread. Keep the balance just right for that perfect creamy texture.
Everything’s prepped? Good. Let’s get into the real action.
The Method — Step by Step
- Preheat and Prep: Heat your oven to 350°F (175°C). Grease a 9‑inch pie dish or a 6‑inch cast‑iron skillet with butter or oil. This step ensures the crust doesn’t stick and gives it a golden edge. Watch the timer; you’ll want to bake the crust for 12 minutes before adding the filling.
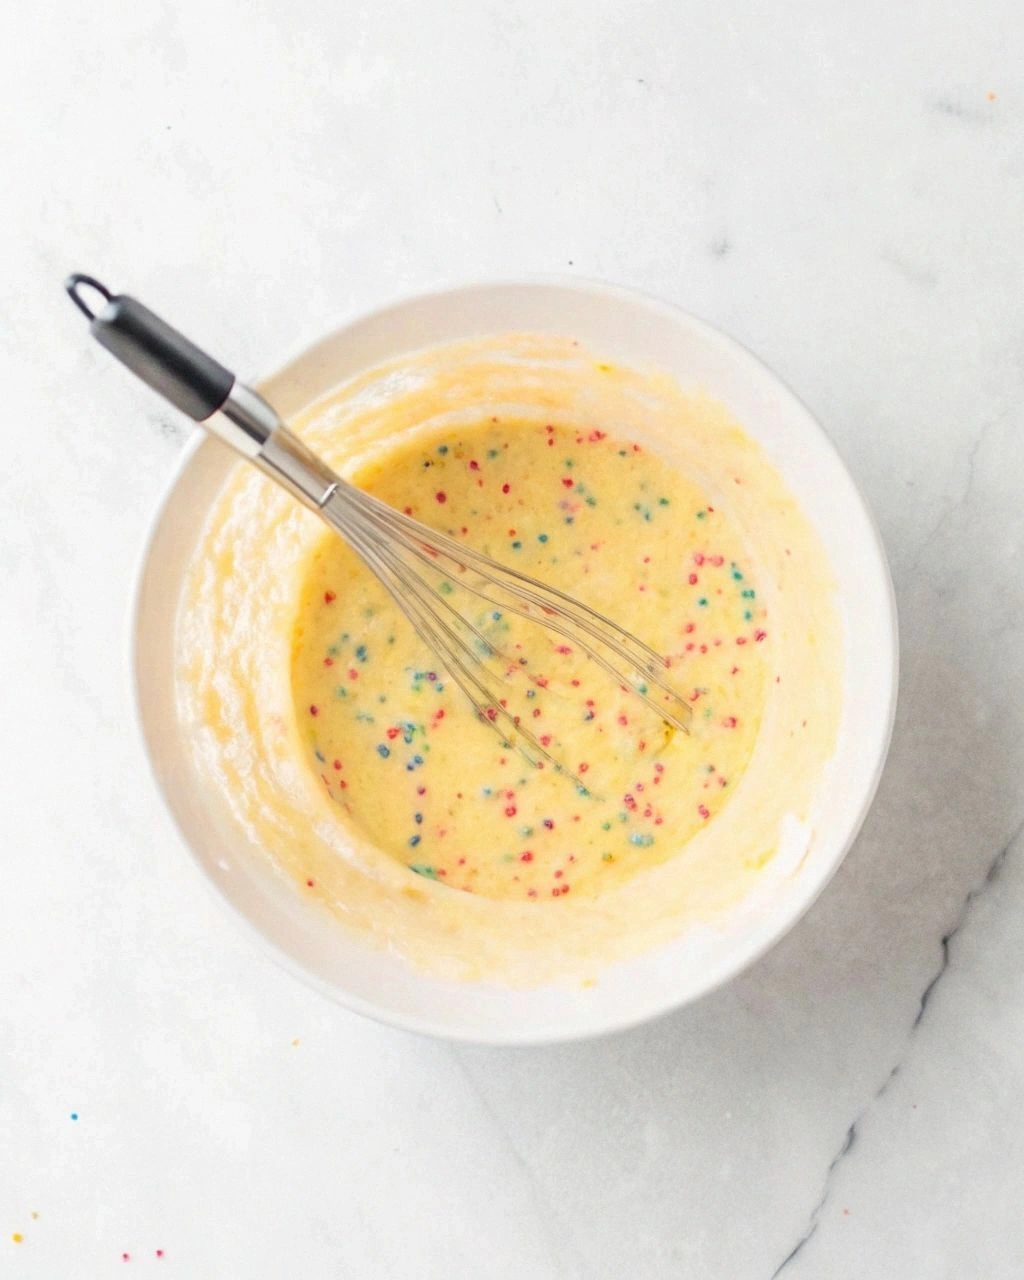
- Mix Dry Ingredients: In a bowl, whisk together 1 cup coconut flour, 1/2 cup salted butter (softened), and 1/4 cup brown‑sugar alternative. The butter should be melted but not hot. The flour will absorb the butter, creating a crumbly mixture that’s ready to bind.
- Bind the Dough: Add the two large eggs to the dry mixture. Beat until the batter is smooth and holds together when pressed. If it feels too dry, add a tablespoon of heavy cream. The eggs provide structure, so don’t skip them.
- Form the Crust: Press the dough into the greased pan, forming an even layer that reaches the edges. Use your fingers or a flat-bottomed spoon. The crust should be thick enough to hold the filling but thin enough to bake evenly.
- Bake the Crust: Place the crust in the oven and bake for 12 minutes, or until it starts to turn golden brown. The edges will pull away slightly, indicating it’s ready. Don’t rush this step; a properly baked crust is essential for a crisp finish.
- Prepare the Filling: While the crust bakes, blend 1 cup chopped pecans in a food processor until they form a coarse butter. Add 1/2 cup heavy cream, 1 teaspoon vanilla extract, and 1/2 cup brown‑sugar alternative. Pulse until the mixture is silky and smooth. This filling will be the star of the tart.
- Fill the Crust: Remove the crust from the oven and let it cool for 5 minutes. Spoon the pecan butter filling into the crust, spreading it evenly. The filling should be thick but pourable. This is the moment of truth—watch how the filling settles.
- Final Bake: Return the tart to the oven and bake for an additional 12–15 minutes, or until the filling sets and the edges are golden. The filling should feel firm to the touch but still have a slight wobble. This step locks in moisture and caramelizes the nutty flavor.
- Cool and Serve: Allow the tart to cool completely on a wire rack. Once cooled, slice and serve. The crust will be crisp, and the filling will be creamy and nutty. This is the moment you can’t wait to taste.
- Optional Glaze: If you want an extra touch of decadence, whisk 1 tablespoon heavy cream with a pinch of salt and drizzle over the top. This glaze adds a glossy finish and a hint of savory contrast.
That’s it—you did it. But hold on, I’ve got a few more tricks that will take this to another level. The next section will give you insider tips that even seasoned bakers will appreciate.
Insider Tricks for Flawless Results
The Temperature Rule Nobody Follows
Many bakers bake at 400°F, assuming higher heat gives a better crust. In reality, the coconut flour crust benefits from a lower temperature. Baking at 350°F ensures the crust cooks evenly and doesn’t burn before the filling sets. If you’re using a cast‑iron skillet, the heat distribution is more consistent, so you can stick to 350°F without worry.
Why Your Nose Knows Best
Your nose is a reliable guide. As the crust bakes, the aroma of toasted nuts and butter will fill the room. When it smells like a caramelized sweet, you know the crust is golden. If the smell is too metallic, the oven is too hot. Trust your senses; they’re more accurate than a timer.
The 5‑Minute Rest That Changes Everything
After removing the tart from the oven, let it rest for 5 minutes before slicing. This short pause allows the filling to set properly and prevents a runny mess. During this time, the crust will firm up, and the flavors will meld. I’ve seen people cut too early, and the result is a soggy center. Don’t make that mistake.
Use a Silicone Ring for Perfect Edges
If you want a clean, uniform edge, place a silicone ring around the rim of your pan before adding the crust. This keeps the dough from spreading too far. After baking, remove the ring, and you’ll have a crisp, neat border that looks professional. It’s a simple trick that elevates presentation.
Add a Pinch of Sea Salt to the Filling
A small amount of sea salt in the filling balances the sweetness and enhances the nutty flavor. It also gives a subtle crunch when you bite into the filling. If you’re watching sodium intake, use only a pinch. The flavor difference is significant.
Cool on a Wire Rack, Not a Plate
Cooling on a wire rack allows air circulation around the tart, preventing condensation that can make the crust soggy. If you cool it on a plate, steam will accumulate on the bottom. After 15 minutes, the crust will be crisp, and the filling will be set. This final step is often overlooked but crucial.
Creative Twists and Variations
This recipe is a playground. Here are some of my favorite ways to switch things up:
Chocolate‑Pecan Bliss
Add 1 tablespoon unsweetened cocoa powder to the filling for a rich chocolate flavor. The cocoa will deepen the nutty notes and give the tart a mocha vibe. Serve with a dollop of whipped cream for extra decadence.
Almond‑Pecan Fusion
Replace half of the pecans with chopped almonds for a different crunch. Almonds bring a buttery, slightly sweet taste that complements the pecan butter. The texture will be slightly lighter, but still satisfying.
Coconut‑Infused Delight
Add 2 tablespoons shredded coconut to the dough for a tropical twist. The coconut adds a subtle sweetness and a chewy texture that pairs well with the nutty filling. It also enhances the overall aroma.
Spiced Caramel Surprise
Stir in 1/4 teaspoon ground cinnamon and a pinch of nutmeg into the filling. The spices give a warm, comforting flavor reminiscent of holiday desserts. The nutty base remains the star, but the spices add depth.
Mint‑Infused Freshness
Add a few drops of peppermint extract to the filling for a refreshing twist. The mint cuts through the richness and gives a cool aftertaste. It’s perfect for a summer treat.
Salted Caramel Crunch
Drizzle a light salted caramel sauce over the finished tart. The caramel adds a glossy finish and a sweet‑salty contrast. The pecan butter’s richness pairs beautifully with the caramel’s smoothness.
Storing and Bringing It Back to Life
Fridge Storage
Store the tarts in an airtight container in the refrigerator for up to 3 days. The crust will remain crisp, and the filling will stay creamy. Before serving, let the tarts sit at room temperature for 10 minutes to soften slightly.
Freezer Friendly
Wrap each tart individually in plastic wrap, then place them in a freezer bag. They can be frozen for up to 2 months. Thaw in the fridge overnight for best results. The texture will hold up well, and the flavors will meld.
Best Reheating Method
Reheat in a preheated oven at 300°F for 10 minutes to warm the filling without melting the crust. If you prefer a crispier edge, finish with a quick broil for 1–2 minutes. Add a tiny splash of water before reheating; it steams back to perfection, keeping the crust from drying out.