The kitchen was a battlefield that morning. I had just finished a marathon of pancakes, the syrup still dripping from my fingers, when a rogue slice of toast slipped off the toaster and hit the counter with a splash that sounded like a tiny explosion. I stared at the mess, feeling the familiar dread that comes with a culinary catastrophe, and then I whispered, “I dare you to taste this and not go back for seconds.” That moment of panic turned into a spark of creativity, and what followed was the birth of a breakfast that would change the way you think about toaster pockets forever.
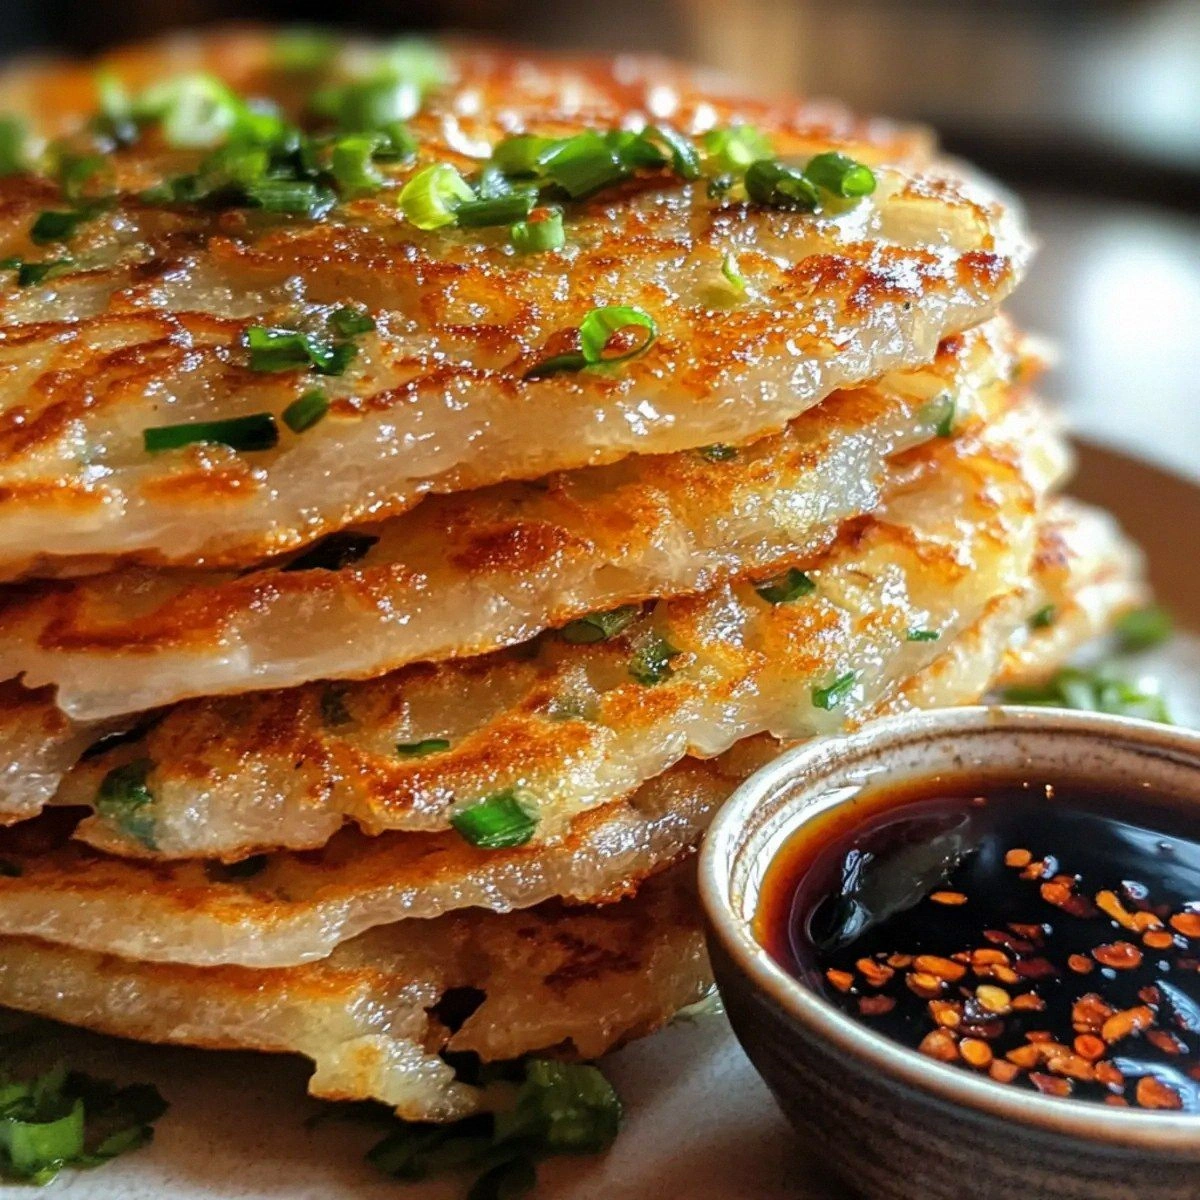
Picture this: the aroma of freshly baked dough mingles with the smoky scent of bacon, the gentle hiss of butter melting in a pan, and the crackle of a skillet as the edges of the pockets start to brown. The texture is a paradoxical dance—crisp on the outside, gooey and melty inside, with a cheese ribbon that pulls like velvet. The first bite is a symphony of salty, sweet, and savory notes that echo the comfort of home and the excitement of a new adventure. I’ve tried countless versions of breakfast pockets, but this one, with its secret butter‑buttermilk combo and a dash of spinach for that unexpected green pop, stands out like a lighthouse in fog.
Why does this version feel like the best you’ll ever make at home? Because I didn’t settle for the ordinary. I tweaked the dough to keep it airy, I layered the filling to maximize flavor, and I used a simple technique that locks in moisture without making the pockets soggy. I’ll be honest—after tasting the first batch, I ate half the pockets before anyone else even got a chance. That’s the power of a recipe that feels both familiar and wildly inventive.
Now, let’s dive into the details. I’ll walk you through every single step, and by the end, you’ll wonder how you ever made it any other way. The journey starts with a simple list of ingredients, a few clever hacks, and a method that balances precision with the freedom to improvise. Get ready for a breakfast that will make your mornings brighter and your taste buds sing.
What Makes This Version Stand Out
- Texture: The dough is light and airy, thanks to a cold butter technique that creates steam pockets. The result is a flaky exterior that cracks like brittle ice while the interior remains tender and custardy.
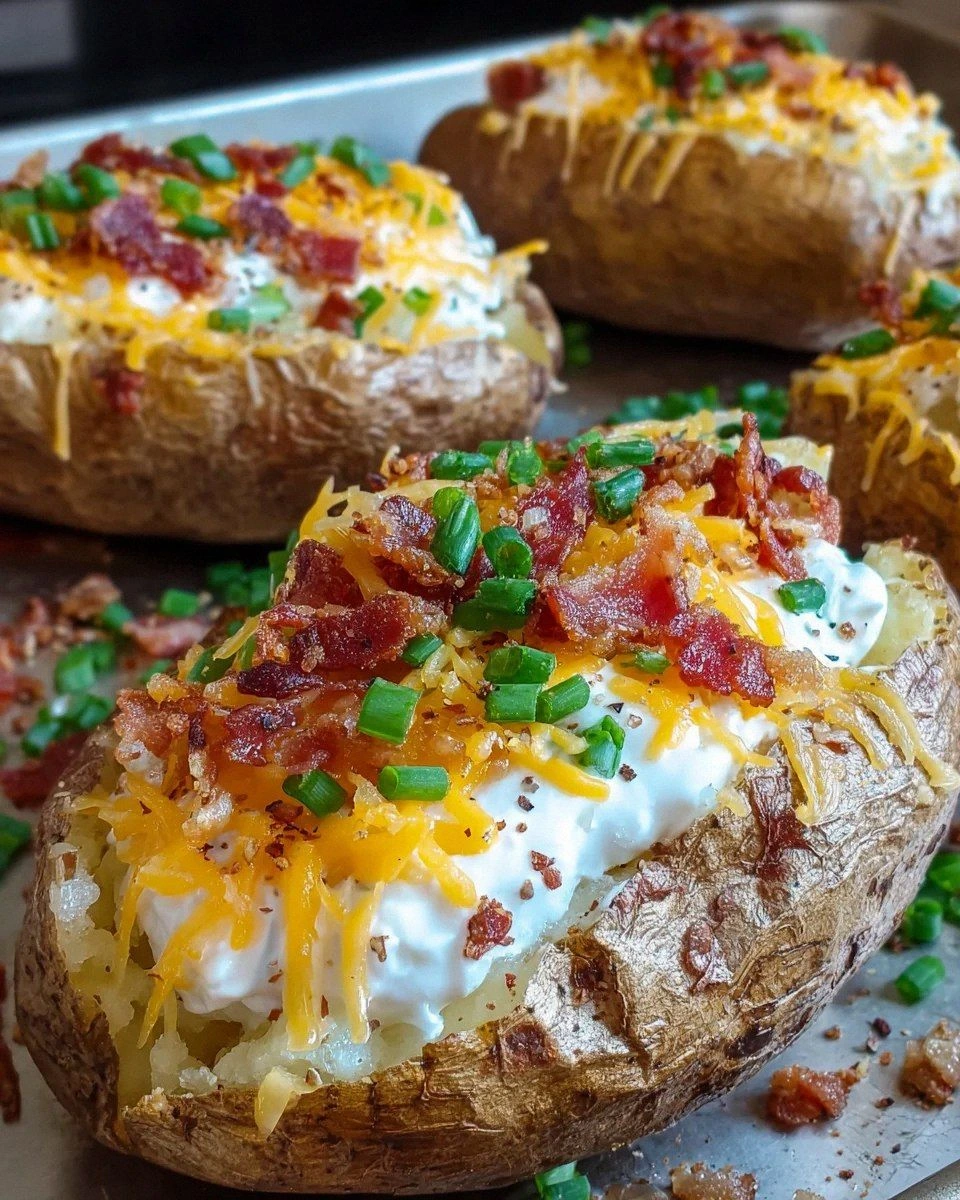
- Flavor: A balanced blend of salty bacon, sharp cheddar, and subtle spinach gives depth without overpowering. The butter‑buttermilk base adds a subtle tang that cuts through the richness.
- Ease: All the steps are straightforward, no fancy equipment required. Even if you’re new to baking, you can follow along and achieve professional‑grade pockets.
- Make‑Ahead: You can assemble the pockets a day ahead, refrigerate, and bake them fresh when you’re ready. The dough holds up well, keeping the pockets crisp.
- Scalable: Whether you’re feeding a family or a crowd, the recipe scales cleanly. The ingredient list and the recipe card’s serving adjuster make portion control a breeze.
- Visual Appeal: The golden crust, the melted cheese pull, and the pop of green from the spinach make these pockets Instagram‑worthy.
Alright, let's break down exactly what goes into this masterpiece. And before we go deeper, here’s a quick hack that will save you time and elevate the flavor.
Inside the Ingredient List
The Flour Factor
All-purpose flour is the backbone of our dough, providing structure while remaining forgiving. It’s the canvas that holds everything together. If you skip it, you’re left with a sticky mess that won’t rise. For a lighter texture, consider adding a tablespoon of cornstarch to the flour mix; it softens the gluten network and keeps the pockets tender.
The Leavening Crew
Baking powder is the secret agent that makes the pockets puff up. I use a two‑tsp pinch, which is enough to create airy layers without over‑browning. If you’re a fan of a more pronounced rise, a pinch of baking soda can be added, but be careful—too much can leave a metallic aftertaste.
The Butter Boost
Cold, cubed butter is the star that brings flavor and flakiness. When the butter melts during baking, it creates steam pockets that lift the dough. A quick tip: chill the dough for at least 30 minutes before rolling; this keeps the butter from melting prematurely and ensures crisp edges.
The Milk Magic
Milk hydrates the flour and activates the leavening agents. I prefer whole milk for its richness, but you can use half‑and‑half or even a plant‑based milk for a lighter version. Adding a tablespoon of yogurt to the milk can introduce a subtle tang that enhances the overall flavor profile.
The Protein Punch
Eggs bind the dough and contribute to the golden crust. Two large eggs are sufficient for four servings. If you’re vegan, you can substitute with a flaxseed egg or a commercial egg replacer, but the texture will differ slightly.
The Cheesy Core
Cheddar cheese is the melt that pulls the pockets together. I use a sharp cheddar for its robust flavor. If you prefer a milder taste, mozzarella or a blend of cheddar and mozzarella works well. The cheese should be shredded finely to ensure even distribution.
The Savory Star
Bacon adds a smoky, salty element that balances the richness. I use pre‑cooked bacon, diced into bite‑size pieces. For a vegetarian version, swap bacon for sautéed mushrooms or sun‑dried tomatoes.
The Green Touch
Spinach provides a burst of color and a subtle earthy flavor. I sauté it briefly to reduce moisture, preventing sogginess. If you’re allergic or simply don’t like spinach, arugula or kale can be used as alternatives.
The Flavor Finisher
Onion and pepper add depth and a hint of bite. I finely dice the onion and lightly sauté it before mixing into the filling. The pepper should be freshly ground for maximum aroma. If you’re sensitive to onion, try adding a splash of garlic powder instead.
Everything's prepped? Good. Let's get into the real action...
The Method — Step by Step
- In a large mixing bowl, whisk together the flour, baking powder, salt, and sugar. The dry mix is the foundation; make sure everything is evenly distributed. I like to sift the flour to avoid clumps, which can lead to uneven texture. Keep this step brisk so the butter stays cold.
- Add the cold, cubed butter to the dry ingredients. Using a pastry cutter or your fingertips, cut the butter into the flour until the mixture resembles coarse crumbs. The butter should be visible in small chunks; these will create flaky layers when melted.
- In a separate bowl, whisk the milk, eggs, and a pinch of black pepper until the mixture is smooth. Pour this wet mixture into the dry mixture and stir until a shaggy dough forms. Don’t overwork; the dough should still feel slightly sticky. This is where the magic begins.
- Turn the dough onto a lightly floured surface and knead gently for about 30 seconds. Then roll it out to a ¼‑inch thickness. For even pockets, aim for a uniform roll. If the dough sticks, dust it lightly with flour.
- Using a round cutter (about 3 inches in diameter), cut out circles from the dough. A reusable silicone cutter works best, but a glass plate or a small bowl will do. Place the circles on a parchment‑lined tray; you’ll need at least 16 for four servings.
- In a bowl, combine the shredded cheddar, diced bacon, sautéed spinach, onion, and a splash of milk to keep the filling moist. Mix until all ingredients are evenly distributed. The filling should be thick enough to stay in place but not so dry that it clumps.
- Spoon a generous amount of the filling onto the center of each dough circle, leaving about a ½‑inch border. Fold the dough over the filling to create a half‑moon shape, then press the edges together. Pinch the edges firmly to seal; the trick is to seal tightly to prevent leaks during baking.
- Preheat your oven to 375°F (190°C). Place the sealed pockets on a parchment‑lined baking sheet, leaving space between each. Lightly brush the tops with a beaten egg for a glossy finish. Bake for 20–22 minutes, or until the pockets are golden brown and the cheese has melted into a bubbly ribbon.
- Remove from the oven and let the pockets rest for 5 minutes. This resting period allows the filling to set, preventing it from sliding out when you cut into them. The aroma at this point is irresistible—just like a warm hug.
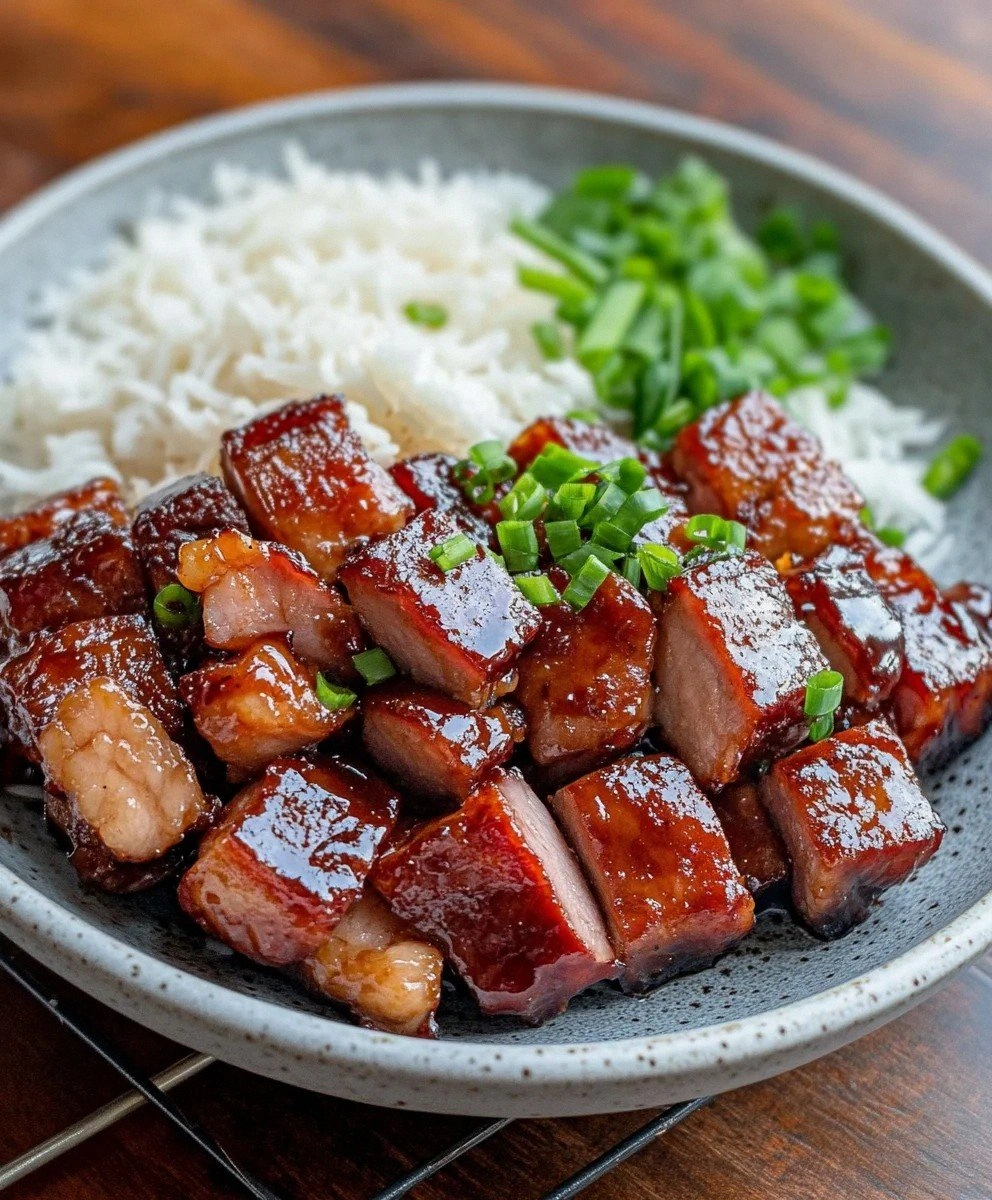
- Serve hot with a side of fresh fruit or a drizzle of maple syrup. The contrast of sweet syrup against the savory pockets creates a breakfast experience that is both comforting and adventurous.
That's it — you did it. But hold on, I've got a few more tricks that'll take this to another level. These insider tips will help you perfect your pockets and keep them fresh for days.
Insider Tricks for Flawless Results
The Temperature Rule Nobody Follows
Baking at exactly 375°F is ideal, but if your oven runs hot, lower the temperature to 360°F and extend the baking time by 5 minutes. This prevents the pockets from burning on the outside while the filling remains undercooked. I once baked at 400°F and ended up with burnt edges and a gooey center—lesson learned.
Why Your Nose Knows Best
Smell is a powerful indicator of doneness. When the pockets are ready, you’ll hear a faint, buttery aroma that signals the crust is crisp and the filling is set. Trust your nose, and you’ll avoid overbaking or underbaking.
The 5‑Minute Rest That Changes Everything
Letting the pockets rest after baking is more than a courtesy—it’s a science. The residual heat allows the cheese to set into a cohesive ribbon, preventing it from spilling out when you cut into the pocket. Skipping this step can leave you with a messy mess.
The Secret to a Crispy Edge
A light brush of beaten egg or a drizzle of melted butter on the tops before baking gives a golden, glossy finish. If you’re vegan, a splash of plant‑based milk works just as well. The key is to apply the coating evenly to avoid streaks.
The Quick Chill Trick
If you’re in a hurry, roll the dough into a tight log and refrigerate for 10 minutes before cutting. The cold dough is less sticky, making it easier to handle. This trick saves time without sacrificing texture.
Creative Twists and Variations
This recipe is a playground. Here are some of my favorite ways to switch things up:
Vegan Breakfast Pocket
Replace the butter with vegan butter or coconut oil, use plant‑based milk, and swap the eggs for a flaxseed egg. For cheese, try a vegan cheddar alternative. The result is a dairy‑free, plant‑based pocket that still delivers on flavor.
Mediterranean Delight
Swap the cheddar for feta and add sun‑dried tomatoes, olives, and a handful of fresh spinach. The briny feta and sweet tomatoes create a Mediterranean vibe that’s perfect for brunch.
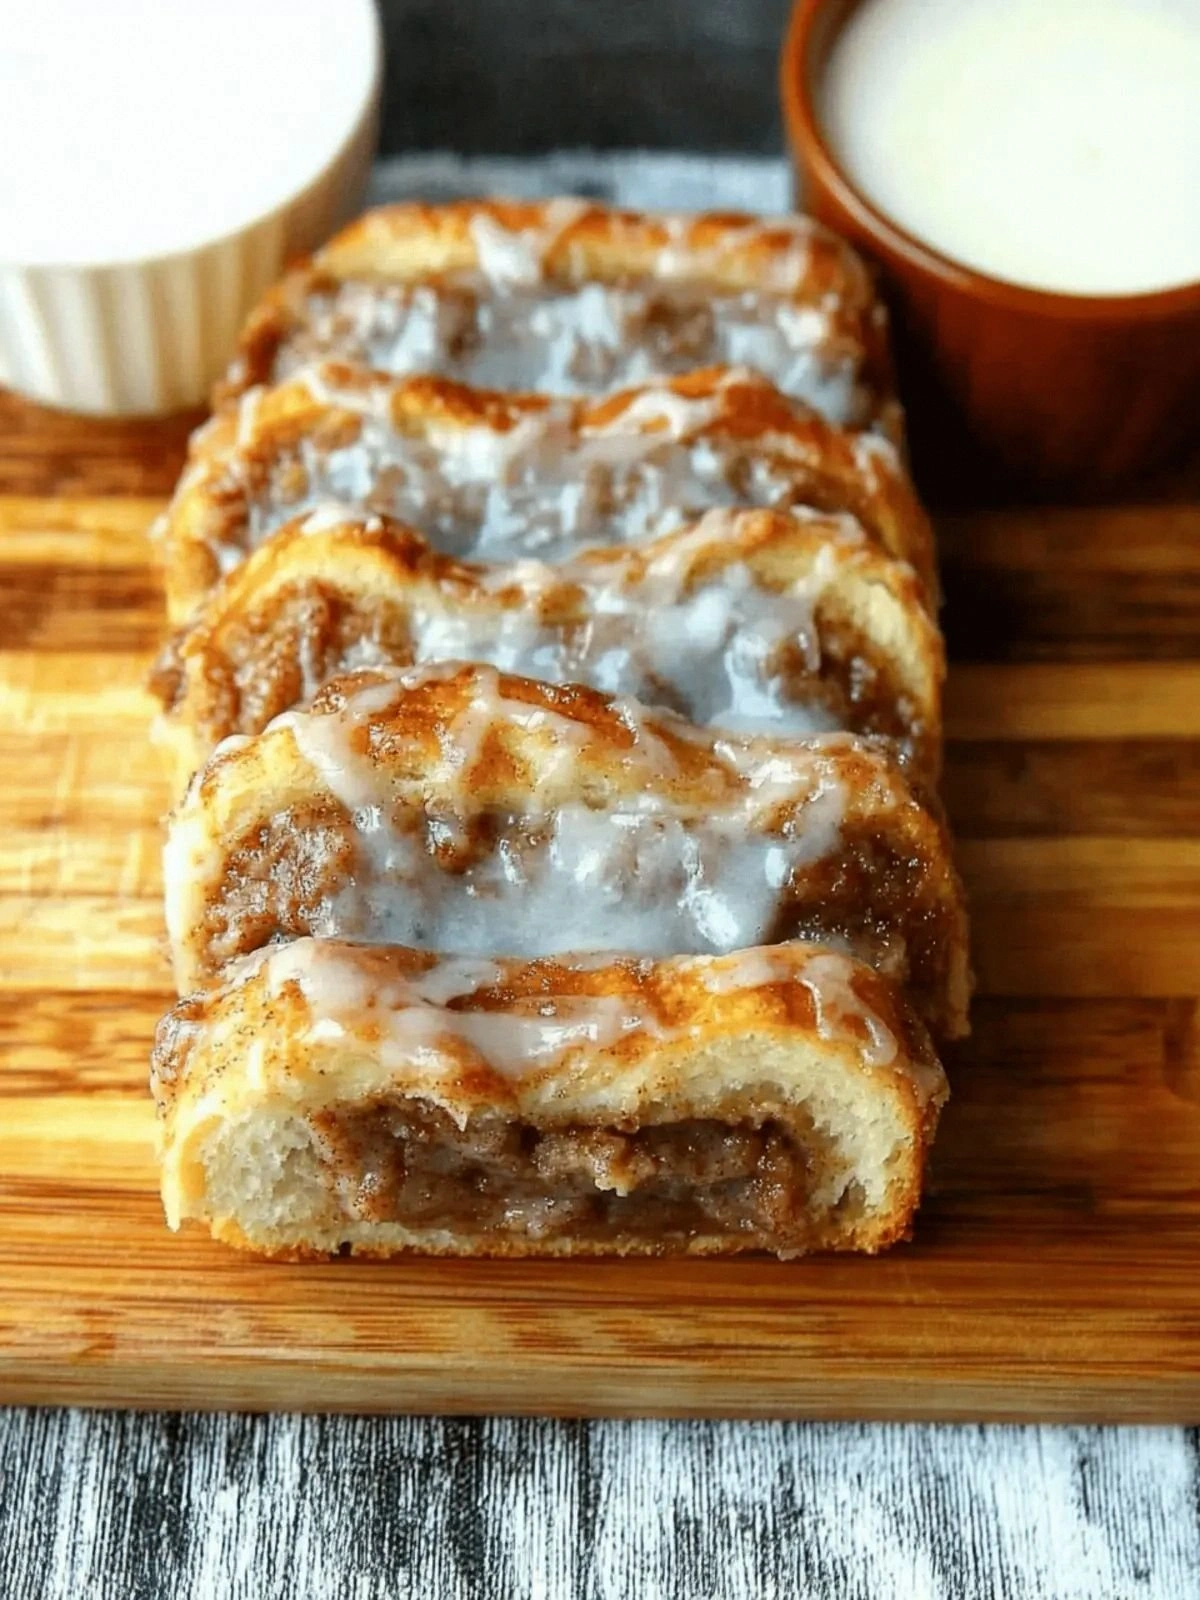
Sweet & Savory Fusion
Add diced apples and a sprinkle of cinnamon to the filling. The sweet apples pair beautifully with the salty bacon, creating a unique flavor profile that will surprise your guests.
Protein Power Pocket
Add diced grilled chicken or turkey to the filling for a protein boost. This variation turns the pockets into a hearty breakfast that can double as a lunch option.
Herb‑Infused Pocket
Mix chopped fresh herbs like basil, thyme, or rosemary into the filling. The herbs add a fresh aroma and a burst of green that brightens the overall taste.
Cheese‑Only Pocket
For cheese lovers, eliminate the bacon and spinach, and double the cheddar. The pockets become a gooey, melty cheese experience that’s simply irresistible.
Storing and Bringing It Back to Life
Fridge Storage
Store cooked pockets in an airtight container in the refrigerator for up to 3 days. Before reheating, let them sit at room temperature for 10 minutes to reduce the risk of sogginess.
Freezer Friendly
Freeze uncooked pockets on a parchment‑lined tray for 1–2 hours, then transfer them to a freezer bag. They’ll keep for up to 3 months. Bake directly from the freezer, adding 5 minutes to the baking time.
Best Reheating Method
To reheat, preheat the oven to 350°F (175°C). Place the pockets on a baking sheet and bake for 10–12 minutes, or until heated through. Add a tiny splash of water before reheating; it steams the pockets back to perfection without drying them out.