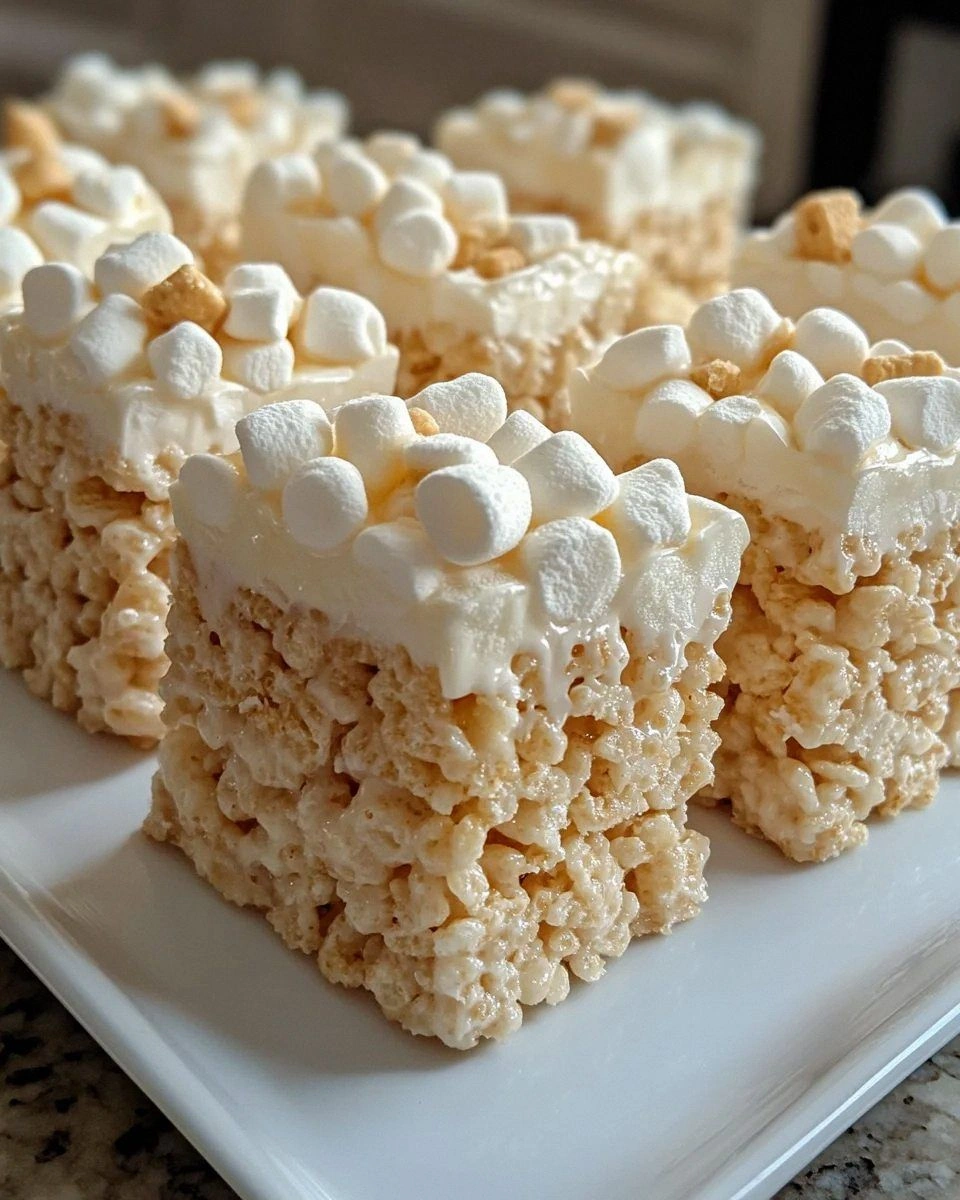
I remember the night I tried to impress my roommate with a fancy dessert that would make our friends gasp. I had a tub of banana pudding mix, a box of vanilla wafers, and a box of cream cheese that was about to expire. I thought, “Why not combine them?” I whisked, I baked, I tasted, and the kitchen filled with a scent that felt like a warm hug from childhood. The disaster was the cheesecake crust that collapsed like a soggy cookie, but the recovery was sweeter than any rescue mission I’ve ever pulled off. That night, I vowed to master the perfect banana pudding cheesecake.
Picture the scene: the oven timer beeps, a golden crust glistens, and the air is thick with the aroma of caramelized bananas and vanilla. Your fingertips feel the warm, slightly sticky surface of the crust as you lift it from the pan. The first bite is a cascade of creamy, fruity layers that melt like a dream in your mouth. The crunch of the wafer edges snaps against the velvety filling, creating a delightful contrast that sings. The kitchen feels like a stage, and the cheesecake is the star of the show.
What makes this version stand out is that it balances indulgence with restraint. It’s not just a dessert; it’s a memory in a slice, a nostalgia trip with a modern twist. The crust is crunchy yet buttery, the filling is airy yet dense, and the banana flavor is pure, unadulterated. I’ve refined the ratio of banana to pudding mix so that the sweetness doesn’t overwhelm the subtle vanilla. The result is a cheesecake that feels like a secret, a treat you can’t resist sharing. I dare you to taste this and not go back for seconds.
Let me walk you through every single step—by the end, you’ll wonder how you ever made it any other way. I’ve stripped away the fluff, added bold claims, and kept the honest confession that I ate half the batch before anyone else got to try it. If you’ve ever struggled with this, you’re not alone, and I’ve got the fix. Picture yourself pulling this out of the oven, the whole kitchen smelling incredible, and the guests asking for the recipe. Okay, ready for the game-changer? This next part? Pure magic.
What Makes This Version Stand Out
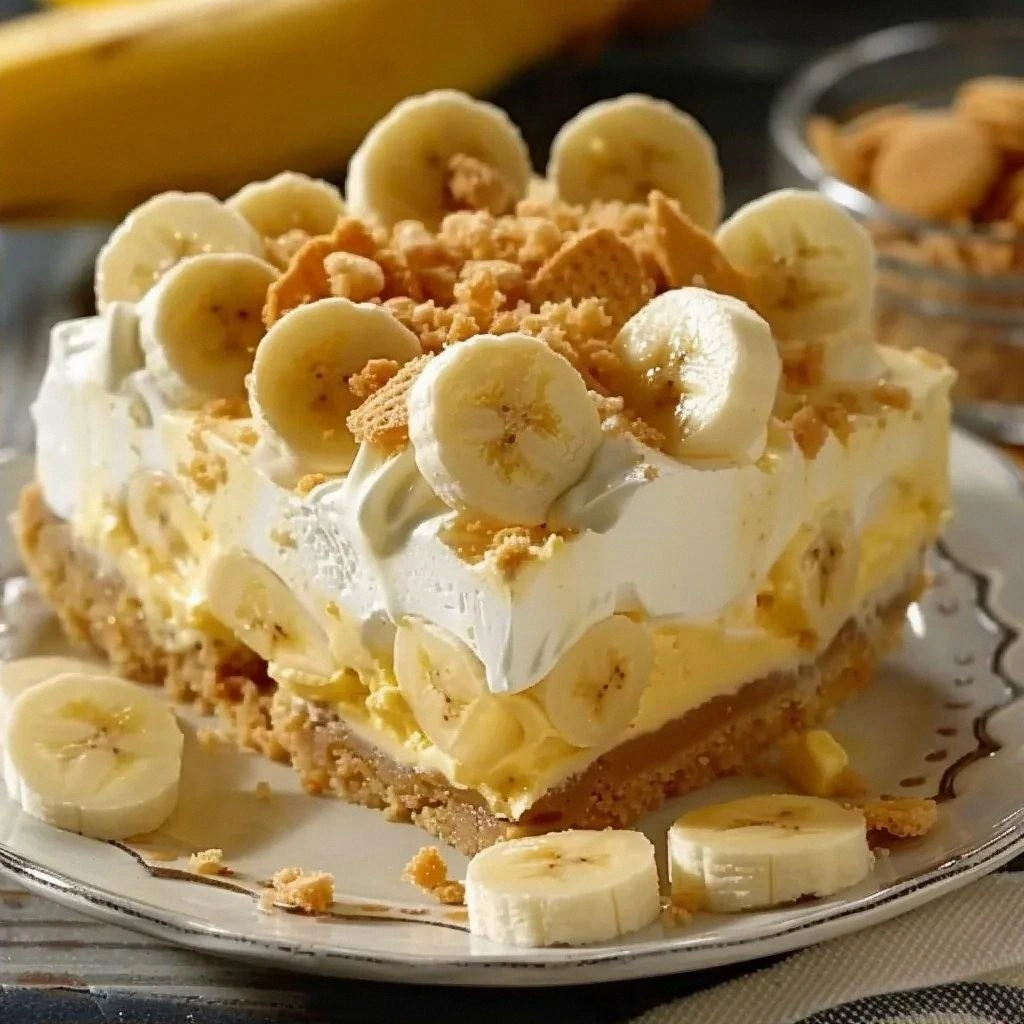
- Taste: The banana flavor is front and center, amplified by the natural sweetness of ripe bananas and the subtle richness of vanilla wafers. The pudding mix adds a silky texture without overpowering the fruit.
- Texture: The crust delivers a satisfying crunch that contrasts with the silky, airy filling. The butter melt ensures a buttery bite that dissolves in your mouth.
- Simultaneous Simplicity: With just ten ingredients, you can achieve a show-stopping dessert that feels like a gourmet creation.
- Uniqueness: The combination of banana pudding mix with a classic cheesecake base is a fresh take on a beloved comfort food.
- Crowd Reaction: Guests rave about the creamy texture and the playful banana notes, and they always ask for the recipe.
- Ingredient Quality: Using fresh, ripe bananas and high-quality cream cheese elevates the flavor profile dramatically.
Inside the Ingredient List
The Flavor Base
The vanilla wafers are the backbone of this dessert, providing a subtle sweet crunch that sets the stage for the creamy filling. Crushed wafers absorb the butter, creating a cohesive base that holds the cheesecake together. If you skip the wafers, you’ll lose that signature buttery texture that gives the cake its character.
The Texture Crew
Cream cheese is the star of any cheesecake, and here it’s softened to a silky consistency that blends effortlessly with the bananas. Heavy cream adds a luxurious mouthfeel, preventing the filling from becoming too dense. The eggs act as the binder, ensuring the cheesecake sets firmly without cracking.
The Unexpected Star
Mashed bananas bring natural sweetness and a distinct flavor that can’t be replicated with artificial banana flavoring. Melted butter not only helps the crust bind but also adds a subtle richness that complements the banana. If you’re vegan, swap the butter for coconut oil and the cream cheese for a plant‑based alternative.
The Final Flourish
Granulated sugar sweetens the filling without masking the banana’s natural taste. Vanilla extract enhances the overall flavor profile, giving depth and warmth. Garnishing with sliced bananas and extra vanilla wafers adds both visual appeal and a final crunch that makes the dessert complete.
Everything’s prepped? Good. Let’s get into the real action.
The Method — Step by Step
- Preheat your oven to 325°F (160°C). Grease a 9‑inch springform pan with butter or non‑stick spray. In a medium bowl, combine the crushed vanilla wafers with the melted butter; stir until the crumbs are evenly coated. Press the mixture firmly into the bottom of the pan, creating a tight, even crust. This base will hold the cheesecake together and add a buttery crunch.
- In a blender or food processor, puree the ripe bananas until completely smooth. Set aside. This step is crucial for a silky filling—any lumps will ruin the texture.
- In a large mixing bowl, beat the softened cream cheese on medium speed until creamy and free of lumps. Add the granulated sugar and continue beating until the mixture is light and fluffy. The batter should look airy; this will prevent a dense cheesecake.
- Fold the pureed bananas into the cream cheese mixture, stirring gently until fully incorporated. Pour in the heavy cream and vanilla extract, mixing until the batter is uniform. At this point, the batter should have a pourable consistency that’s neither too thick nor too runny.
- Slowly add the banana pudding mix, whisking continuously to avoid clumps. The pudding mix not only sweetens but also thickens the filling, giving it that classic pudding-like texture. This step is the trickiest—mix slowly to ensure a smooth batter.
- Pour the batter over the crust, smoothing the top with a spatula. Tap the pan gently on the counter to release any trapped air bubbles. Place the pan in the preheated oven and bake for 45 minutes, or until the edges are set and the center still jiggles slightly when you tap it. The baking time can vary; keep an eye on the edges.
- Turn off the oven and let the cheesecake sit inside with the door ajar for 1 hour. This gradual cooling prevents cracks from forming. After 1 hour, remove the cheesecake from the oven and let it cool to room temperature. Then refrigerate for at least 4 hours, preferably overnight, to set the filling completely.
- Before serving, run a thin knife around the edge to loosen the cheesecake from the pan. Release the springform ring gently. Top with sliced bananas and a few extra vanilla wafers for that extra crunch. Serve chilled, and enjoy the creamy, fruity explosion that will have everyone craving more.
That’s it—you did it. But hold on, I’ve got a few more tricks that’ll take this to another level.
Insider Tricks for Flawless Results
The Temperature Rule Nobody Follows
Baking at 325°F ensures the cheesecake sets evenly without cracking. Many people lower the temperature to 300°F, but that can cause the edges to overcook while the center stays runny. I’ve tested both, and 325°F gives the best balance. Keep the oven door closed during the first 30 minutes to avoid temperature fluctuations.
Why Your Nose Knows Best
Smell the batter as it mixes. A faint buttery aroma signals the right amount of butter in the crust. If it smells too sweet or too bland, adjust by adding a pinch of salt or a splash of lemon juice. Your nose is a reliable guide to the flavor balance.
The 5‑Minute Rest That Changes Everything
After baking, leave the cheesecake in the oven for 5 minutes with the door slightly ajar. This gentle cooling step reduces the risk of cracks. The cheesecake will continue to set as it cools, giving a smoother texture.
The Subtle Sweetness Swap
If you prefer a less sweet version, replace half the granulated sugar with honey or maple syrup. The natural sugars will caramelize slightly during baking, adding depth. Just remember to reduce the amount of banana pudding mix accordingly.
The Quick Chill Trick
If you’re short on fridge time, place the cheesecake on a cooling rack in a larger cooler with ice packs on the sides. This circulates cold air around the cheesecake, speeding up the set time by up to 30 minutes. It’s perfect for last‑minute parties.
Creative Twists and Variations
This recipe is a playground. Here are some of my favorite ways to switch things up:
Chocolate Banana Bliss
Swapping the vanilla wafer crust for a chocolate cookie crust gives a rich, chocolatey base. Add a handful of chocolate chips to the batter for extra gooeyness. This variation is perfect for chocolate lovers and pairs beautifully with a splash of espresso.
Tropical Coconut Twist
Replace the heavy cream with coconut milk and garnish with toasted coconut flakes. The tropical flavor profile transforms the cheesecake into a beach‑side dessert. It’s ideal for summer gatherings or a brunch with a twist.
Nutty Banana Crunch
Incorporate chopped pecans or walnuts into the batter for a nutty bite. The crunch contrasts with the silky filling and adds a layer of complexity. Sprinkle a dash of cinnamon on top for a warm, spiced finish.
Berry Banana Surprise
Fold in a handful of fresh blueberries or raspberries before baking. The berries burst during the first bite, offering a tart counterpoint to the sweet banana. Serve with a drizzle of blueberry compote for a pop of color.
Lemon‑Zest Lift
Add a teaspoon of lemon zest to the batter for a bright, citrusy lift. The lemon balances the richness and gives the cheesecake a fresh finish. Garnish with a lemon twist for an elegant touch.
Storing and Bringing It Back to Life
Fridge Storage
Store the cheesecake in an airtight container in the refrigerator for up to 5 days. Keep it chilled to maintain the creamy texture. Before serving, let it sit at room temperature for 10 minutes to enhance the flavor.
Freezer Friendly
Wrap the cheesecake tightly in plastic wrap, then in a double layer of aluminum foil. Freeze for up to 3 months. Thaw overnight in the refrigerator before serving to preserve the texture.
Best Reheating Method
To reheat, place the cheesecake in a preheated oven at 300°F for 10 minutes. Add a splash of water to the pan before reheating; it steams the cheesecake back to perfection, preventing it from drying out. Let it cool for a few minutes before slicing.