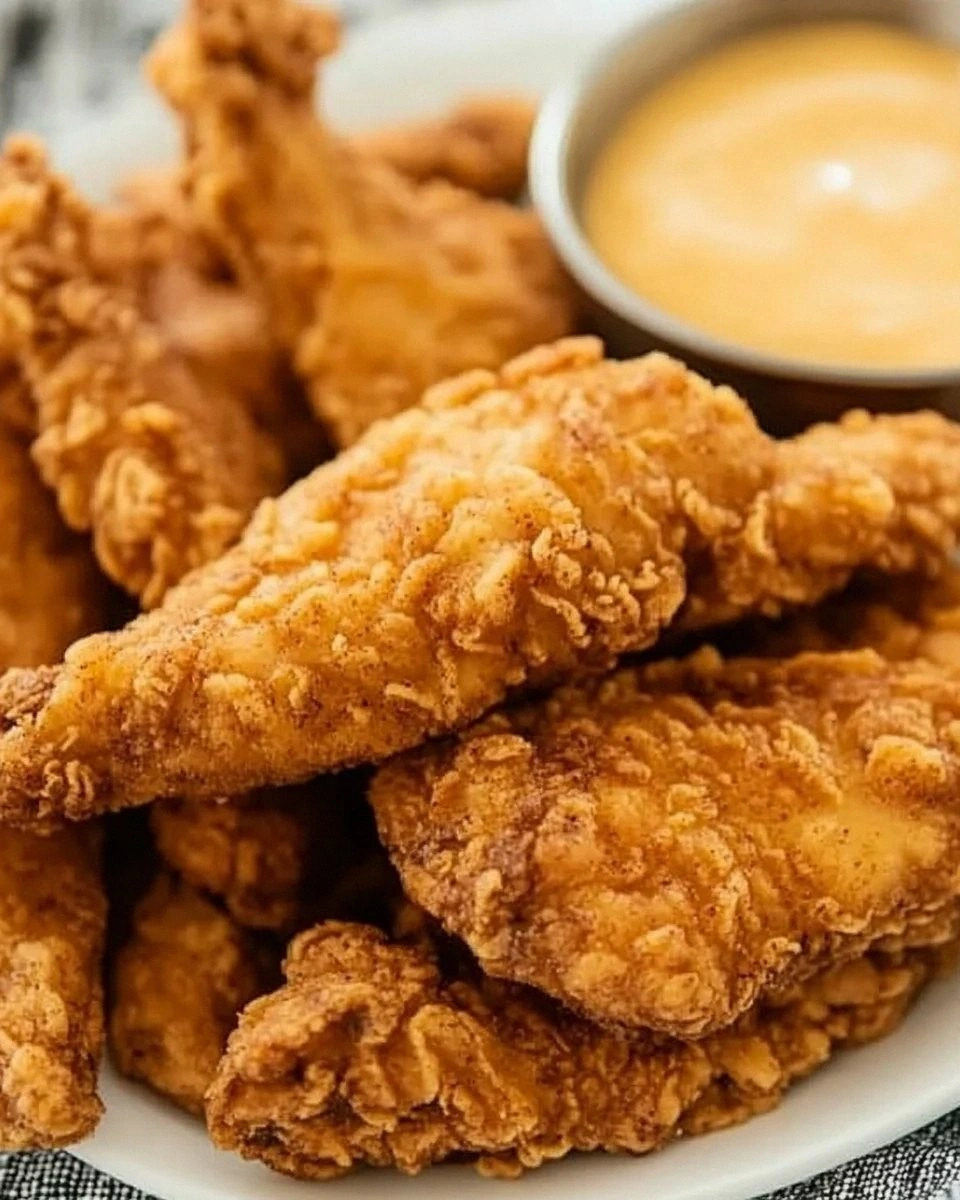
I once tried to make chicken tenders for a game night, and what came out of the oven looked more like soggy cardboard than the golden, crackly sticks that my friends were begging for. The kitchen was filled with that disappointing, muted thud of a batter that never quite lifted, and I could hear the collective sighs as plates were passed around. Fast forward a few weeks, after countless failed attempts, I finally cracked the code: a briny pickle‑juice soak, a double‑dip coating, and a hot‑oil flash‑fry that turns each piece into a crunchy masterpiece. This version is the love‑child of Southern comfort food and a dash of daring, delivering a flavor punch that makes your taste buds do a little happy dance.
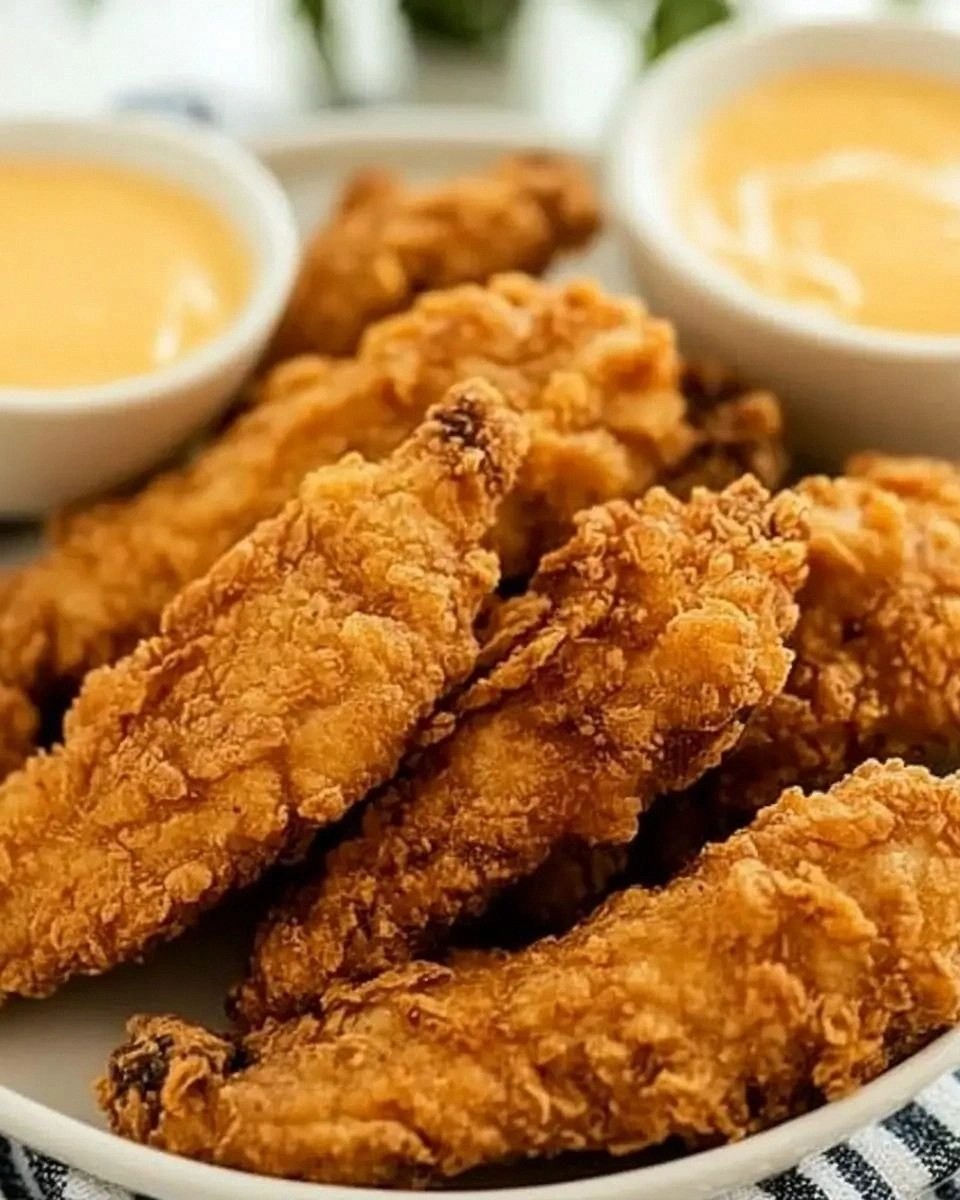
Picture this: the moment you pull the tray from the skillet, the air is saturated with a smoky, peppery aroma that teases the nose like a whisper of a secret. The tenders glisten with a light, buttery sheen, each edge crisped to the point where it shatters like thin ice under a fork, while the interior remains juicy, tender, and just a hint salty from the pickle brine. You hear the satisfying crack as you bite into them, followed by a subtle heat that builds from the cayenne, not overwhelming but enough to make you grin. I dare you to taste this and not go back for seconds; it’s that good.
What really sets this recipe apart is the unexpected star ingredient: dill pickle juice. That tangy, slightly sweet liquid does more than just flavor the meat; it tenderizes, infuses a subtle zing, and creates a moisture barrier that keeps the chicken from drying out during the high‑heat fry. Most recipes completely skip the soak, missing out on that secret weapon that turns ordinary chicken into a mouth‑watering marvel. And the powdered sugar? It’s the quiet magician that encourages caramelization, giving the crust a golden glow without any artificial coloring.
I’ll be honest — I ate half the batch before anyone else got to try it, and that was a mistake I’ll gladly repeat. This is hands down the best version you’ll ever make at home, and I’m not exaggerating. If you’ve ever struggled with soggy or bland tenders, you’re not alone — and I’ve got the fix. Okay, ready for the game‑changer? Let me walk you through every single step — by the end, you’ll wonder how you ever made it any other way.
What Makes This Version Stand Out
- Flavor Explosion: The dill pickle brine injects a tangy depth that makes each bite sing, while the cayenne adds a whisper of heat that lingers just long enough to keep you reaching for more.
- Crunch Factor: A double coating of flour and powdered sugar creates a crust that shatters like delicate glass, delivering that coveted “first‑crack” sensation.
- Simplicity: No fancy equipment, just a skillet, a bowl, and a handful of pantry staples — perfect for weeknight dinners or impromptu gatherings.
- Ingredient Quality: Using fresh, boneless chicken tenders ensures uniform cooking, while high‑smoke‑point peanut oil guarantees a clean, even fry without any greasy aftertaste.
- Crowd Reaction: Expect immediate applause; these tenders have a reputation for disappearing faster than you can say “extra sauce.”
- Make‑Ahead Potential: The brine can be prepared ahead of time, and the coated tenders freeze beautifully for a quick reheating session later.
- Versatile Pairings: Serve with classic honey mustard, a spicy sriracha mayo, or even a cool ranch dip — the crust holds up to any sauce you throw at it.
- Cooking Method: The quick‑sear technique locks in juices, while the final rest on a wire rack preserves the crispness until serving.
Inside the Ingredient List
The Flavor Base
Dill pickle juice is the hero that most people overlook. Its acidity breaks down muscle fibers, making the chicken tender while imparting a subtle herbaceous tang that brightens the overall profile. If you’re out of pickle juice, a mix of white vinegar, water, and a pinch of dill works as a decent stand‑in, though the depth won’t be quite the same. When selecting your pickles, opt for those with natural dill and no added sweeteners to keep the brine clean and crisp.
The Texture Crew
All‑purpose flour provides the structural backbone for the crust, but the addition of powdered sugar is what pushes it over the edge into caramelized perfection. The sugar caramelizes quickly at high heat, giving the coating a golden hue and a delicate crunch that feels like biting into a sweet‑savory wafer. If you’re watching sugar, you can substitute a touch of coconut sugar, though the flavor will shift slightly toward a caramel note.
The Unexpected Star
A single large egg and a cup of milk create the binding bath that clings the flour mixture to the chicken. The egg adds richness, while the milk’s lactose assists in browning. For dairy‑free friends, substitute with almond milk and a dash of cornstarch; the texture will remain respectable, though the golden crust may be a shade lighter.
The Final Flourish
Spices like paprika, cayenne, black pepper, and salt are the seasoning trio that transforms a simple coating into a flavor powerhouse. Paprika offers a smoky undertone, cayenne delivers a gentle heat, and black pepper adds that familiar bite. If you crave a milder version, halve the cayenne; for a smoky twist, swap half the paprika for chipotle powder. The key is to balance heat and aroma so the crust sings without overwhelming the chicken’s natural flavor.
Everything's prepped? Good. Let's get into the real action…
The Method — Step by Step
Start by placing the 2 lb of boneless chicken tenders into a large zip‑top bag and pour in the 1 cup of dill pickle juice. Seal the bag, removing as much air as possible, and give it a gentle massage so the liquid coats every surface. Let the chicken marinate in the refrigerator for at least 30 minutes, but for maximum tenderness, aim for 2 hours. That sizzle when it hits the pan? Absolute perfection.
While the chicken is soaking, prepare your wet batter. In a medium bowl, whisk together 1 large egg and 1 cup of milk until fully combined and slightly frothy. This mixture will act as the glue that holds the flour‑sugar blend to the meat.
Kitchen Hack: Add a pinch of baking powder to the wet batter for an extra airy crust.In a separate shallow dish, whisk together 1 cup all‑purpose flour, 1 tablespoon powdered sugar, 1 teaspoon paprika, 2 teaspoons cayenne pepper, 1 teaspoon black pepper, and 1 teaspoon salt. This seasoned dry mix is the backbone of your crunch. Make sure the spices are evenly distributed; clumps will lead to uneven flavor pockets.
Drain the chicken from the pickle juice and pat each piece dry with paper towels. This step is crucial — any lingering moisture will steam the coating instead of crisping it.
Watch Out: Skipping the drying step results in soggy tenders that never achieve that coveted crunch.Dip each tender first into the wet batter, letting any excess drip back into the bowl, then immediately roll it in the seasoned flour mixture. Press lightly to ensure the coating adheres fully. For an ultra‑crisp exterior, repeat the dip‑and‑coat process a second time; this double‑dip is the secret that makes the crust shatter like thin ice.
Heat ¼ cup of peanut oil (or canola oil) in a large, heavy‑bottomed skillet over medium‑high heat until it reaches about 350°F (175°C). You’ll know it’s ready when a tiny breadcrumb sizzles and turns golden within 15 seconds. This temperature is the sweet spot: hot enough to crisp the coating instantly, but not so hot that the interior cooks too quickly.
Working in batches, carefully lay the coated tenders into the hot oil, giving each piece enough room to breathe. Fry for 3‑4 minutes on the first side, watching the edges pull away from the pan — that’s your visual cue that the crust is forming. Flip and fry another 3‑4 minutes until the interior reaches 165°F (74°C) and the exterior is a deep, buttery gold.
Using a slotted spoon, transfer the cooked tenders onto a wire rack set over a baking sheet. This allows excess oil to drip away and preserves the crunch; stacking them on paper towels would steam the bottom and ruin the texture. Let them rest for 2‑3 minutes — this brief pause lets the juices redistribute, ensuring every bite stays juicy.
Serve immediately with your favorite dipping sauces, or keep warm in a low oven (200°F/93°C) for up to 15 minutes while you finish the rest of the batch. Picture yourself pulling this out of the oven, the whole kitchen smelling incredible, and the first bite delivering that perfect contrast of crisp and tender. That’s the moment of truth, and it’s pure magic.
That's it — you did it. But hold on, I've got a few more tricks that'll take this to another level…
Insider Tricks for Flawless Results
The Temperature Rule Nobody Follows
Many home cooks let the oil heat up too slowly, which results in a soggy coating. The secret is to use a candy thermometer and maintain a steady 350°F throughout the frying process. If the temperature dips, the crust will absorb more oil, turning greasy instead of crisp. I once tried to fry a whole batch in one go, and the oil dropped to 250°F — the tenders were a disaster. Keep the heat consistent, and you’ll get that flawless golden crunch every time.
Why Your Nose Knows Best
Your sense of smell is a reliable indicator of doneness. When the oil starts to emit a faint, nutty aroma, you’re nearing the perfect frying window. If you detect a burnt, acrid scent, the oil is overheating and you need to lower the heat immediately. Trust that nose; it’s an underrated tool that can save a batch before it goes south.
The 5‑Minute Rest That Changes Everything
After frying, letting the tenders rest on a wire rack for just five minutes allows the interior juices to settle and the crust to firm up. Skipping this step leads to a soggy bottom, as steam gets trapped between the meat and the coating. I once served hot tenders straight from the pan, and the texture was disappointing. Give them those precious minutes, and you’ll notice a noticeable snap when you bite in.
Oil Choice Matters
Peanut oil has a high smoke point and a subtle nutty flavor that complements the pickle brine without overpowering it. Canola oil works fine, but it lacks that depth. If you’re allergic to peanuts, use refined avocado oil — it has an even higher smoke point and a neutral taste. The right oil ensures the crust stays light rather than greasy.
Seasoning the Frying Oil
A quick tip: add a pinch of the same paprika and cayenne you used in the coating to the oil before it heats. This infuses the oil with a background layer of spice, giving the crust an extra flavor boost. I tried this once and the tenders had an almost smoky undertone that made them unforgettable. Just be careful not to over‑season the oil, or you’ll end up with a bitter bite.
Creative Twists and Variations
This recipe is a playground. Here are some of my favorite ways to switch things up:
Sweet Heat Glaze
After frying, brush the tenders with a mixture of honey, sriracha, and a splash of lime juice. The glaze adds a sticky sweet‑spicy coating that pairs beautifully with the tangy brine flavor. Perfect for a game‑day snack where you want a little extra zing.
Herb‑Infused Parmesan
Mix freshly grated Parmesan, chopped fresh rosemary, and a dash of garlic powder into the flour coating before the first dip. The result is an aromatic crust that feels like a sophisticated appetizer, ideal for a dinner party where guests expect something a bit elevated.
Southern BBQ Crunch
Swap the cayenne for smoked paprika and add a tablespoon of brown sugar to the dry mix. Serve with a side of tangy BBQ sauce for a sweet‑smoky profile that evokes backyard barbecues. This variation is great for summer picnics.
Asian‑Style Sesame
Add toasted sesame seeds and a pinch of five‑spice powder to the flour blend. Pair the finished tenders with a soy‑ginger dipping sauce for an Asian‑inspired twist that brings nutty depth and umami richness.
Vegan Crunch
Replace chicken with thick-cut cauliflower florets, use a flax‑egg (1 tbsp ground flax + 3 tbsp water) in place of the egg, and keep the same brine (use soy‑based pickle juice). The result is a plant‑based version that still delivers that addictive crunch and tang.
Storing and Bringing It Back to Life
Fridge Storage
Place cooled tenders in an airtight container lined with a paper towel to absorb excess moisture. They’ll stay crispy for up to 3 days, though a quick reheating will restore that original snap. Avoid sealing them while still warm; condensation will make the crust soggy.
Freezer Friendly
Lay the uncooked, coated tenders on a parchment‑lined tray and freeze until solid (about 2 hours). Transfer the frozen pieces to a zip‑top bag; they’ll keep for up to 2 months. When ready, fry straight from frozen, adding an extra minute per side to ensure they’re cooked through.
Best Reheating Method
To revive leftovers, preheat your oven to 375°F (190°C) and spread the tenders on a wire rack over a baking sheet. Add a tiny splash (about a teaspoon) of water to the tray; the steam helps the interior stay moist while the oven’s dry heat re‑crispes the coating. In 8‑10 minutes, you’ll have tenders that taste almost as fresh as the original batch.