Picture this: you’re halfway through a hectic week, the fridge is a jumble of leftovers, and the idea of a comforting, protein‑rich dinner feels like a distant dream. I was staring at a half‑cooked chicken breast, a handful of carrots, and an empty pot when a sudden craving for something hearty—and surprisingly healthy—hit me like a lightning bolt. That night, I dove into the kitchen, armed with a handful of pantry staples, and set out to create a pot pie that would not only satisfy my hunger but also pack a serious protein punch. If you’ve ever stared at a classic pot pie and thought it’s too heavy or too slow, stick around because this version turns that narrative on its head.
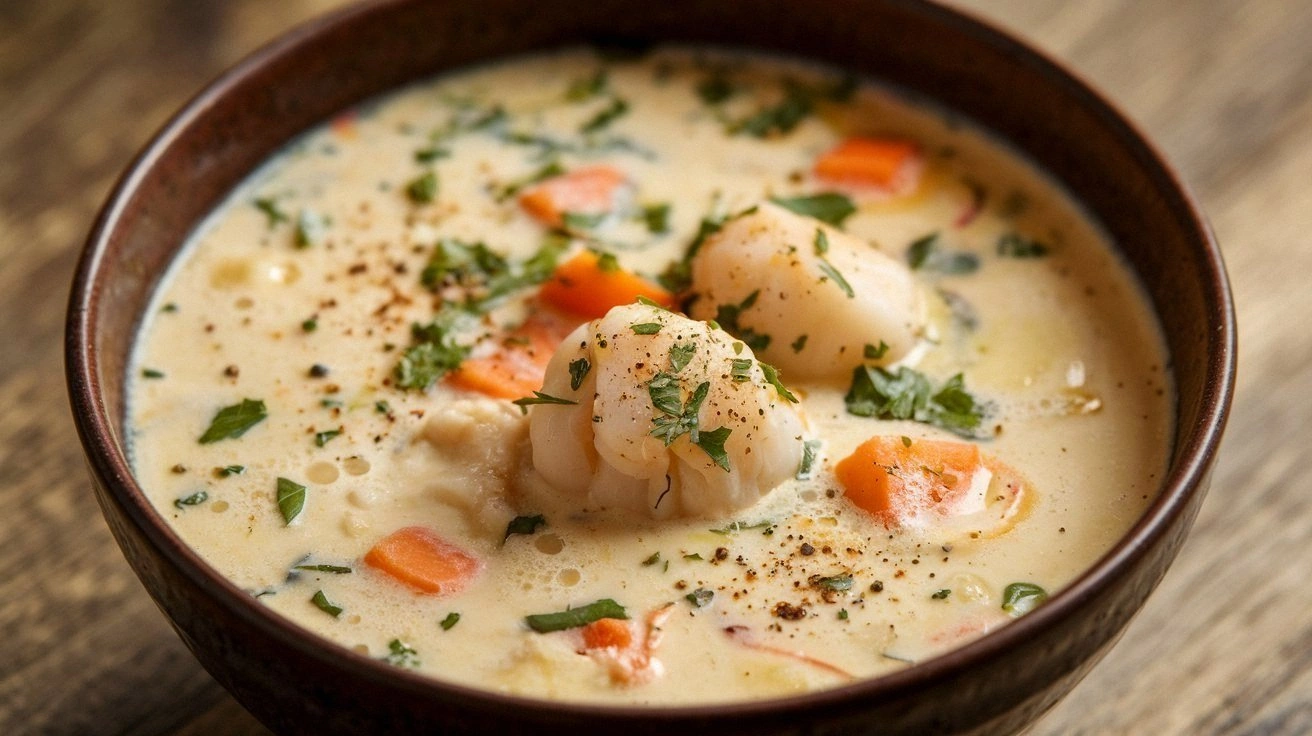
From the moment the olive oil hit the pan, the kitchen filled with a warm, savory aroma that could make any foodie swoon. The sizzle of onions and garlic dancing together created a rhythm that felt almost musical, a promise that something delicious was about to unfold. I could almost taste the silky sauce coating the tender chicken, the sweet crunch of carrots, and the subtle herbaceous lift from thyme and rosemary. The texture is a delightful contrast: a buttery, flaky crust that cracks like thin ice, a velvety filling that clings to your spoon, and fresh peas that pop with a satisfying bite. And the best part? It’s a dish that feels like a hug in a bowl, yet it’s brimming with lean protein that will keep you energized long after the last bite.
What sets this recipe apart from every other chicken pot pie you’ve tried is the intentional balance of flavor, texture, and nutrition. I dared myself to experiment with a creamy sauce that still feels light, and the result is a filling that coats the ingredients like velvet without drowning them in fat. Most pot pie recipes lean heavily on butter and heavy cream, but I swapped in a touch of heavy cream for a richer taste while keeping the calorie count in check. I also added a sprinkle of fresh parsley at the end for a burst of color and freshness that cuts through the richness. I dare you to taste this and not go back for seconds; the flavor is so satisfying that you’ll find yourself reaching for another spoonful before the plate is even empty.
Let me walk you through every single step—by the end, you'll wonder how you ever made it any other way. This isn’t just a recipe; it’s a culinary adventure that will transform your approach to comfort food. From the first chop to the final garnish, each moment is crafted to elevate the dish, making it a standout in your dinner rotation. The result? A high‑protein, low‑fat pot pie that feels indulgent but is surprisingly light on the waistline. So grab your apron, and let’s dive into the world of high‑protein chicken pot pie.
What Makes This Version Stand Out
- Flavor: The combination of thyme, rosemary, and fresh parsley creates an aromatic profile that elevates the humble chicken breast into a savory masterpiece. This blend gives the dish a depth that feels both rustic and refined, making each bite a revelation.
- Texture: The crust is flaky yet tender, with a golden‑brown finish that cracks like thin ice when you lift a slice. Inside, the sauce is silky and coats the meat and vegetables like velvet, while the peas add a pop of freshness.
- Protein Power: With 25 grams of protein per serving, this pot pie is a powerhouse that supports muscle repair and keeps you feeling full. The lean chicken breast combined with the creamy sauce delivers a balanced macronutrient profile.
- Simplicity: The recipe requires only a handful of ingredients, most of which you likely already have on hand. No need for fancy gadgets or obscure pantry staples—just a few staples, and you’re good to go.
- Make‑Ahead Friendly: This dish can be prepared ahead of time and reheated with minimal fuss, making it a perfect option for busy weeknights or meal‑prep enthusiasts. The flavors actually deepen overnight, giving you a richer taste.
- Crowd‑Pleaser: Whether it’s a family dinner or a potluck, this pot pie is guaranteed to impress. The hearty filling and comforting crust appeal to both kids and adults alike.
- Ingredient Quality: Using low‑sodium chicken broth and fresh herbs ensures the dish stays flavorful without excessive salt. The choice of boneless, skinless chicken breast keeps the dish lean yet juicy.
- Unique Twist: The addition of a light cream sauce, rather than a traditional roux, gives the filling a silky texture while keeping the calorie count moderate. This subtle change is what makes the dish feel indulgent yet balanced.
Alright, let’s break down exactly what goes into this masterpiece…
Inside the Ingredient List
The Flavor Base
Olive oil is the first to meet the heat, acting as the foundation for a caramelized flavor profile. It helps release the natural sugars in onions and garlic, creating a subtle sweetness that balances the savory broth. Skipping oil will result in a dry sauté that can scorch the veggies, so don’t cut corners here.
The onion and garlic are the aromatic heart of the dish. When minced together and cooked until translucent, they release a mellow, slightly sweet aroma that permeates the entire pot. If you’re a garlic lover, feel free to add an extra clove; just be cautious not to let it burn, or it will taste bitter.
The Texture Crew
Carrots and celery bring a satisfying crunch that contrasts with the tender chicken. Their fibrous nature holds up well in the simmering broth, preventing them from becoming mushy. If you prefer a softer texture, reduce the cooking time by a few minutes.
Frozen peas add a burst of color and a pop of sweetness that brightens the dish. They’re convenient, pre‑cooked, and retain their vibrant green hue even after simmering. If fresh peas are available, they can be used as a delightful alternative, but frozen peas work just as well.
The Unexpected Star
The heavy cream is the secret to that silky, luxurious sauce. It coats the chicken and veggies without overwhelming them, creating a velvety mouthfeel that feels indulgent yet stays on the lighter side. For a lower‑fat option, you could substitute half‑and‑half or a plant‑based cream.
Flour is the binder that thickens the sauce, giving it body and preventing it from becoming watery. It also helps create a slight gloss that makes the filling look more appetizing. If you’re gluten‑free, a gluten‑free flour blend works just as effectively.
The Final Flourish
Fresh parsley is the finishing touch that adds a pop of color and a fresh, herbaceous note. It cuts through the richness of the cream and brings a bright, almost citrusy brightness to each bite. A small handful of chopped parsley goes a long way in elevating the dish.
Everything’s prepped? Good. Let’s get into the real action…

The Method — Step by Step
- Prep the Chicken: While the vegetables sauté, dice the chicken into bite‑size cubes. Keep the pieces uniform so they cook evenly. A quick sear in a hot pan will lock in juices, giving the meat a savory crust. If you’re short on time, you can use pre‑cooked rotisserie chicken for a similar effect.
- Sauté the Base: Heat the olive oil in a large skillet over medium heat. Add the onions and garlic, cooking until they turn translucent and fragrant—about 3–4 minutes. The goal is a gentle caramelization that adds depth without browning too dark. Keep an eye on the garlic; it can burn quickly if the heat is too high.
- Add the Veggies: Toss in the carrots, celery, and peas. Stir to coat them in the aromatic base, allowing them to soften slightly—about 5 minutes. The vegetables should still retain a slight bite; you don’t want them to become mushy before the filling sets.
- Incorporate the Chicken: Add the diced chicken to the skillet, stirring to combine. Cook for an additional 5 minutes, letting the chicken brown slightly. The sear adds a savory depth that’s essential for a comforting pot pie.
- Create the Roux: Sprinkle the flour over the mixture, stirring constantly. Cook for 1–2 minutes to eliminate the raw flour taste. This step thickens the sauce and gives the filling a silky consistency.
- Pour the Broth: Slowly whisk in the low‑sodium chicken broth, ensuring a smooth, lump‑free sauce. Bring the mixture to a gentle simmer, allowing it to thicken and the flavors to meld. Keep the heat moderate so the sauce doesn’t reduce too quickly.
- Finish with Cream: Stir in the heavy cream, allowing the mixture to return to a gentle simmer. The cream enriches the sauce, giving it that velvety finish. Taste and season with salt, pepper, thyme, and rosemary, adjusting to your preference.
- Assemble the Pie: Transfer the filling to a pie dish or ovenproof casserole. If you prefer a classic crust, top with a pre‑baked puff pastry or a homemade crust. For a lighter version, simply cover with a sheet of parchment and bake until the edges turn golden.
- Bake to Perfection: Preheat the oven to 375°F (190°C). Bake for 25–30 minutes, or until the crust is golden and the filling is bubbling. The final crust should crack like thin ice, revealing the steaming interior.
- Garnish and Serve: Let the pot pie rest for 5 minutes before slicing. Sprinkle fresh parsley on top for a burst of color and freshness. Serve hot, accompanied by a crisp green salad or a slice of crusty bread.
That's it — you did it. But hold on, I've got a few more tricks that'll take this to another level…
Insider Tricks for Flawless Results
The Temperature Rule Nobody Follows
Many cooks think any oven temperature will work for pot pie, but precision matters. Baking at 375°F (190°C) ensures the crust browns evenly while the filling stays silky. If you’re using a convection oven, reduce the temperature by 25°F to avoid over‑browning.
Why Your Nose Knows Best
As the pot pie bakes, the aroma will fill the kitchen, signaling that the crust is ready. When the edges start to crack and the scent becomes fragrant, it’s the cue to pull it out. Trusting your senses can save you from a soggy or over‑cooked crust.
The 5‑Minute Rest That Changes Everything
Letting the pie sit for 5 minutes after baking allows the filling to set, making it easier to slice cleanly. It also gives the flavors time to meld, resulting in a richer taste. Skipping this step can lead to a runny interior that drips onto the plate.
Stirring Until Smooth
When adding the broth and cream, stir continuously to prevent lumps. A small whisk or a handheld immersion blender can help achieve a silky texture. A lumpy sauce detracts from the overall experience.
The Power of Fresh Herbs
Adding fresh parsley right before serving adds a bright, herbaceous note that cuts through the richness of the cream. If you’re making the dish ahead, sprinkle the parsley just before reheating to keep it fresh.
Creative Twists and Variations
This recipe is a playground. Here are some of my favorite ways to switch things up:
The Mediterranean Twist
Swap the thyme and rosemary for oregano and add a splash of lemon zest. Incorporate sun‑dried tomatoes and olives for a briny, tangy flavor that transports you to the Mediterranean coast. This version pairs wonderfully with a side of couscous.
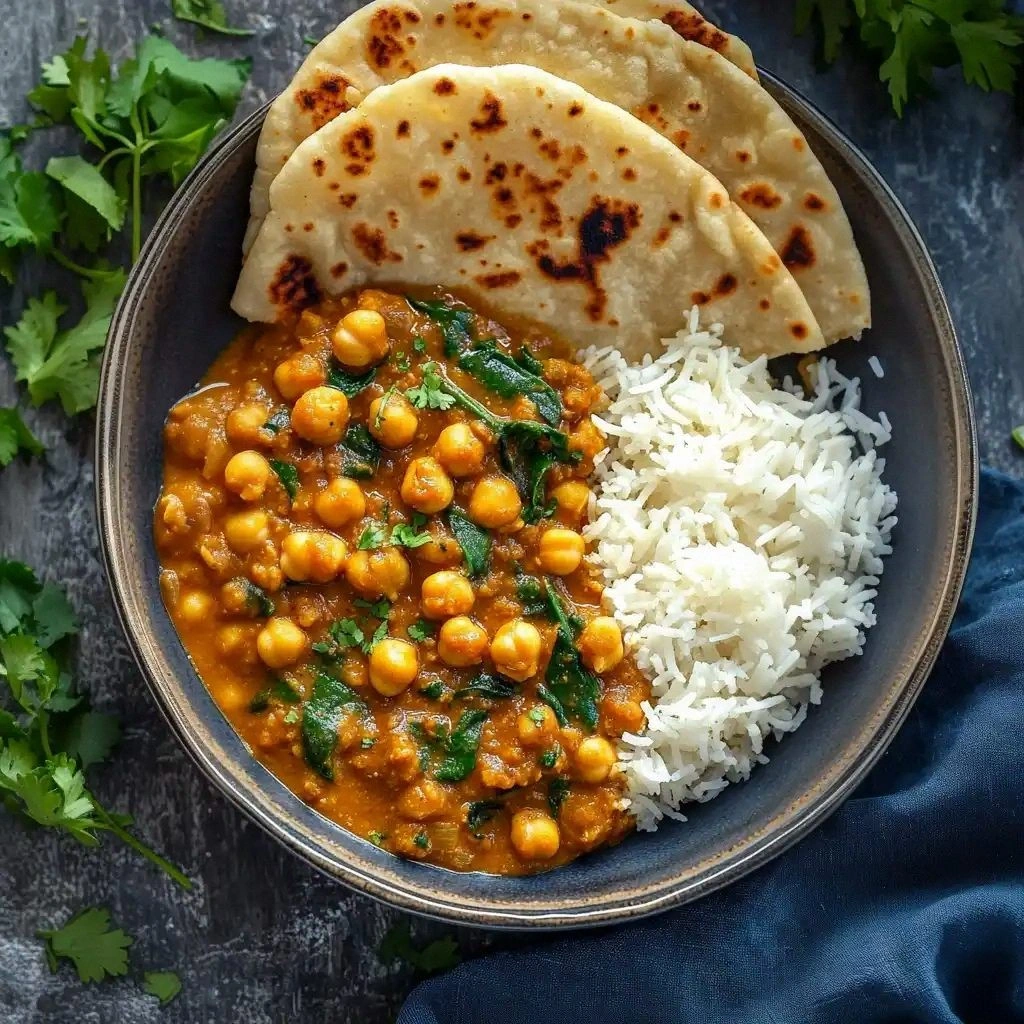
The Vegan Version
Replace the chicken with chickpeas or diced tofu, and use a plant‑based milk and vegan cream. Substitute the flour with cornstarch or a gluten‑free blend. This version keeps the high‑protein appeal while staying plant‑based.
The Spicy Kick
Add a pinch of red pepper flakes or a dash of hot sauce to the base. Incorporate diced jalapeños or poblano peppers for a smoky heat. The spicy elements contrast beautifully with the creamy sauce.
The Low‑Carb Variation
Omit the flour or replace it with a low‑carb thickener like xanthan gum. Use cauliflower rice instead of a crust or serve the filling over steamed cauliflower. This keeps the dish low in carbs while maintaining flavor.
The Breakfast Pot Pie
Add diced bacon or ham, and replace the chicken with eggs for a hearty breakfast. Fold in sautéed spinach and a sprinkle of cheddar cheese. Serve with a side of toast for a complete morning meal.
Storing and Bringing It Back to Life
Fridge Storage
Store leftovers in an airtight container for up to 4 days in the refrigerator. The creamy filling may thicken slightly; a quick stir before reheating will restore its silky texture. Keep the crust separate if you want to maintain crispness.
Freezer Friendly
For longer storage, freeze the pot pie in a freezer‑safe dish, covering tightly with foil or plastic wrap. It can be kept for up to 3 months. Thaw overnight in the refrigerator before reheating.
Best Reheating Method
Reheat the pie in a preheated oven at 350°F (175°C) for 15–20 minutes, or until warmed through. Add a splash of water or broth to the bottom of the dish to prevent the filling from drying out. The crust will regain a pleasant crispness when reheated.