I was standing in the middle of a chaotic kitchen, surrounded by a pile of over‑seasoned cookies and a half‑baked pie that looked like a sad, burnt relic. My friends had dared me to create the ultimate mini lemon cheesecake that would make them forget all those culinary disasters. I stared at the ingredients on the counter—crunchy Graham crackers, silky cream cheese, and a lemon that had seen better days—and felt a spark of hope. That moment, when the kitchen smells of citrus and butter mingled with the faint scent of burnt sugar, became the genesis of a recipe that would soon become my go‑to dessert for any occasion.
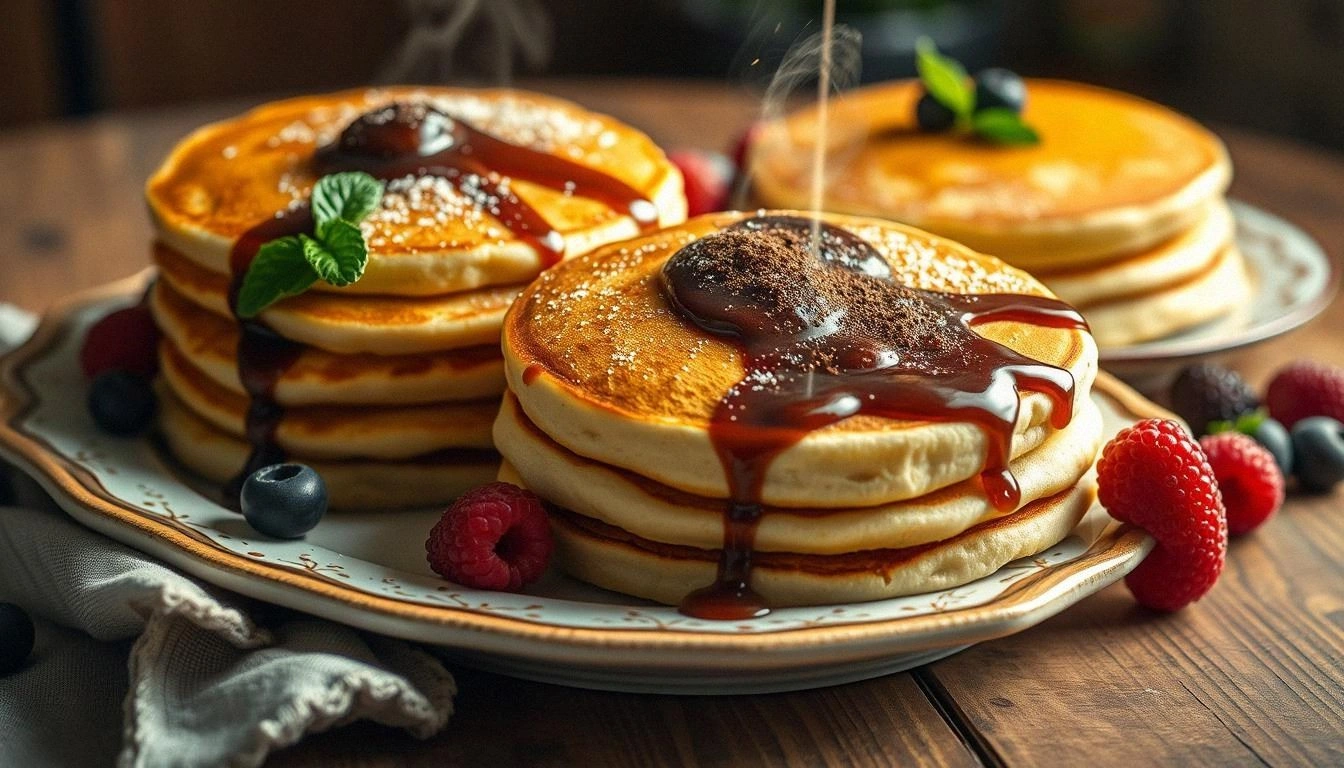
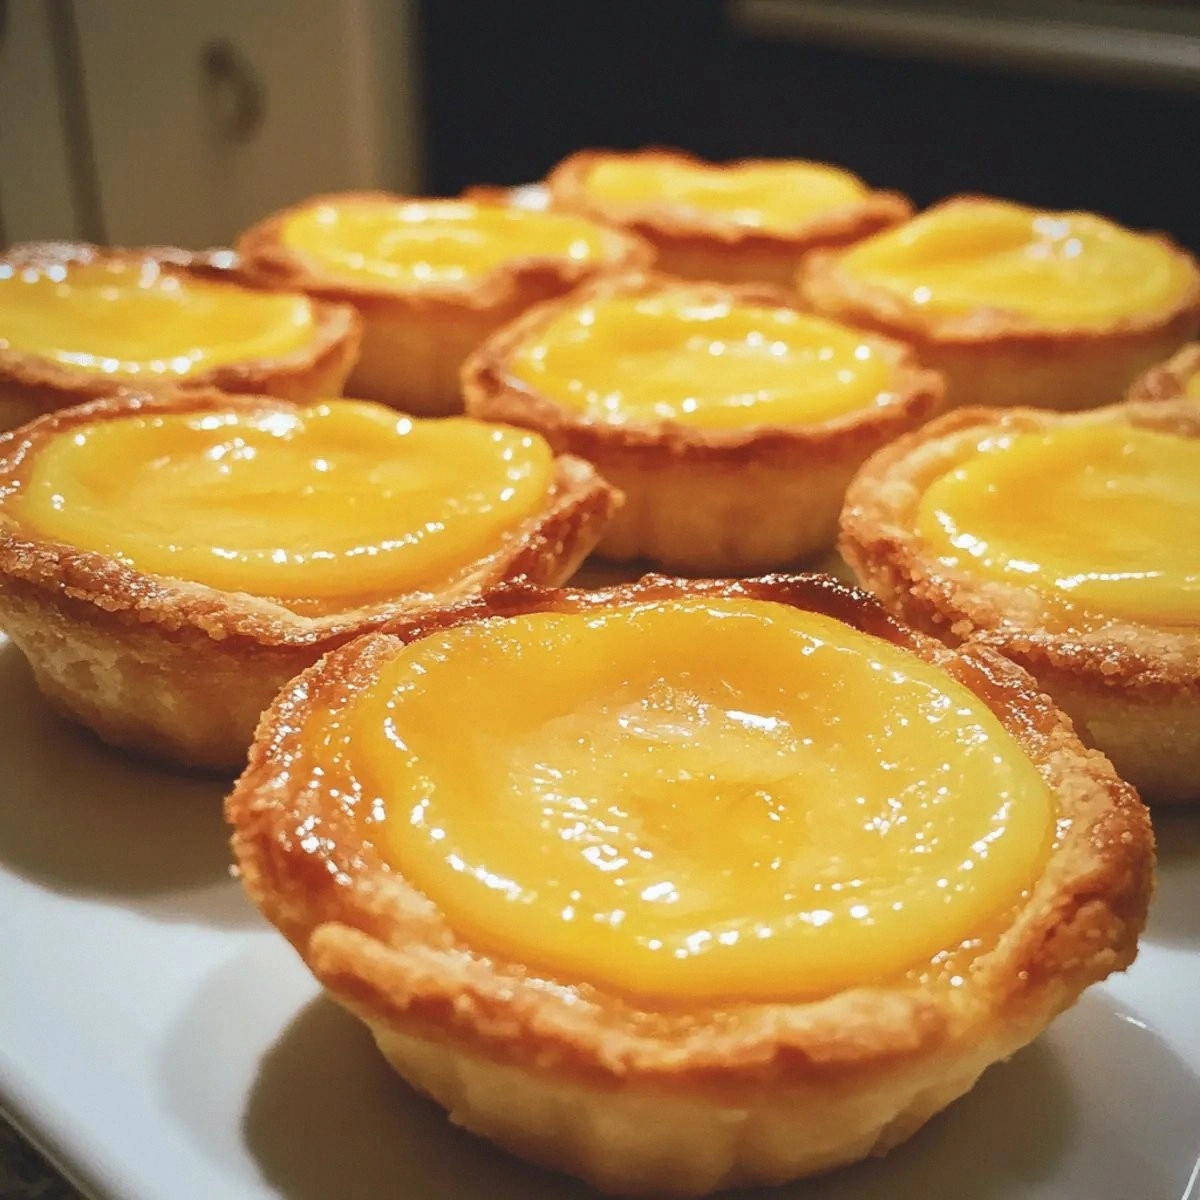
Picture this: a line of perfectly golden tarts, each one a miniature masterpiece, with a buttery crust that crackles as you bite into it. The filling is a silky, tangy cloud of lemon‑infused cream cheese that oozes from the edges, glistening under a dusting of powdered sugar. Fresh berries pop like tiny, juicy fireworks, while mint leaves add a refreshing whisper that balances the citrus. The whole thing feels like a symphony—soft, bright, and utterly comforting. The aroma alone is enough to make anyone in the house pause and smile.
What sets this version apart isn’t just the ingredients; it’s the method that preserves the delicate balance between tart and sweet, and the subtle tricks that elevate each bite. I discovered that using a small amount of lemon zest in the crust gives a burst of citrus flavor that permeates the entire tart. The secret to a velvety filling is the gentle folding of heavy cream, which prevents the cheesecake from becoming too dense. And, if you’re like me, the best part is that these mini tarts can be assembled ahead of time and baked just before serving, ensuring they’re always fresh and irresistible.
I dare you to taste this and not go back for seconds. This is hands down the best version you’ll ever make at home. If you’ve ever struggled with a cheesecake that turns out too heavy or too dry, you’re not alone—and I’ve got the fix. Picture yourself pulling these tarts out of the oven, the whole kitchen smelling incredible, and your friends’ eyes widening as they bite into the first one. Stay with me here—this is worth it. Let me walk you through every single step—by the end, you’ll wonder how you ever made it any other way.
What Makes This Version Stand Out
- Flavor: The combination of fresh lemon juice and zest creates a bright, citrusy profile that cuts through the richness of cream cheese, leaving a clean, refreshing finish.
- Texture: A buttery, crumbly crust that snaps like a fine bone when you bite, while the filling remains silky and smooth—no grainy or overly dense moments.
- Ease: Every step can be completed in under 45 minutes, and the recipe is forgiving for novice bakers—no fancy equipment required.
- Versatility: These tarts can be served at brunch, as a party snack, or as a dessert for a dinner party—every setting gets a touch of elegance.
- Presentation: The bright lemon twist and fresh berries create a visual pop that makes each tart Instagram‑ready.
- Make‑ahead: You can assemble the crusts and fill them, then refrigerate or freeze until you’re ready to bake—perfect for last‑minute events.
- Ingredient Quality: Using high‑quality cream cheese and fresh lemons elevates the flavor profile beyond the usual store‑bought substitutes.
- Crowd Reaction: Friends rave about the perfect balance of sweet and tart, and they keep asking for the recipe—so you’ll have a crowd‑pleaser in your back pocket.
Alright, let’s break down exactly what goes into this masterpiece…
Inside the Ingredient List
The Flavor Base
At the heart of these tarts is the lemon itself. Freshly squeezed lemon juice delivers a bright acidity that balances the richness of the cream cheese, while the zest injects a fragrant burst of essential oils. The sugar in the crust sweetens the base without overpowering the citrus, allowing the lemon to shine. If you skip the zest, the crust will taste flat and the filling will feel like a plain dessert.
The Texture Crew
Cream cheese is the star of the show—its silky mouthfeel and mild tang create the cheesecake’s signature body. Heavy cream is folded in gently to aerate the filling, preventing it from becoming too dense. Graham cracker crumbs provide a crunchy contrast that snaps delightfully under the tongue, while the butter binds the crumbs together into a cohesive crust. Without butter, the crust would crumble into loose crumbs and lose its structural integrity.
The Unexpected Star
Mint leaves add a subtle, herbaceous note that lifts the lemon’s brightness. They’re not just for decoration; they complement the citrus and add a layer of freshness that keeps the palate from feeling overwhelmed. If you’re not a fan of mint, a few drops of vanilla extract can replace it, but be careful not to overpower the lemon.
The Final Flourish
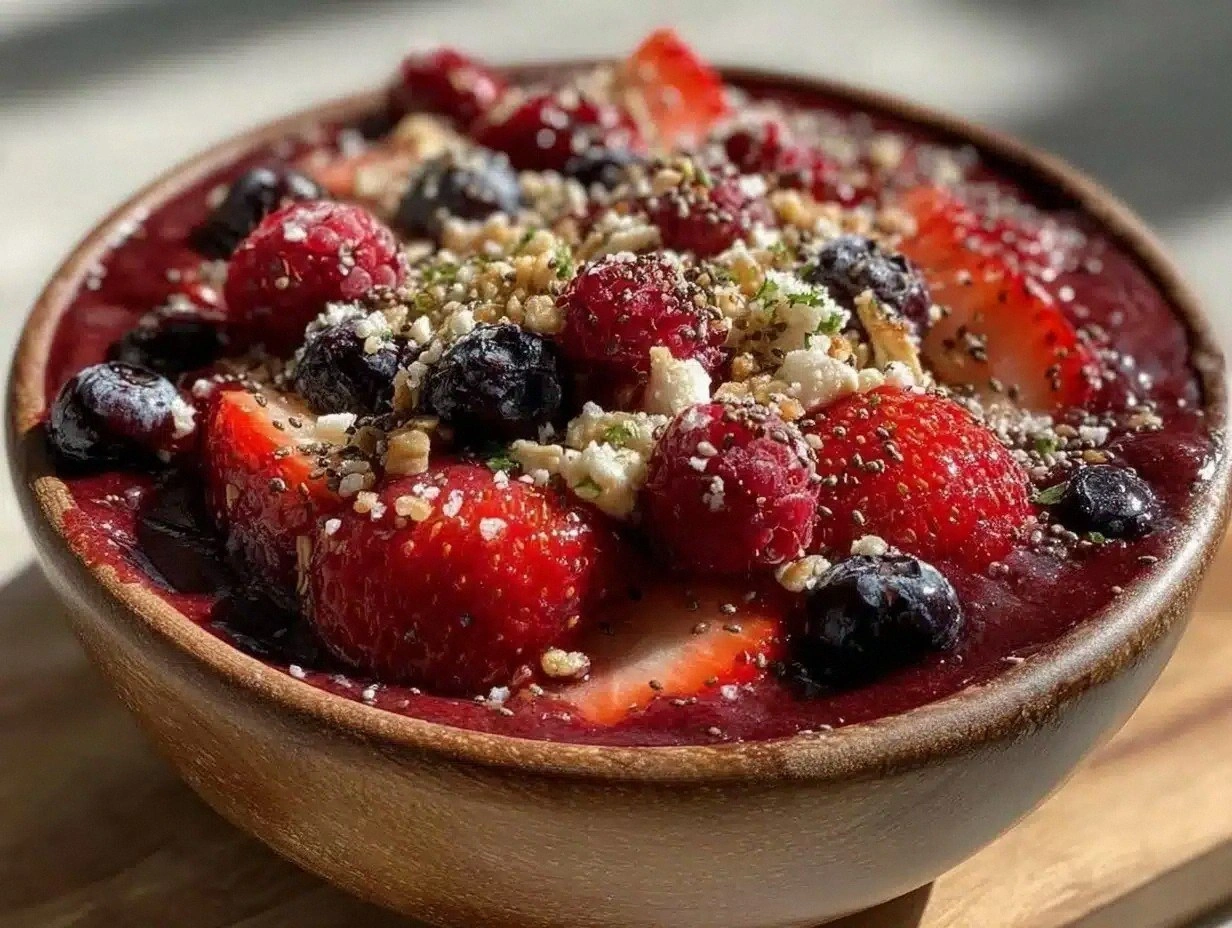
Fresh berries—strawberries, blueberries, or raspberries—are the finishing touch, offering juicy bursts that contrast with the creamy filling. They also add a pop of color that makes each tart visually stunning. If berries are out of season, frozen berries work just as well, but let them thaw and drain to avoid excess moisture.
Everything’s prepped? Good. Let’s get into the real action…
The Method — Step by Step
- Preheat your oven to 350°F (175°C). Line a mini muffin tin with paper liners or lightly grease it with non‑stick spray. This step ensures your tarts release easily after baking. The oven should be fully heated before you slide the tin in, or the crust may not set properly.
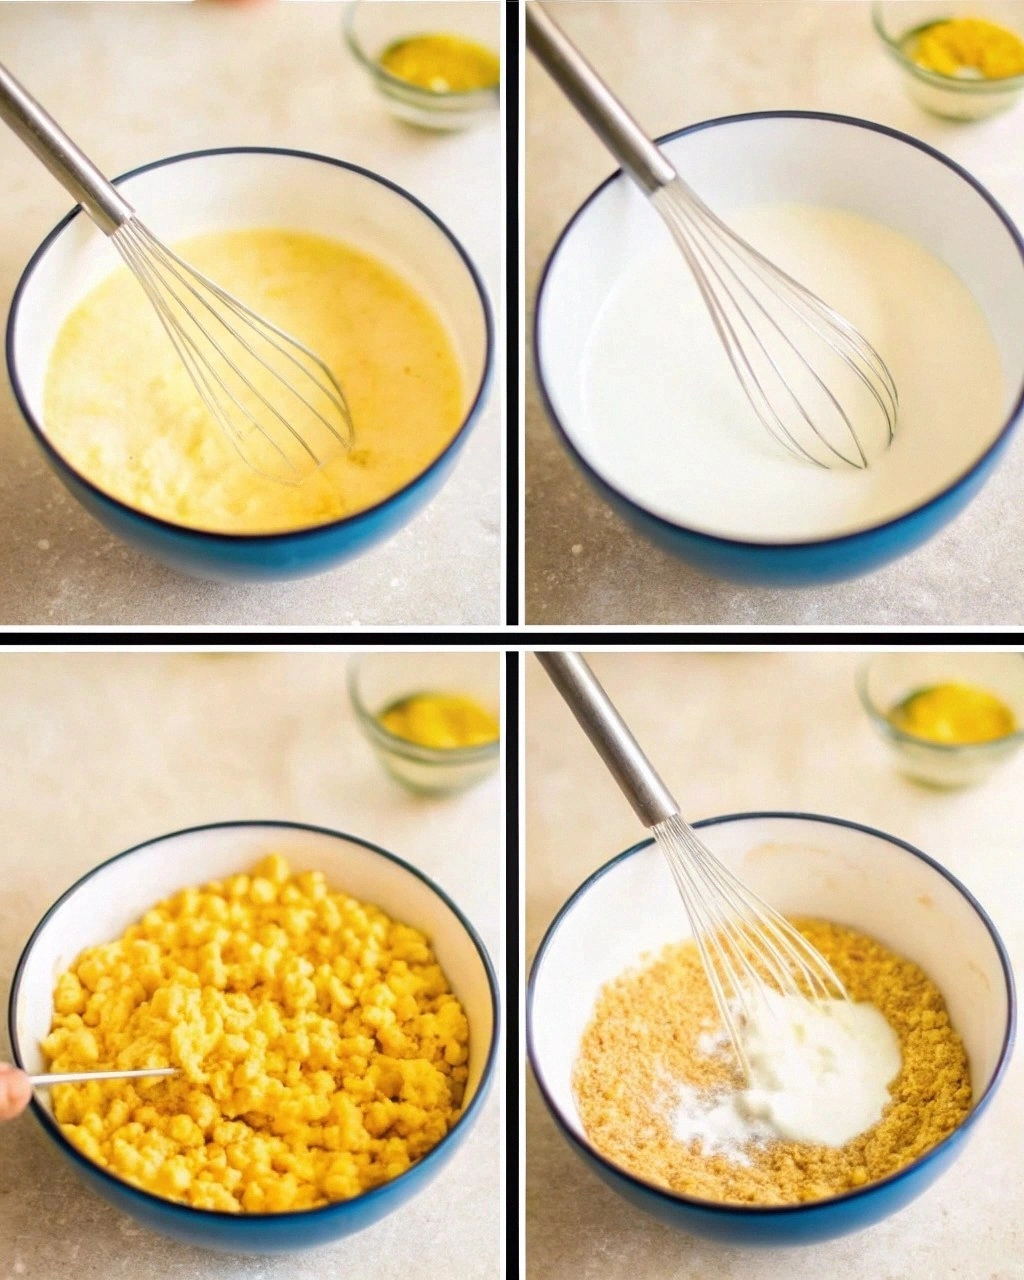
- Combine 1 cup Graham cracker crumbs, 1/2 cup unsalted butter, and 2 tablespoons granulated sugar in a medium bowl. Use a fork or your fingertips to press the mixture into the bottom of each muffin cup. The crust should feel firm but pliable—if it’s too loose, your tarts will collapse during baking.
- In a large bowl, beat 8 ounces of cream cheese until smooth and creamy. Add 1/2 cup powdered sugar and continue beating until the mixture is light and fluffy. The smoother the cream cheese, the less likely the filling will develop cracks during baking.
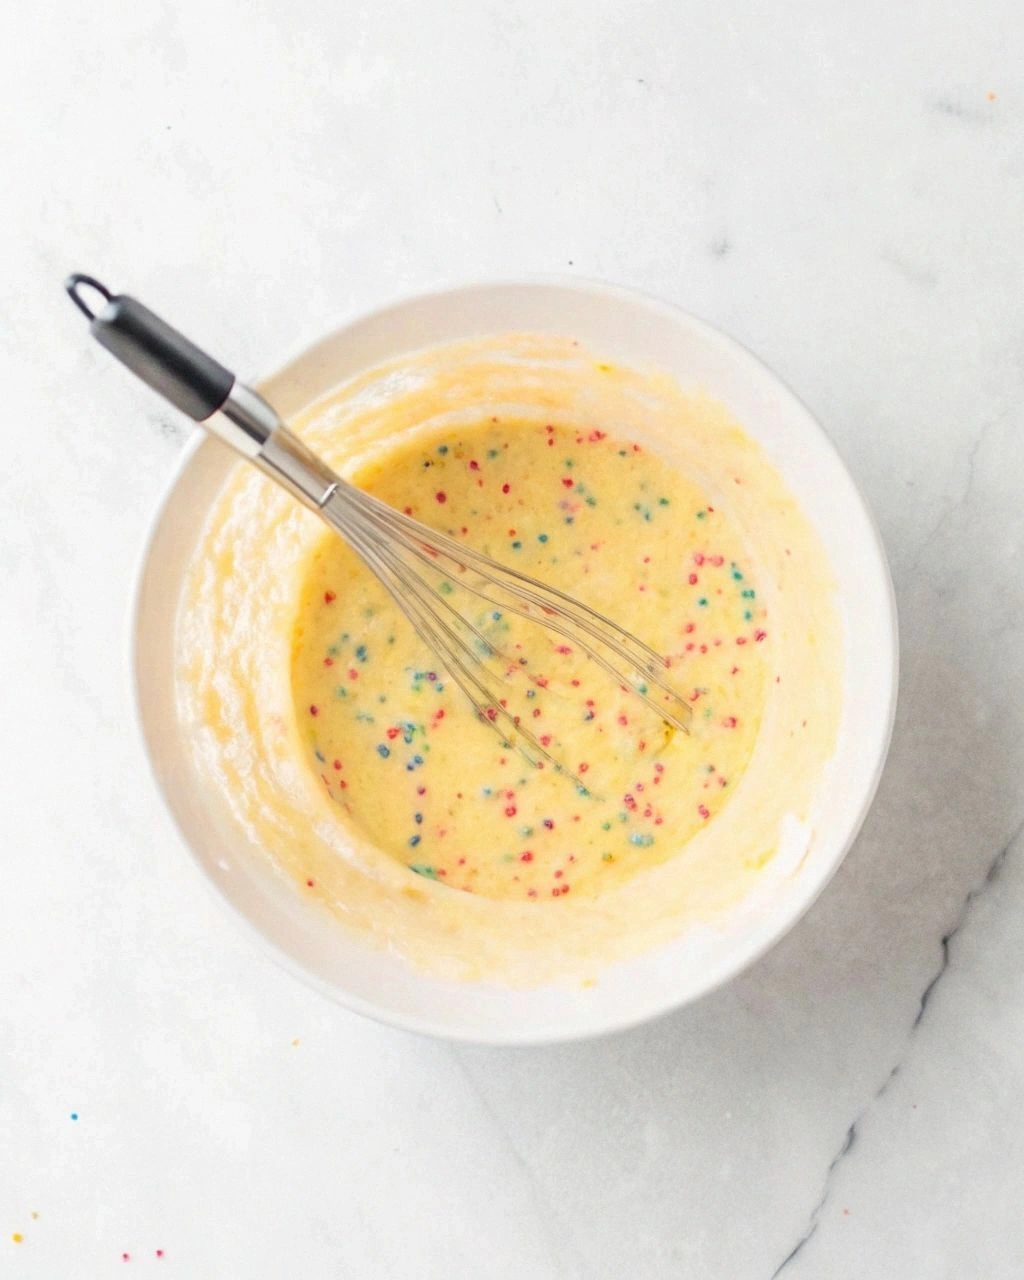
- Fold in 1/4 cup fresh lemon juice and 1 tablespoon lemon zest. Stir until the mixture is evenly colored and fragrant. At this point, the filling should have a bright yellow hue—any deviation might indicate a lack of lemon flavor.
- Gently fold in 1 cup heavy cream, adding it in two or three spoonfuls to maintain a silky texture. Be careful not to over‑mix; the goal is to keep the mixture airy. Watch out: if the mixture becomes too runny, the tarts may not set properly.
- Spoon the filling into the prepared crusts, filling each cup about 3/4 full. Smooth the tops with a spatula for an even surface. The filling should sit just below the rim; this prevents overflow during baking.
- Bake the tarts for 25–30 minutes, or until the edges are set and the centers have a slight wobble. The tops should be lightly golden. If you like a slightly darker crust, bake an additional 2–3 minutes—watch the color closely.
- Remove the tarts from the oven and let them cool in the tin for 10 minutes before transferring to a wire rack to cool completely. Cooling them slowly helps the filling set properly and prevents cracks.
- Once cooled, top each tart with 1 cup fresh berries, a few mint leaves, and a lemon twist or slice. The berries should be slightly crushed to release juice, but not so much that they flood the filling.
- Chill the finished tarts in the refrigerator for at least 30 minutes before serving. This allows the flavors to meld and the filling to firm up, giving you that perfect bite every time.
That’s it—you did it. But hold on, I’ve got a few more tricks that’ll take this to another level…
Insider Tricks for Flawless Results
The Temperature Rule Nobody Follows
Baking at the exact temperature is crucial; too hot, and the crust burns before the filling sets. Use a reliable oven thermometer to verify your oven’s accuracy. If your oven runs hot, reduce the temperature by 25°F and extend the baking time by 5 minutes.
Why Your Nose Knows Best
Smell the filling before you bake it. A fresh, citrusy aroma indicates the lemon is bright; a dull scent means you might need to add more zest or juice. Your nose is a reliable guide to flavor balance.
The 5‑Minute Rest That Changes Everything
After baking, let the tarts rest in the tin for exactly 5 minutes. This brief pause allows the filling to set without cracking. Skipping this step often results in a slightly runny center.
Use a Paper Liner Trick
If you’re worried about the tarts sticking, line each cup with a paper liner that’s slightly smaller than the tin. This gives an extra layer of protection and makes cleanup a breeze.
Freeze for Future Parties
Freeze the assembled but unbaked tarts in a single layer for up to 2 weeks. When ready, bake directly from the freezer, adding 5 minutes to the baking time. This is perfect for last‑minute gatherings.
Creative Twists and Variations
Blueberry Burst
Swap the fresh berries for blueberries and add a tablespoon of blueberry jam to the filling for an extra depth of flavor. Blueberries complement the lemon’s tartness and add a subtle sweetness.
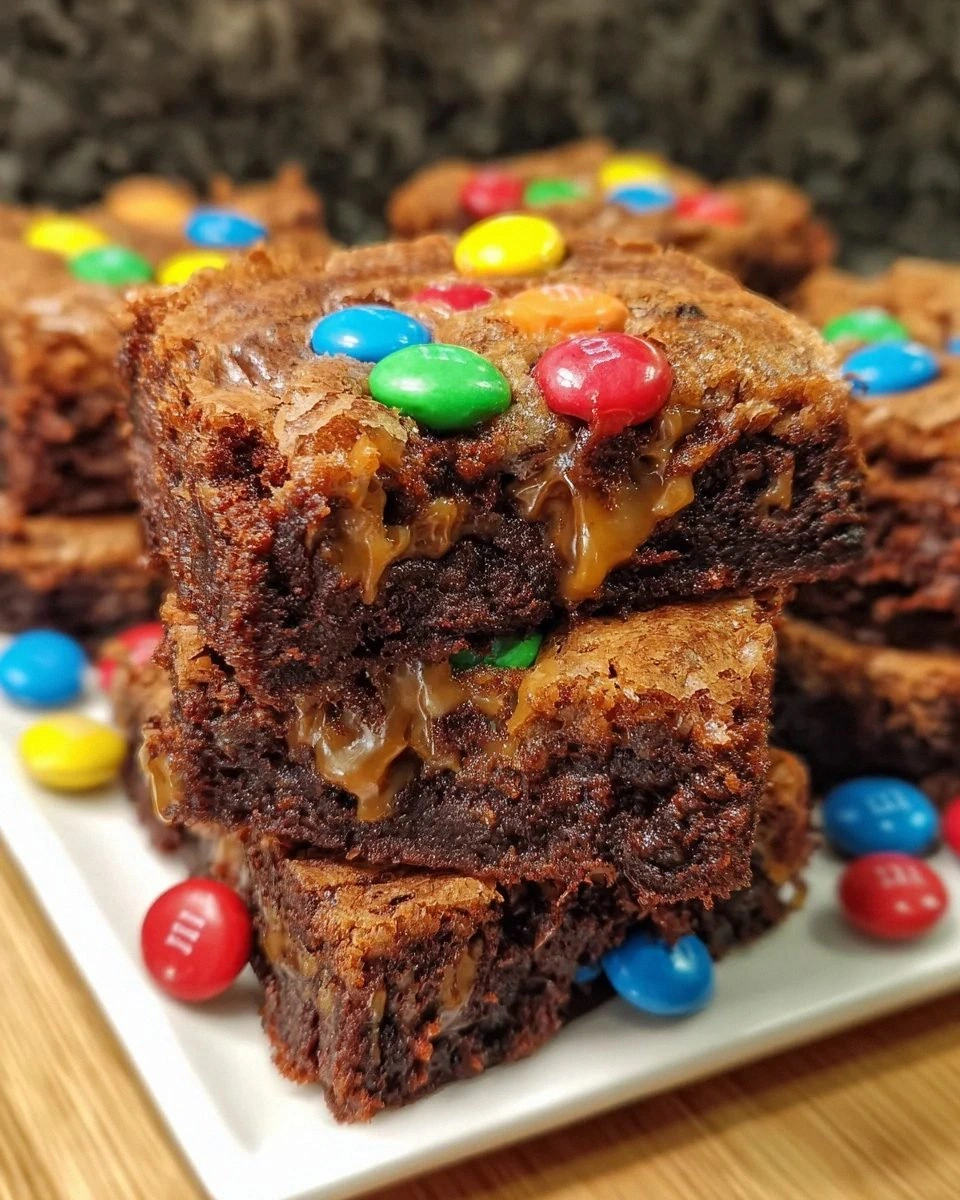
Chocolate‑Lemon Fusion
Add 1/4 cup dark chocolate chips to the filling and swirl in a drizzle of melted chocolate after baking. The bittersweet chocolate balances the bright citrus, creating a sophisticated flavor profile.
Maple‑Mint Delight
Replace the powdered sugar with maple syrup in the crust and add a few drops of peppermint extract to the filling. The maple’s caramel notes pair beautifully with mint’s cooling effect.
Raspberry‑Rose Water
Use rose water in place of some of the lemon juice for a floral twist. Top with fresh raspberries for a romantic, fragrant dessert that’s perfect for a garden party.
Spiced Ginger Lemon
Add a pinch of ground ginger to the filling for a warm, spicy undertone. This variation pairs well with a garnish of candied ginger pieces.
Almond Crust Variation
Replace Graham crackers with finely ground almonds and a teaspoon of almond extract in the crust. The nutty flavor adds depth and a subtle crunch that contrasts with the creamy filling.
Storing and Bringing It Back to Life
Fridge Storage
Store the finished tarts in an airtight container in the refrigerator for up to 3 days. Keep them on a paper towel to absorb any excess moisture, preventing sogginess. When ready to serve, let them sit at room temperature for 15 minutes for the best texture.
Freezer Friendly
Freeze the assembled tarts (unbaked) in a single layer on a parchment‑lined tray for 2 weeks. Once frozen, transfer them to a freezer‑safe bag. When you’re ready to bake, preheat the oven and add 5 minutes to the usual baking time.
Best Reheating Method
To revive refrigerated tarts, place them in a 350°F oven for 5 minutes. Add a splash of water to the bottom of the pan to create steam, which helps restore the filling’s silky texture and prevents it from drying out.