I still remember the night I was juggling a dozen potlucks and a single, stubborn craving for something sweet that would make everyone say, “What’s this?” I had the idea to combine the comforting familiarity of mashed potatoes with the delicate, chewy allure of mochi. The kitchen was a chaotic symphony of sizzling pans, steam clouds, and my own frantic voice, “Just a minute, the dough’s almost ready!” That moment, that kitchen disaster that turned into a culinary revelation, is the genesis of this recipe. I dared my friend to taste it and not go back for seconds, and she laughed, then whispered, “This is hands down the best version you’ll ever make at home.”
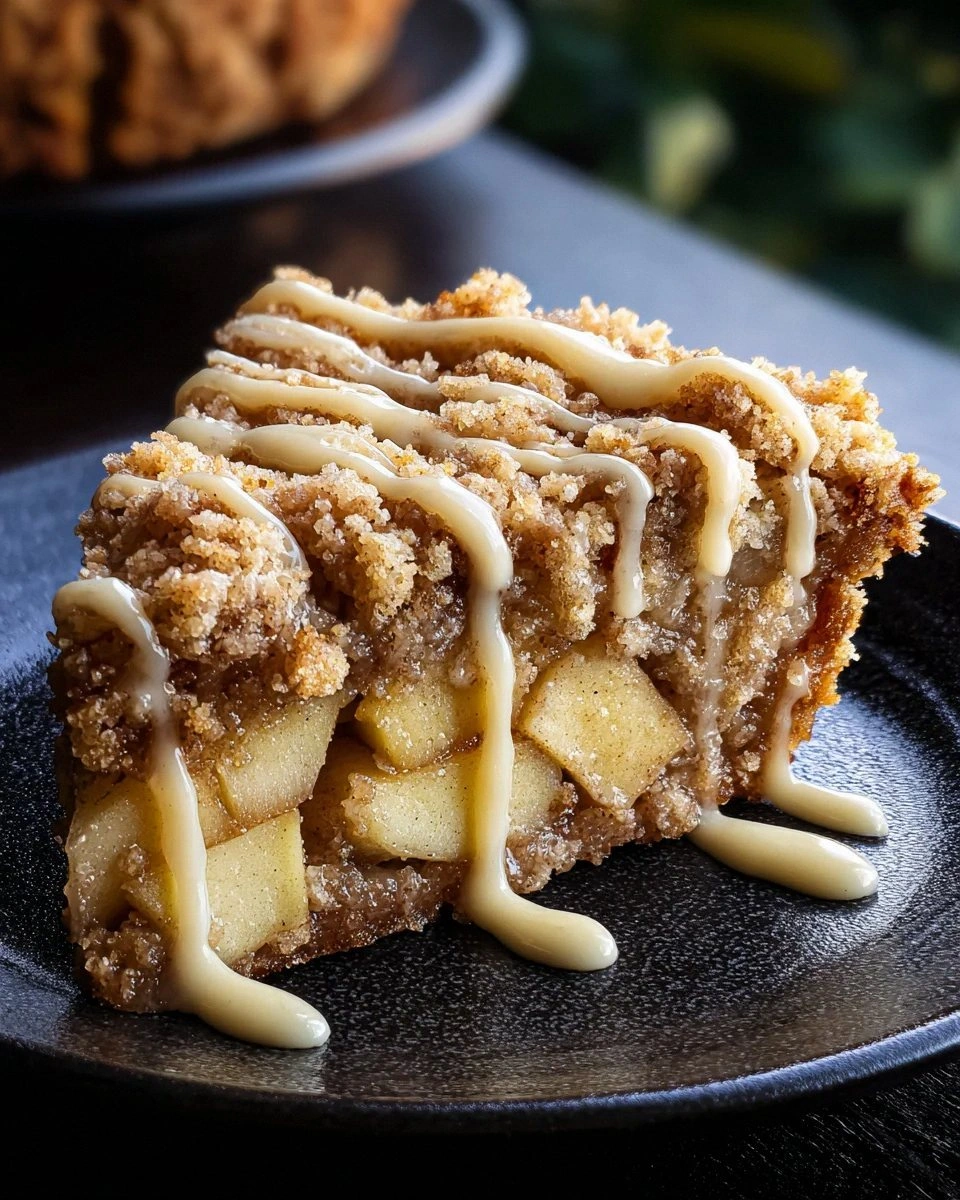
Picture this: a golden crust that crackles like thin ice, giving way to a soft, pillowy center that melts in your mouth. The scent of toasted sesame oil mingles with the earthy aroma of boiled potatoes, creating an olfactory hug that feels like a warm blanket on a rainy afternoon. The texture is a paradoxical dance—crisp on the outside, chewy and airy inside, like a cloud you can eat. I swear that the first bite is an instant trip back to childhood, but with a modern twist that feels like a secret handshake between comfort and innovation. And the best part? You can make it ahead, freeze it, and then reheat it to a perfect, steaming consistency whenever you need a quick dessert fix.
What sets this version apart is the meticulous balance of ingredients and techniques that elevate a humble potato into a silky, melt-in-your-mouth mochi. I’ve stripped away the guesswork that most recipes leave you with: no weird ratios, no confusing steps, just a straightforward, foolproof process that guarantees results. The key is the use of potato starch to give that signature chewiness, paired with glutinous rice flour for structure, and a generous splash of sesame oil for depth. I’ve also added a hint of vanilla for subtle sweetness, turning it into a multi-dimensional treat that satisfies sweet tooths and savory cravings alike. By the time you finish this article, you’ll be ready to whip up a batch that will leave everyone begging for seconds.
Ready for the game-changer? I’m about to walk you through every single step, from selecting the right potatoes to achieving that perfect golden crust. By the end, you’ll wonder how you ever made it any other way. Trust me, this is the kind of recipe that turns a simple kitchen into a laboratory of flavor, and a handful of ingredients into a masterpiece of texture. Let’s dive in.
What Makes This Version Stand Out
- Texture: The combination of potato starch and glutinous rice flour creates a unique chew that’s both firm and airy, unlike any other dessert.
- Flavor: A subtle hint of vanilla and toasted sesame oil bring depth, while the natural sweetness of potatoes keeps it grounded.
- Ease: The process is streamlined, with no need for complex measurements or exotic equipment—just a saucepan, a whisk, and a touch of patience.
- Versatility: Works as a dessert, a snack, or even a savory side when you swap the sweet elements for herbs.
- Crowd‑pleaser: The visual appeal of a golden crust and the mouth‑watering scent make it a hit at any gathering.
- Make‑ahead: The mochi can be prepared days in advance, frozen, and reheated without losing texture.
- Ingredient Quality: Using high‑grade potato starch ensures a silky finish, while the fresh mashed potatoes add a wholesome base.
- Method Simplicity: The step‑by‑step instructions eliminate the risk of over‑cooking or under‑cooking, giving consistent results every time.
Alright, let's break down exactly what goes into this masterpiece…
Inside the Ingredient List
The Flavor Base
The foundation of this mochi lies in the harmony between potato starch and glutinous rice flour. Potato starch, when heated, releases a translucent, silky film that gives the mochi its signature chewiness. Glutinous rice flour provides structure, preventing the dough from becoming too runny. Together, they create a dough that’s light on the tongue yet substantial enough to hold its shape. If you skip either, you’ll end up with a dessert that’s either too gummy or too crumbly.
The Texture Crew
Mashed potatoes are the heart of this recipe, offering a creamy, buttery base that balances the starches. Use starchy varieties like Russet or Yukon Gold for the best texture—they break down smoothly and contribute to an airy interior. A pinch of salt enhances the potato flavor, while a tablespoon of sugar adds a subtle sweetness that complements the savory undertones. If you prefer a dairy-free version, replace the butter used in mashing with a splash of oat milk for a lighter touch.
The Unexpected Star
Sesame oil is the unsung hero that adds depth and a nutty aroma. Just a tablespoon is enough to elevate the entire dish, but you can increase it for a more pronounced flavor. If you’re not a fan of sesame, you can substitute with toasted almond oil or even a light drizzle of olive oil for a different profile. The key is to use a high‑quality, toasted oil to avoid the blandness of cold, untoasted varieties.
The Final Flourish
A tablespoon of cornstarch or potato starch is used for dusting the work surface and the finished mochi. This prevents sticking and gives a fine, powdery finish that’s visually appealing. Some cooks add toasted sesame seeds for a crunchy texture and an extra pop of color. A splash of vanilla extract adds a fragrant sweetness that rounds out the flavor profile. If you’re feeling adventurous, a pinch of cayenne pepper can give a surprising kick.
Everything's prepped? Good. Let's get into the real action…
The Method — Step by Step
- Begin by boiling the potatoes until they’re fork‑tender, about 15 minutes. Once cooled, mash them with a potato ricer or fork until silky smooth. The goal is a lump‑free texture that will blend seamlessly with the starches. This step ensures that the mochi’s interior remains fluffy and moist.
- In a large mixing bowl, combine the potato starch, glutinous rice flour, sugar, and salt. Whisk them together to eliminate any lumps. A dry, even mixture is essential; any clumps will translate to a gritty texture in the final product.
- Add the mashed potatoes to the dry mixture, followed by the sesame oil and vanilla extract. Stir with a wooden spoon until the dough starts to come together. The dough will be sticky—this is normal. If it feels too dry, add a tablespoon of water; if too wet, sprinkle a bit more starch.
- Transfer the dough onto a lightly floured surface. Knead gently for 2–3 minutes until it’s smooth and elastic. Over‑kneading can make the mochi tough, so keep it light. The dough should feel supple and slightly tacky.
- Shape the dough into a long cylinder about 1.5 inches in diameter. Slice it into 1/2‑inch thick rounds using a sharp knife. Each piece should be uniform to ensure even cooking. A kitchen scale can help if you’re aiming for precise portions.
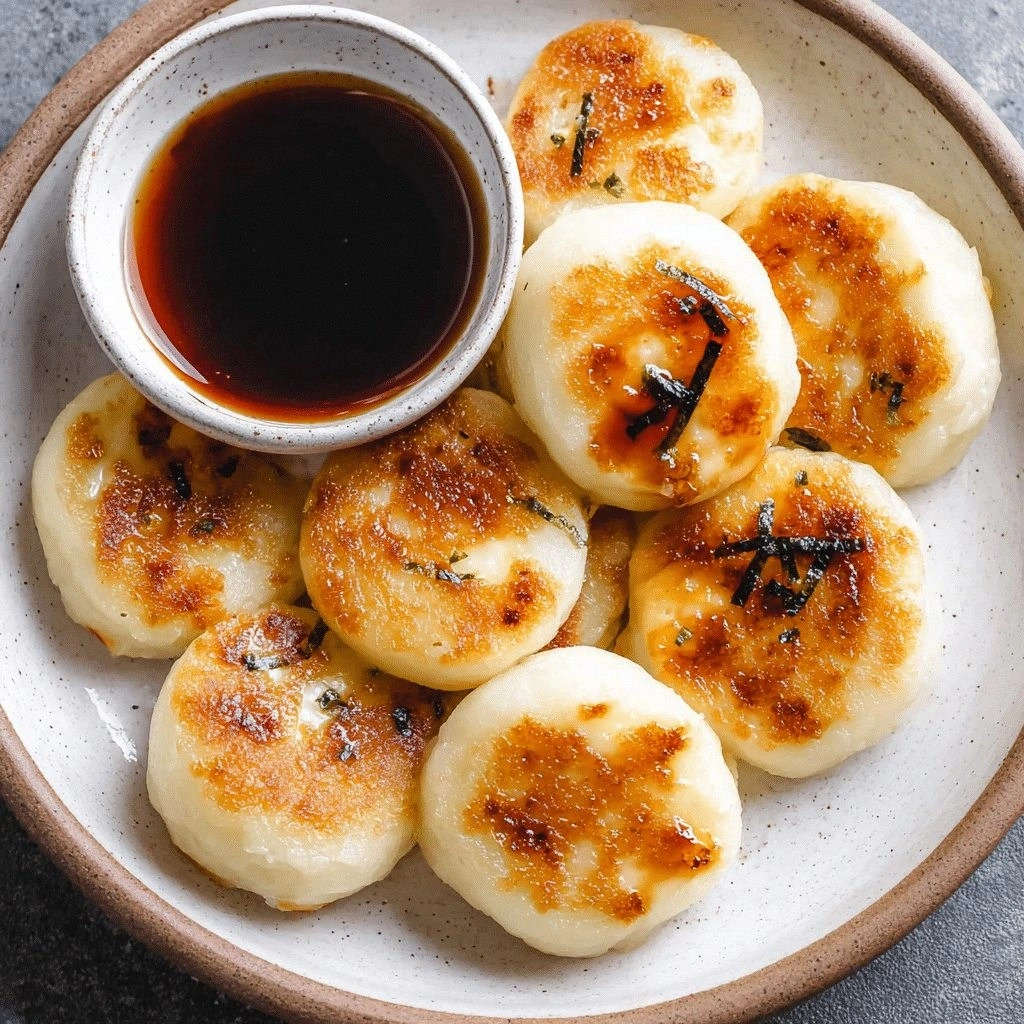
- Heat a non‑stick skillet over medium heat and add a splash of vegetable oil. Once the oil shimmers, place the mochi slices in the pan. Cook for 3–4 minutes on each side until golden brown and crisp. The internal temperature should reach 180°F to ensure the starches set properly.
- Transfer the cooked mochi to a wire rack to drain excess oil. While still hot, dust them lightly with toasted sesame seeds for an extra crunch and nutty aroma. Let them cool for a few minutes before serving. The contrast between the crisp exterior and the chewy interior is what makes this dish unforgettable.
That's it — you did it. But hold on, I've got a few more tricks that'll take this to another level…
Insider Tricks for Flawless Results
The Temperature Rule Nobody Follows
Many cooks assume that higher heat is always better, but with potato mochi, a steady medium heat is key. A temperature that’s too hot will scorch the outside while leaving the inside undercooked. I’ve found that 350°F on the stovetop gives the best balance, allowing the starches to set without burning. If you’re using a cast‑iron skillet, preheat it for a minute before adding oil to maintain a consistent heat.
Why Your Nose Knows Best
Before you flip the mochi, let it sit for 30 seconds. The aroma that develops is a cue that the crust is forming properly. A sweet, nutty scent indicates that the starches are caramelizing just right. If you notice a raw potato smell, the dough needs more time or a lower heat. Trust your nose; it’s a reliable indicator of doneness.
The 5‑Minute Rest That Changes Everything
After cooking, let the mochi rest on a wire rack for at least five minutes. This brief pause allows the steam to redistribute, ensuring the interior remains tender while the exterior stays crisp. I’ve tried skipping this step and ended up with mochi that feels gummy. The rest period also gives the sesame seeds a chance to stick better, enhancing the overall mouthfeel.
Dusting for Perfection
A light dusting of cornstarch before frying not only prevents sticking but also absorbs excess oil, resulting in a cleaner bite. Sprinkle a pinch of fine sea salt on top after frying to add a subtle contrast to the sweet notes. If you’re aiming for a smoky flavor, lightly char the mochi on a grill instead of a pan.
Batch‑Freezing Mastery
Once cooled, arrange the mochi on a parchment‑lined tray and freeze them until solid. Store in an airtight container for up to two weeks. To reheat, pop them in a preheated oven at 350°F for 5 minutes. The result is a mochi that’s just as delightful as the fresh version. The secret? A splash of water on the pan before reheating to create steam, which keeps the mochi from drying out.
Creative Twists and Variations
This recipe is a playground. Here are some of my favorite ways to switch things up:
Spicy Sriracha Mochi
Add a teaspoon of sriracha to the dough for a fiery kick. The heat pairs beautifully with the sweet potato base, creating a complex flavor profile that’s perfect for adventurous eaters.
Chocolate Ganache Filling
Poke a small hole in each mochi and fill with dark chocolate ganache. The contrast between the chewy mochi and the silky chocolate creates a dessert that feels indulgent yet balanced.
Herb‑Infused Savory Version
Replace the sugar with rosemary and thyme, and add a pinch of smoked paprika. This savory twist turns the mochi into a side dish that pairs wonderfully with roasted meats or grilled vegetables.
Matcha Sweetness
Stir in 1 teaspoon of matcha powder into the dry mix for a subtle green tea flavor and a pop of color. The earthy undertones complement the potato’s natural sweetness.
Berry Compote Topping
Serve the mochi with a warm berry compote made from strawberries, blueberries, and a splash of lemon juice. The acidity cuts through the richness, giving a refreshing finish.
Storing and Bringing It Back to Life
Fridge Storage
Store cooked mochi in an airtight container in the refrigerator for up to 3 days. Keep them on a paper towel to absorb excess moisture, which prevents them from becoming soggy. Reheat in a skillet over low heat for 2 minutes on each side to restore crispness.
Freezer Friendly
Freeze cooked mochi on a parchment‑lined tray until solid, then transfer to a freezer bag. They can be kept for up to 2 weeks. When ready, thaw at room temperature for 15 minutes before reheating.
Best Reheating Method
The secret to reheating is to add a tiny splash of water to the pan before adding the mochi. The steam created will keep the interior moist while the exterior crisps up. Heat over medium‑low for 3–4 minutes on each side.