The morning I discovered air fryer eggs and toast was the morning I stopped setting off my smoke detector before 7 AM. Picture this: I was standing in my kitchen wearing mismatched socks, holding a cold cup of yesterday's coffee, and staring at a frying pan that had betrayed me yet again. The eggs were rubbery, the toast was either burnt or soggy, and my hangry cat was judging me from the counter. I'd tried every "foolproof" breakfast method on the internet, from the sheet-pan disasters to the microwave abominations that tasted like sadness with a side of plastic. My friend Sarah had been raving about her air fryer breakfast hack for months, but I'd rolled my eyes so hard I nearly sprained something. Another kitchen gadget collecting dust next to the juicer I used exactly once, right? Wrong. So deliciously, life-changingly wrong.
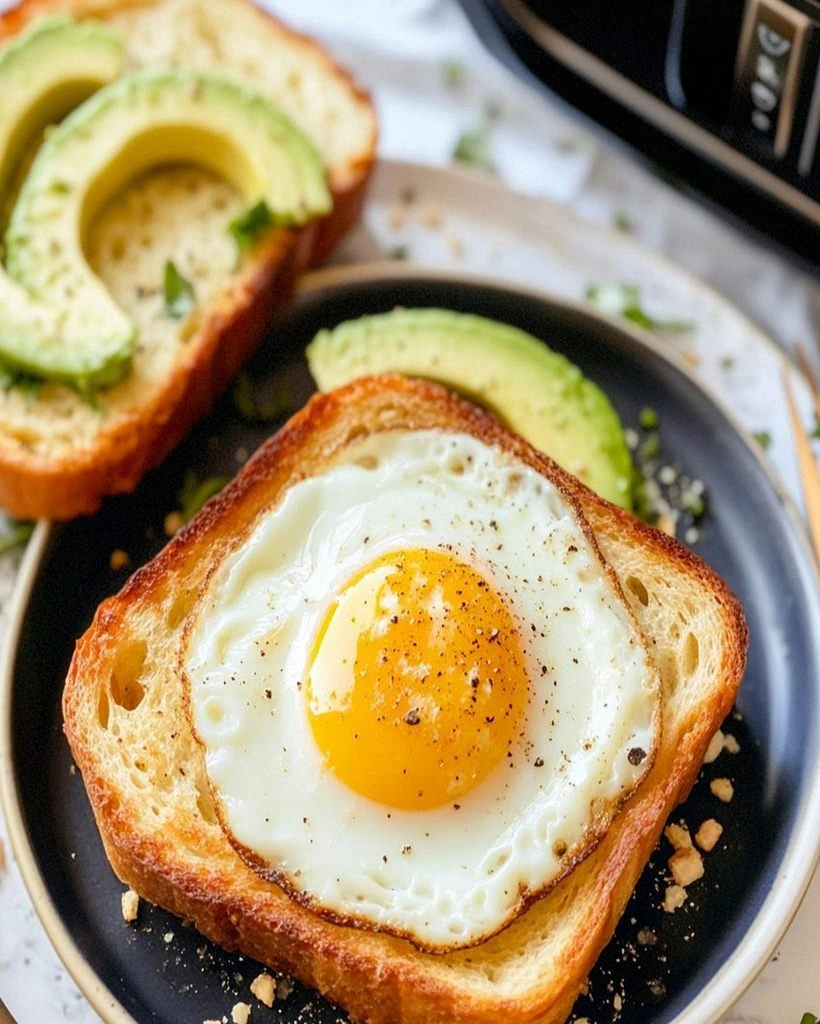
That fateful Tuesday, I caved. I dragged out the air fryer my mom had gifted me six months earlier, still in its box because I'm stubborn and apparently enjoy suffering through terrible breakfasts. Twenty minutes later, I was staring at the most perfect egg-topped toast I'd ever created outside a restaurant. The whites were set but still tender, the yolks ran like liquid gold, and the toast had that magical crispy-edges-soft-center thing happening. My kitchen didn't smell like a fire drill, I hadn't splattered oil everywhere, and for once, I wasn't sweating over a hot stove like I'd run a marathon before breakfast. The cat even deigned to purr at me instead of hissing for her morning treats.
Here's the thing about this air fryer method that'll make you want to toss every other breakfast recipe you've collected: it's stupidly foolproof. I'm talking "can barely function before caffeine" levels of easy. The air fryer creates this perfect little convection oven environment that cooks your egg while simultaneously turning your bread into the best toast of your life. The egg whites set gently without getting that weird rubbery film, the yolks stay gloriously runny, and the toast develops these tiny air pockets that make it feel like you're eating artisanal bakery bread even if you grabbed the cheapest loaf at the store. Plus, and this is huge for us non-morning people, you literally just shove everything in and walk away.
But the real magic? The way the egg flavors seep into the toast just enough to create this incredible savory base, while the bread underneath stays crisp and structured. It's like your egg and toast had a beautiful baby together, and that baby is going to revolutionize your mornings. Trust me, I've fed this to skeptical friends, picky kids, and my 85-year-old neighbor who thinks microwaves are witchcraft. They all asked for seconds. Some asked for thirds. One friend tried to move into my apartment. Let me walk you through every single step — by the end, you'll wonder how you ever made it any other way.
What Makes This Version Stand Out
After months of obsessive tweaking and testing on anyone brave enough to eat my experiments, I've dialed in the perfect formula. This isn't just throwing an egg on bread and hoping for the best. This is strategic breakfast warfare against rushed mornings and disappointing meals.
- Texture Perfection: The air fryer creates this incredible contrast where your egg whites turn silky smooth while the yolk stays gloriously runny, and your toast develops a crunch that shatters like thin ice under your fork. Most stovetop methods either give you rubbery eggs or soggy toast, but this technique nails both elements simultaneously.
- Zero Baby-Sitting Required: Once you set the timer, you're free to feed the dog, hunt for matching socks, or just stare blankly at the wall while caffeine kicks in. No flipping, no monitoring, no playing Russian roulette with your breakfast.
- Foolproof Timing: I've tested this with everything from farm-fresh eggs to the clearance special that's been in your fridge since the Clinton administration. The timing works every single time, giving you set whites and runny yolks like some kind of breakfast sorcery.
- Cleanup Dream: One air fryer basket, one fork, one happy person. Compare that to the usual egg-and-toast situation: pan, spatula, plate, butter knife, and that weird egg white that always escapes and burns onto your stovetop like it's trying to fuse with your kitchen.
- Endless Customization: Want it spicy? Add hot sauce. Feeling fancy? Top with herbs. Feeding picky eaters? They can add their own cheese and pretend they're at a breakfast bar. The base recipe is bulletproof, but it plays well with whatever weird breakfast cravings hit you at 6 AM.
- Meal Prep Magic: I make four of these on Sunday, wrap them individually, and boom — grab-and-go breakfasts all week. Thirty seconds in the microwave and they taste fresh-made. My coworkers think I'm buying breakfast from some hipster café, but really I'm just sleeping in later.
Alright, let's break down exactly what goes into this masterpiece...
Inside the Ingredient List
The Foundation Crew
Let's talk bread, because not all loaves are created equal when it comes to this recipe. You want something sturdy enough to hold an egg without turning into a soggy mess, but not so thick that it won't cook through. I've found that thick-cut sandwich bread, sourdough slices about ¾ inch thick, or even a sturdy whole grain work perfectly. The key is avoiding those super fluffy, processed white breads that collapse under pressure — literally. Your bread needs enough backbone to support that egg like a trusted friend, not a flimsy acquaintance who abandons you at the first sign of trouble.
Eggs matter more than you'd think. Fresh eggs have tighter whites that hold their shape better, which means less egg white escaping through the hole in your bread and making a mess in your air fryer. But here's the thing — even if your eggs have been hanging out in the fridge for a couple weeks, this method still works. The air fryer's consistent heat actually helps older eggs behave better than stovetop methods. Size-wise, large eggs fit perfectly in the bread hole you'll cut, but if you've only got medium or extra-large, just adjust the cooking time by a minute either way.
The Flavor Enhancers
Butter is non-negotiable for me, but I get it if you're trying to be healthy. A thin layer of softened butter on the bread before it goes in creates this golden, crispy edge that's basically what would happen if toast and a croissant had a beautiful baby. If you're dairy-free, a light brush of olive oil works, but add a pinch of salt to compensate for the missing butter flavor. The fat helps conduct heat and creates those gorgeous brown edges that make your kitchen smell like an actual bakery instead of, well, sadness.
Salt and pepper seem obvious, but timing matters. I season the bread before adding the egg, which seasons the whole dish and prevents you from over-salting at the end. A little garlic powder on the bread takes this to dangerously addictive levels — my neighbor still doesn't know why my apartment always smells like an Italian restaurant at 7 AM. Fresh herbs are a game-changer if you've got them; chives make you feel fancy, parsley adds freshness, and dill makes the whole thing taste like you're eating breakfast in a Scandinavian café.
The Unexpected Game-Changers
Here's where I lose people who think they know breakfast: a tiny splash of heavy cream. Just a teaspoon drizzled over each egg before cooking creates this custardy, luxurious texture that'll make you feel like you're eating at a Michelin-starred restaurant. The cream insulates the yolk slightly, giving you that perfect runny center with fully cooked whites. Heavy cream lasts forever in the fridge, so even if you only cook breakfast once a week, you'll use it up before it goes bad.
Cheese is optional but highly recommended. A tablespoon of shredded sharp cheddar, crumbled feta, or grated Parmesan transforms this from simple breakfast to life-changing experience. Add it during the last minute of cooking so it melts but doesn't brown. I've also had success with goat cheese dollops, though they stay more distinct and create these little pockets of tangy goodness throughout your egg.
The Equipment Essentials
Your air fryer doesn't need to be fancy — I use a basic 5-quart model that cost less than my monthly coffee budget. The basket style works better than the oven-style for this recipe because the heat circulates more evenly around your food. If you've got a smaller air fryer, just make one or two at a time and keep the first batch warm in a 200-degree oven while you cook the rest. The key is not overcrowding; each piece of bread needs space for air to circulate or you'll end up with steamed instead of toasted bread.
A simple biscuit cutter or the rim of a drinking glass creates the perfect egg hole. You want it about 2½ inches across — big enough for the egg to sit in but not so large that your yolk slides through to the bottom of the basket. Save those bread circles to make tiny croutons or just snack on them while you cook. I won't judge; I've definitely eaten half a loaf of "test pieces" while perfecting this recipe.
Everything's prepped? Good. Let's get into the real action...
The Method — Step by Step
- Prep Your Bread Foundation: Lay out your bread slices and use a biscuit cutter or glass to remove a circle from the center of each piece. Don't toss those circles — they're perfect for making tiny toasts or just snacking while you cook. Butter both sides of your bread generously, making sure to get right up to the edges. This isn't the time to be shy with butter; it's what creates that gorgeous golden crust and prevents sticking. Season both sides with a pinch of salt and pepper, plus any dried herbs you're using. The seasoning adheres better to the buttered surface and distributes evenly throughout the final dish.
- Preheat and Position: Preheat your air fryer to 370°F for 3 minutes. This step matters more than you'd think — a properly preheated air fryer ensures even cooking from the start. While it's heating, place your buttered, seasoned bread slices directly in the air fryer basket. Make sure they're not overlapping; each piece needs its personal space to achieve maximum crispiness. If you're making multiple batches, keep the first ones warm on a wire rack set over a baking sheet in a 200-degree oven.
- Create the Egg Wells: Crack each egg into a small bowl first — this lets you check for shell fragments and ensures you don't accidentally break a yolk right into your bread hole. Gently slide one egg into each bread hole, letting the white spread naturally while keeping the yolk centered. If you're using cream, now's the time to drizzle a teaspoon over each yolk. The cream will pool around the yolk and create this incredible custardy texture as it cooks. Season the tops with just a whisper of salt and pepper.
- The First Cook: Slide the basket into the air fryer and cook at 370°F for 6 minutes. This initial blast of heat sets the egg whites while keeping the yolks runny. Don't peek during this time — every time you open the basket, you lose heat and extend cooking time. Set a timer and use these 6 minutes to make coffee, feed pets, or just stare blankly at your kitchen wall like a normal person before caffeine.
- Check and Rotate: After 6 minutes, quickly pull out the basket and check your eggs. The whites should be mostly set but still slightly jiggly, and the bread should be starting to brown around the edges. If your air fryer has hot spots (some do), rotate the basket 180 degrees for even cooking. This is also when you add cheese if using — sprinkle it around the egg white, not on the yolk, so it melts properly without overcooking your golden center.
- Finish and Rest: Cook for another 2-4 minutes depending on your preferred yolk consistency. For runny yolks, aim for 8 minutes total. For slightly firmer yolks that still have some flow, go for 9-10 minutes total. The bread should be golden brown and crisp, the whites completely set, and the yolks should jiggle like a perfectly set custard when you gently shake the basket. Remove immediately — eggs continue cooking from residual heat, and nobody likes overcooked yolks.
- The Crucial Rest: Transfer your egg toasts to plates and let them rest for exactly 2 minutes. I know you're hungry, but this rest allows the egg to finish setting and prevents molten yolk explosions when you cut into them. Use this time to grab utensils, pour coffee, or just admire your handiwork. The bread will stay crisp but won't burn your mouth, and the yolks will be at that perfect temperature where they're warm and runny but not tongue-scalding.
- Final Seasoning and Serve: Right before serving, hit each egg with another tiny pinch of flaky salt and a few grinds of fresh pepper. If you're using fresh herbs, now's the time — sprinkle them over the top so they stay bright and flavorful. A little hot sauce never hurt anyone, or go classic with just salt and pepper. Serve immediately while the toast is still crisp and the yolks are perfectly runny.
That's it — you did it. But hold on, I've got a few more tricks that'll take this to another level...
Insider Tricks for Flawless Results
The Temperature Rule Nobody Follows
Here's where most people mess up: they think hotter is better. Nope. 370°F is the sweet spot for this recipe because it's hot enough to crisp the bread and cook the egg, but not so hot that your bread burns before your egg cooks. I've tested this at every temperature from 325°F to 400°F, and 370°F gives you that perfect balance every time. If your air fryer runs hot (some do), drop it to 360°F. If it runs cool, bump it to 380°F. But don't go outside that range or you'll end up with either raw eggs and burnt toast or rubbery eggs and pale bread.
The real game-changer? Let your eggs come to room temperature for 10 minutes before cooking. I know, I know — who has time for that in the morning? But even taking them out of the fridge while you make coffee makes a difference. Room temperature eggs cook more evenly, the whites stay tender instead of turning rubbery, and you'll get that perfect runny yolk every time. If you forget (which I do constantly), just add an extra 30 seconds to the cooking time.
Why Your Nose Knows Best
Your sense of smell is actually the best timer for this recipe. When you start smelling toasted bread and cooked butter, you're about 2 minutes away from done. It's like having a built-in kitchen timer that never needs batteries. The smell changes from raw egg and butter to toasted, nutty, and slightly sweet when everything's perfectly cooked. I dare you to taste this and not go back for seconds — the smell alone will have you hovering by the air fryer like a breakfast-obsessed vulture.
The 5-Minute Rest That Changes Everything
Okay, ready for the game-changer? After cooking, let your air fryer egg and toast rest on a wire rack instead of a plate. A plate traps steam underneath and makes the bottom soggy, but a wire rack lets air circulate, keeping that bottom crust crisp while the egg finishes setting. If you don't have a wire rack, prop one edge of your plate up with a folded paper towel — anything to let steam escape. This tiny step is what separates good air fryer eggs from legendary ones.
Picture yourself pulling this out of the oven, the whole kitchen smelling incredible, and having a breakfast that looks like it came from a fancy café but took less effort than pouring cereal. The yolk runs like liquid gold when you cut into it, the toast shatters under your fork, and suddenly you're not just eating breakfast — you're having a moment. A friend tried skipping this step once — let's just say it didn't end well. She ended up with sad, soggy toast and had to eat standing over the sink like an animal.
Creative Twists and Variations
This recipe is a playground. Here are some of my favorite ways to switch things up:
The Mediterranean Dream
Swap the butter for olive oil, add a sprinkle of dried oregano and a few halved cherry tomatoes around the egg during the last 2 minutes of cooking. Finish with crumbled feta and fresh basil. The tomatoes roast into sweet little bursts of flavor, and the feta gets slightly melty and salty against the rich yolk. It's like eating breakfast on a Greek island, minus the expensive plane ticket and jet lag.
The Everything Bagel Remix
Brush your bread with everything bagel seasoning mixed into melted butter before cooking. Add smoked salmon pieces during the last minute, then top with a dollop of cream cheese and capers when serving. It's everything you love about bagels and lox but without the jaw-unhinging challenge of eating an actual bagel sandwich. Plus, the everything seasoning toasts up and creates these amazing crunchy bits that'll have you licking your fingers.
The Spicy Southwest
Mix a pinch of cumin and chili powder into your butter, then add a ring of salsa around the egg before cooking. Top with shredded pepper jack cheese during the last minute, then finish with sliced avocado and a drizzle of hot sauce. The spices toast into the bread, creating this incredible depth of flavor that makes you feel like you're eating breakfast in New Mexico. If you've ever struggled with bland breakfasts, this is your fix.
The French Onion Soup
Caramelize onions ahead of time (or cheat and use store-bought), then add a spoonful to each piece of bread before adding the egg. Top with Gruyère cheese and a tiny sprig of thyme. The sweet onions and nutty cheese create this incredible umami bomb that tastes like French onion soup but in breakfast form. It's sophisticated enough for brunch guests but easy enough for Tuesday morning.
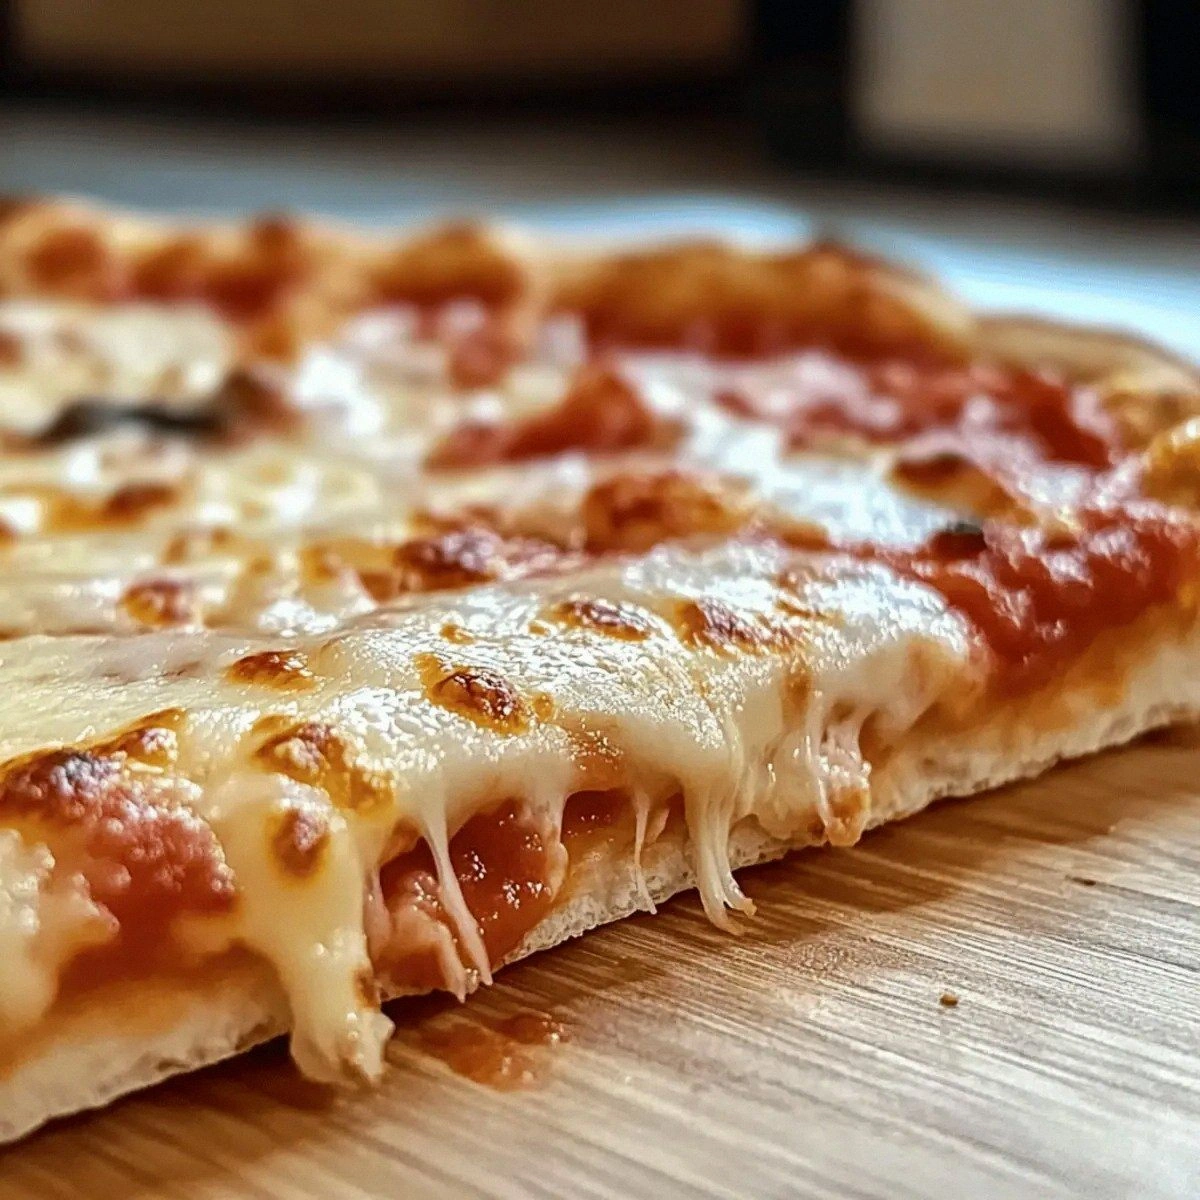
The Breakfast Pizza
Brush your bread with garlic butter, add a thin layer of pizza sauce around the egg hole, sprinkle with Italian herbs and mozzarella. During the last minute, add mini pepperoni or cooked sausage crumbles. Finish with fresh basil and a crack of black pepper. It's like a personal breakfast pizza where the egg yolk becomes the sauce when you break into it. Kids go absolutely bonkers for this one.
The Sweet and Savory
Use cinnamon raisin bread (trust me here), but brush it with salted butter instead of plain. The contrast between sweet bread and savory egg is mind-blowing. Add a drizzle of maple syrup right before serving and maybe some crispy bacon bits. It sounds weird, but it's like having French toast and eggs Benedict had a beautiful, slightly confused baby that somehow works perfectly.
Storing and Bringing It Back to Life
Fridge Storage
Let your cooked egg toasts cool completely on a wire rack, then wrap each one individually in plastic wrap or place in an airtight container with parchment paper between layers. They'll keep for up to 4 days in the refrigerator, though honestly, they've never lasted more than 2 days in my house. The key is cooling them completely before wrapping — any trapped steam will make them soggy and sad. Store them un-cut so the yolk stays protected and doesn't dry out.
Freezer Friendly
These freeze beautifully for up to 2 months, which makes them perfect for meal prep Sundays. Wrap each cooled toast individually in plastic wrap, then place all the wrapped pieces in a freezer bag. Squeeze out as much air as possible to prevent freezer burn. When you're ready to eat, unwrap and microwave for 30-45 seconds, then pop in a toaster oven or back in the air fryer at 350°F for 2-3 minutes to re-crisp the bread. The yolk will be more set but still delicious — think of it as a breakfast sandwich component rather than a runny-yolk situation.
Best Reheating Method
The air fryer is your friend for reheating — 350°F for 3-4 minutes brings back that crispy toast texture better than any other method. If you're in a rush, the microwave works (30-45 seconds), but the toast won't be crispy. My compromise? Microwave for 20 seconds to warm through, then finish in a hot skillet for 30 seconds per side to re-crisp the bread. Add a tiny splash of water before reheating — it steams back to perfection and prevents the bread from turning into cardboard. For best results, reheat from room temperature rather than straight from the fridge.