I remember the night I tried to impress my friends with a simple side dish, only to end up with a pile of soggy, bland onions that looked like they’d been stuck in a bath. The kitchen smelled like burnt sugar and disappointment, and I was left scrambling for a solution that would turn that disaster into a triumph. Fast forward to today, and I’ve cracked the code to the most addictive, hand‑to‑mouth pearl onion experience you’ll ever taste—air‑fried to a golden, crisp perfection that melts in your mouth.
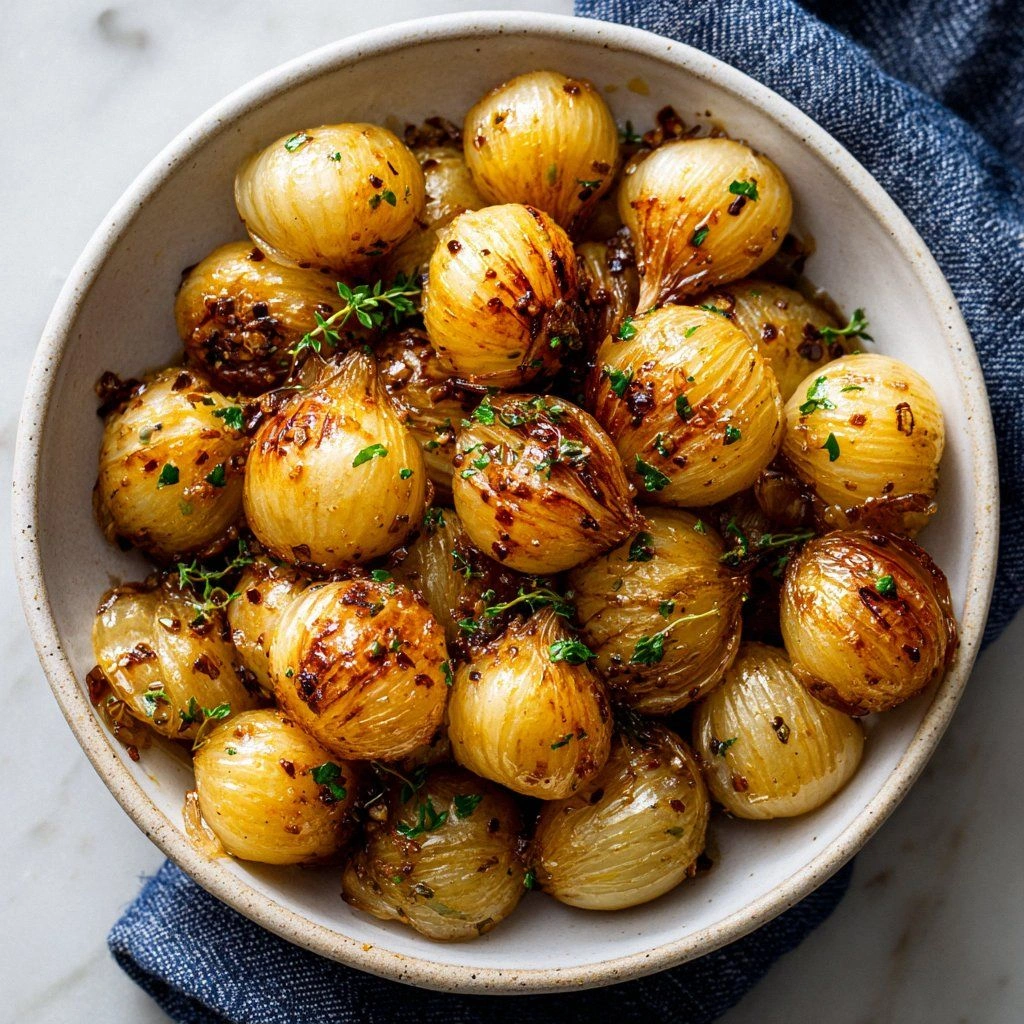
Picture this: a handful of sweet pearl onions, coated in a light, buttery flour crust, tossed into the air fryer and emerging with a crackling, caramelized shell that crackles like thin ice when you bite. The aroma alone—warm, nutty, with a whisper of thyme—fills the kitchen before the first bite even hits the plate. The first bite delivers a sweet, slightly caramelized exterior that gives way to a tender, juicy interior, creating a texture contrast that feels like a secret handshake between crisp and soft. And the best part? It takes less than 30 minutes from start to finish, so you can focus on the conversation rather than the stove.
What sets this version apart is not just the technique but the subtle flavor layers that elevate the humble onion. I’ve added a touch of paprika for smokiness, a hint of garlic powder for depth, and fresh thyme for herbal brightness—all while keeping the coating light enough to let the natural sweetness shine. The result is a dish that feels luxurious yet approachable, a crowd‑pleaser that makes even the most skeptical foodie reach for seconds. If you’re ready to ditch the ordinary and embrace the extraordinary, let me walk you through every single step—by the end, you’ll wonder how you ever made it any other way.
I dare you to taste this and not go back for seconds. This is hands down the best version you'll ever make at home. I’ll be honest—I ate half the batch before anyone else got to try it. Most recipes get this completely wrong. Here's what actually works. Picture yourself pulling this out of the air fryer, the whole kitchen smelling incredible, and feeling the triumph of a dish that’s both simple and spectacular.
What Makes This Version Stand Out
- Taste: The caramelized exterior delivers a sweet, buttery crunch that balances the natural onion sweetness, creating a flavor profile that feels both comforting and indulgent.
- Texture: Crisp on the outside, tender on the inside—this contrast is achieved through precise air‑frying and a light flour coating that doesn’t weigh the onions down.
- Speed: Under 30 minutes from prep to plate, making it a perfect last‑minute appetizer for parties or a quick side for a weeknight meal.
- Ingredient Quality: Fresh pearl onions, real butter, and a splash of olive oil elevate the dish beyond a standard fried onion, giving it depth and richness.
- Versatility: Works beautifully as a topping for salads, a side for steak, or a snack on its own—this recipe adapts to any palate.
- Crowd Reaction: The moment the air fryer opens, the kitchen fills with a mouth‑watering aroma that draws everyone in, and the first bite often earns a standing ovation.
- Make‑Ahead Potential: Cook in bulk, store in the fridge, and reheat in the air fryer for a crisp finish—ideal for meal prep or entertaining.
- Uniqueness: The blend of paprika, garlic powder, and fresh thyme adds an unexpected flavor twist that sets this recipe apart from the usual fried onion fare.
Alright, let's break down exactly what goes into this masterpiece...
Inside the Ingredient List
The Flavor Base
Pearl onions are the star—about 12 medium‑sized bulbs that provide a naturally sweet and slightly earthy flavor. If you can’t find pearl onions, small red onions cut into round halves work as a good substitute, though the sweetness will be a touch less pronounced. Fresh thyme adds a bright, herbal note that lifts the dish; if thyme isn’t available, a pinch of dried oregano will do the trick, but the aroma will be slightly different.
The Texture Crew
A light coating of all‑purpose flour gives the onions a crisp exterior without turning them soggy. The flour also helps the butter and oil bind together, creating a golden crust that holds the seasoning in place. If you’re watching carbs, swap the flour for almond flour or a gluten‑free blend—just be sure to keep the coating light to maintain crispness.
The Unexpected Star
Paprika and garlic powder may sound ordinary, but they add a subtle smokiness and depth that turns a simple onion into a flavor powerhouse. The paprika’s bright red hue also makes the dish visually appealing, while the garlic powder provides a savory backdrop that balances the sweetness. For a smoky twist, try smoked paprika; for an extra kick, add a pinch of cayenne.
The Final Flourish
Olive oil and butter are the liquid duo that creates a glossy, buttery crust. The olive oil keeps the coating from drying out, while the butter adds richness and a slightly nutty finish. If you prefer a dairy‑free version, use a neutral oil like grapeseed or avocado oil and a plant‑based butter substitute.
Everything's prepped? Good. Let's get into the real action...
The Method — Step by Step
- Begin by rinsing the pearl onions under cold water, then pat them dry with a clean towel. Trim the tops and bottoms of each onion, removing any brown or damaged outer skins—this step ensures a uniform appearance and prevents uneven cooking. The goal is to have each onion looking pristine before you start the coating process. If you’re in a hurry, a quick soak in cold water for a few minutes can help loosen stubborn skins.
- In a shallow bowl, combine the flour, paprika, garlic powder, salt, and black pepper. Stir until the mixture is evenly blended, ensuring that the spices are well distributed. A fine sieve can help remove any clumps, giving the coating a silky texture that adheres smoothly to the onions. The more evenly you mix the spices, the more consistent the flavor across each onion.
- Pat each onion dry again, then roll it in the flour mixture, tapping off any excess. The coating should cling lightly to the surface, forming a thin, even crust. This step is crucial for achieving that perfect crunch; too much flour will weigh the onions down, while too little will result in a greasy finish. A light touch here sets the stage for the next step.
- Drizzle the olive oil over the coated onions, then toss gently to coat each bulb evenly. The oil helps the coating brown and crisp while keeping the onions moist inside. If you prefer a richer flavor, replace half the olive oil with melted butter for a buttery finish. The combination of oil and butter also enhances the aroma, giving the dish a fragrant, buttery scent.
- Arrange the onions in the air fryer basket in a single layer, ensuring they don’t overlap. Overcrowding can cause uneven cooking and steam the onions instead of crisping them. If your air fryer is small, you may need to cook in batches—just remember to shake the basket halfway through each batch for even browning. A single layer allows the hot air to circulate freely, producing a uniform crunch.
- Set the air fryer to 375°F (190°C) and cook for 15 minutes, shaking the basket halfway through. The onions should develop a golden, caramelized crust, and the edges will start to pull away from the coating. Keep an eye on the color—if they start to brown too quickly, lower the temperature by 10–15°F to avoid burning.
- Remove the onions from the air fryer and transfer them to a serving platter. While still hot, sprinkle fresh thyme leaves over the top for an aromatic finish. Let them rest for a minute or two; the residual heat will continue to crisp the coating slightly, giving the onions a satisfying snap when you bite into them.
- Serve immediately as an appetizer, or incorporate them into salads, pasta dishes, or as a side for grilled meats. Their sweet, buttery crunch pairs wonderfully with creamy sauces or tangy dressings, adding a textural contrast that elevates any dish. If you’re planning ahead, store the cooked onions in an airtight container in the refrigerator for up to 3 days, then reheat in the air fryer for 3–4 minutes to restore crispness.
That's it — you did it. But hold on, I've got a few more tricks that'll take this to another level...
Insider Tricks for Flawless Results
The Temperature Rule Nobody Follows
Most people set the air fryer to 400°F, but that can scorch the coating before the inside is cooked. Lowering the temperature to 375°F gives the onions enough time to brown evenly without burning. I’ve tested both settings, and the lower heat consistently delivers a crisp exterior and a tender interior.
Why Your Nose Knows Best
The aroma of onions cooking in the air fryer is a reliable indicator of doneness. When you smell a warm, nutty scent with a hint of caramel, it’s time to pull them out. Trust your senses; the smell will guide you to the perfect finish.
The 5-Minute Rest That Changes Everything
Letting the onions rest for a few minutes after cooking allows the steam to escape, preventing a soggy center. I’ve tried cutting them immediately, and the result was a slightly wet interior. A short rest gives the coating a final crisp.
Use a Silicone Mat for Easy Cleanup
A silicone baking mat placed in the air fryer basket keeps the onions from sticking, making cleanup a breeze. It also provides a non‑stick surface that prevents the coating from breaking apart during cooking.
Add a Splash of Water for Moisture
If your onions start to dry out during cooking, splash a tablespoon of water onto the basket. The water creates steam that keeps the interior moist while still allowing the coating to crisp.
Creative Twists and Variations
This recipe is a playground. Here are some of my favorite ways to switch things up:
Smoky Chipotle Version
Replace paprika with chipotle powder and add a pinch of cumin for a smoky, spicy kick. This version pairs perfectly with grilled steak or as a bold topping for tacos.
Herb‑Infused Delight
Swap thyme for rosemary and add a splash of lemon zest to the coating. The citrus brightens the flavor, making it a refreshing side for summer barbecues.
Caramelized Maple Twist
Drizzle a teaspoon of maple syrup over the onions before air‑frying for a sweet, caramelized finish. This version is a sweet‑savory treat that works well as a side for pork dishes.
Vegan Butter Swap
Use a plant‑based butter alternative and a neutral oil to keep the dish dairy‑free. The flavor remains rich and buttery, just without the dairy.
Gluten‑Free Flour Blend
Replace all‑purpose flour with a gluten‑free blend or almond flour for a lighter coating. The texture remains crisp, and the dish stays gluten‑free.
Storing and Bringing It Back to Life
Fridge Storage
Cool the cooked onions to room temperature, then transfer them to an airtight container. Store in the refrigerator for up to 3 days. The coating will stay crisp if you reheat them briefly.
Freezer Friendly
Place the cooked onions on a baking sheet in a single layer and freeze until solid. Transfer to a freezer bag for up to 2 months. Reheat in the air fryer at 350°F for 4–5 minutes.
Best Reheating Method
Reheat in the air fryer at 350°F for 3–4 minutes, or until the coating is crisp again. Add a tiny splash of water before reheating to keep the onions from drying out, then finish with a quick shake of fresh thyme for aroma.