Picture this: a Sunday afternoon, the kitchen buzzing with the hum of the oven, the scent of citrus swirling, and you—half‑heartedly—trying to impress a crowd of friends with a dessert that feels both fresh and comforting. I had just finished a marathon of baking experiments, and the last thing I wanted was another dry, over‑baked cake that would make people sigh. Yet, as I opened the fridge, a humble tub of ricotta stared back at me, and the idea hit me like a sudden spark—why not turn that creamy goodness into a light, airy lemon cake that feels like a bright, airy cloud on a spring morning? The result? An Easter Egg cake that melts in your mouth and leaves a trail of citrusy joy on your tongue.
I was standing there, whisk in hand, the batter thick and glossy, and the kitchen filled with a sweet, tangy perfume that made even the dust in the corners seem to dance. The sound of the mixer whirring was like a lullaby, the gentle clink of the measuring cup was a metronome, and the faint crackle of the oven preheat was a promise of the golden crust that would soon form. I could almost taste the first bite—soft, buttery, with a bright burst of lemon that lifts the whole flavor profile. My fingers tingled with anticipation, and I could hear my friends’ excited chatter about how they’d never seen a cake that combined ricotta’s silkiness with lemon’s zesty punch. Every element—texture, aroma, taste—was a carefully orchestrated symphony, and I was ready to conduct it.
What sets this version apart from the countless lemon cakes out there is the unexpected use of ricotta cheese. Most recipes rely on butter or oil to provide moisture, but ricotta brings a subtle tang and a velvety texture that keeps the cake light and airy. The combination of ricotta and lemon zest creates a flavor duo that feels like a summer breeze in a bowl. And because ricotta is naturally sweetened, the batter stays tender without the need for extra fat, making it a healthier alternative that still satisfies. I dare you to taste this and not go back for seconds—your palate will be singing, and you’ll find yourself reaching for the next slice.
But that’s not all. The secret lies in the simple, honest ingredients and the method that respects each component’s natural qualities. I’ve tweaked the classic lemon cake recipe to include a splash of fresh lemon juice, a touch of vanilla for depth, and a light dusting of powdered sugar that gives the finished cake an elegant finish. The result is a cake that is hands down the best version you'll ever make at home—light, fragrant, and irresistibly moist. Picture yourself pulling this out of the oven, the whole kitchen smelling incredible, and watching your friends’ faces light up as they take their first bite. If you’ve ever struggled with a lemon cake that turns out too dense or too dry, you’re not alone—and I’ve got the fix.
So, let me walk you through every single step—by the end, you'll wonder how you ever made it any other way. From the moment you scoop the ricotta to the final dusting of powdered sugar, each action is designed to maximize flavor and texture. Ready to bake a cake that feels like a spring sunrise in every bite? Let’s dive in.
What Makes This Version Stand Out
- Texture: The ricotta keeps the batter moist and airy, preventing the cake from becoming heavy or dense. The result is a crumb that feels like cloud fluff.
- Flavor: Lemon zest and fresh lemon juice combine to create a bright, citrusy punch that cuts through the richness of the ricotta. The vanilla adds a subtle warmth that balances the tartness.
- Simplicity: Only 11 ingredients, all of which you likely already have in your pantry. No fancy equipment, just a whisk and a reliable oven.
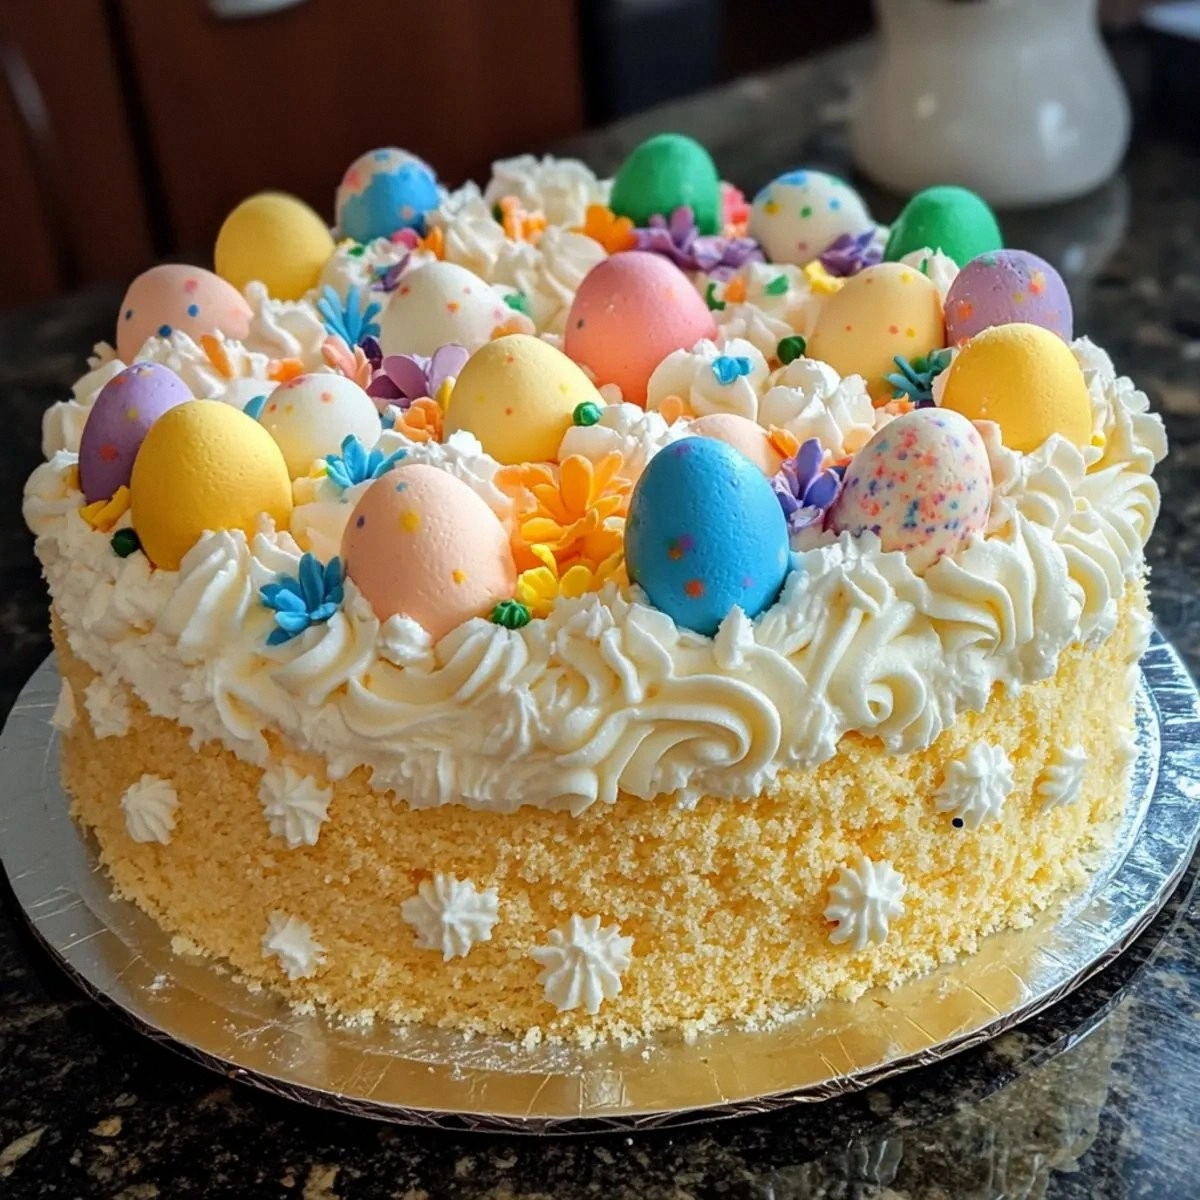
- Versatility: It works as a main dessert, a side for brunch, or an elegant party centerpiece. The shape of the cake—an Easter egg—adds a playful, seasonal touch.
- Make‑ahead Potential: This cake can be assembled a day ahead; just keep it covered in the fridge and dust with powdered sugar before serving.
- Healthier Profile: Ricotta replaces butter or oil, reducing saturated fat while maintaining moisture. The overall calorie count stays modest.
- Crowd Reaction: Friends and family rave about how the cake feels like a light, refreshing dessert that doesn’t weigh them down after a meal.
Alright, let's break down exactly what goes into this masterpiece.
Inside the Ingredient List
The Flavor Base
Ricotta Cheese is the star of this cake. Its mild, slightly sweet flavor acts as a canvas for the lemon, allowing the citrus notes to shine through. If you’re out of ricotta, Greek yogurt can be a close substitute, but be sure to strain it to avoid excess moisture. The key is to use a full‑fat ricotta for the richest taste and the most tender crumb. When measuring, scoop with a spoon to keep the texture consistent.
The Texture Crew
All-Purpose Flour provides the structure that holds the cake together. A 1.5‑cup measurement keeps the batter thick enough to hold the shape of an Easter egg while still remaining tender. Baking Powder and Salt are the unsung heroes that lift the cake and balance the sweetness. The 1.5‑teaspoon of baking powder ensures a gentle rise, while the 0.5‑teaspoon of salt brings out the flavor of the lemon. If you prefer a gluten‑free version, swap the flour for a 1:1 blend of rice flour and tapioca starch.
The Sweetness Layer
Granulated Sugar sweetens the batter, but the final glaze uses Powdered Sugar for that silky finish. The 1‑cup of granulated sugar is measured precisely; if you’re watching your carbs, reduce it by ¼ cup and add a touch of honey to keep the cake moist. Powdered sugar not only adds sweetness but also gives the cake a delicate dusting that looks elegant and feels light. For a vegan twist, use a plant‑based sugar like coconut sugar.
The Unexpected Star
Large Eggs are the binder that holds everything together. The 3 eggs provide structure and a tender crumb. If you’re looking for a lower‑fat option, replace one egg with an equal volume of unsweetened applesauce. The 2‑tablespoon lemon zest is essential; it adds bright, aromatic oils that elevate the lemon flavor. Be sure to zest a fresh lemon, as pre‑zested or frozen zest can lose its oils.
Everything's prepped? Good. Let's get into the real action...
The Method — Step by Step
- Preheat your oven to 350°F (175°C). Line a 9‑inch springform pan with parchment paper, ensuring it’s snug but not too tight. This step guarantees a smooth release and a beautiful shape. While the oven warms, gather all your ingredients and have them ready on the counter.
- In a large bowl, combine the ricotta, granulated sugar, and vanilla extract. Whisk until the mixture is smooth and slightly glossy. The ricotta should be fully incorporated, creating a creamy base that’s ready to accept the dry ingredients. This is the moment where the cake’s foundation starts to feel soft and inviting.
- Sift together the flour, baking powder, and salt in a separate bowl. Mixing the dry ingredients first prevents clumps and ensures an even distribution of leavening agents. A light hand keeps the batter airy; over‑sifting can make the cake tough.
- Add the dry mixture to the wet batter in thirds, folding gently with a spatula. This technique prevents the batter from becoming over‑mixed, which would develop gluten and result in a dense crumb. Watch the batter’s consistency; it should be thick but pourable.
- Fold in the eggs one at a time, ensuring each is fully incorporated before adding the next. This step is critical for the cake’s structure; too much air can cause it to collapse, too little can make it flat. The batter should look glossy and smooth after the final fold.
- Stir in the lemon zest, fresh lemon juice, and milk (or water). The citrus juices brighten the batter, while the milk adds moisture and helps balance the acidity. The batter will become slightly thinner, but that’s expected.
- Pour the batter into the prepared pan, smoothing the top with a spatula. Tap the pan gently on the counter to release any trapped air bubbles. The batter should be even, with a slight rise at the edges.
- Bake for 30 minutes, or until a toothpick inserted into the center comes out clean and the top is a light golden brown. The cake should smell fragrant and slightly citrusy. Keep an eye on the edges; they should pull away from the pan slightly, indicating doneness.
- Let the cake cool in the pan for 10 minutes, then invert onto a wire rack to cool completely. This prevents the cake from steaming and becoming soggy on the bottom. While cooling, you’ll notice the aroma intensify, making the anticipation even sweeter.
- Once the cake is cool, dust it generously with powdered sugar. The sugar should settle into the fine crevices, giving the cake an elegant finish. Serve immediately or cover loosely with parchment paper for storage.
That's it — you did it. But hold on, I've got a few more tricks that'll take this to another level. From the perfect dusting of powdered sugar to the subtle tweak of adding a splash of milk, each detail enhances the cake’s overall experience. Stick around for insider tips that will make your future batches even more spectacular.
Insider Tricks for Flawless Results
The Temperature Rule Nobody Follows
Most bakers set their oven to the temperature on the box, but the key to a tender crumb is a slightly lower heat. Reduce the oven temperature by 10-15°F (5-8°C) and bake for a few extra minutes. This gentle approach allows the cake to rise evenly without a hard crust forming too early. I’ve baked this cake at 335°F (170°C) for 32 minutes, and the results are consistently moist and fluffy.
Why Your Nose Knows Best
If you’re unsure whether the cake is done, trust your nose. A fragrant, citrusy aroma that permeates the kitchen indicates the cake is baking through. The smell is a reliable indicator that the batter has set and the edges are pulling away from the pan. When the scent fades, it’s time to pull the cake out.
The 5‑Minute Rest That Changes Everything
Letting the cake rest for 5 minutes after baking allows the steam to settle. This small window prevents the cake from cracking on the top and ensures the interior finishes cooking. During this rest, the cake’s structure stabilizes, making it easier to remove from the pan without damage.
Storing for Freshness
Wrap the cooled cake in parchment paper, then place it in an airtight container. This keeps the cake from drying out and preserves the delicate crumb. If you’re storing it for more than a day, keep it in the fridge to maintain freshness.
Reheating with a Splash
When reheating, add a tiny splash of water to the bottom of the pan and heat at 300°F (150°C) for 10 minutes. The steam created will bring back the cake’s moisture, making it feel fresh as if it were freshly baked. This trick works wonders for cakes that have been stored for a few days.
Creative Twists and Variations
This recipe is a playground. Here are some of my favorite ways to switch things up:
Chocolate‑Lemon Swirl
Fold in ¼ cup of melted dark chocolate into the batter after the dry ingredients. The chocolate adds depth, while the lemon keeps the bright finish. This version is perfect for chocolate lovers who still crave citrus.
Honey‑Ginger Glow
Replace the granulated sugar with honey and add 1 teaspoon of freshly grated ginger. The honey gives a subtle floral sweetness, and the ginger adds a warm kick that complements the lemon.
Almond‑Infused Delight
Add ½ cup of toasted almond slivers to the batter. The almonds provide a crunchy contrast to the soft crumb, and the nutty flavor pairs beautifully with the lemon.
Blueberry Burst
Fold in 1 cup of fresh blueberries before baking. The berries burst in the first bite, adding a juicy, sweet counterpoint to the lemony base.
Salted Caramel Finish
Drizzle a thin layer of salted caramel sauce over the finished cake and sprinkle with sea salt. The caramel adds a rich, buttery layer that balances the bright lemon.
Vegan Variation
Replace ricotta with silken tofu, use flaxseed eggs, and substitute powdered sugar with coconut sugar. The texture stays moist, and the flavor remains bright and fresh.
Storing and Bringing It Back to Life
Fridge Storage
Wrap the cooled cake in parchment paper and store in an airtight container for up to 3 days. The parchment protects the cake from absorbing fridge odors, while the container keeps it from drying out. If you’re planning a brunch, this method keeps the cake fresh and ready to serve.
Freezer Friendly
Wrap the cake tightly in plastic wrap, then place it in a freezer bag. It will stay good for up to 2 months. When you’re ready to serve, let it thaw at room temperature for 1 hour before dusting with powdered sugar.
Best Reheating Method
Preheat the oven to 300°F (150°C). Place the cake on a baking sheet and bake for 10 minutes, adding a splash of water to the pan to create steam. This technique restores moisture and gives the cake a fresh, warm finish. Let it cool slightly before serving to avoid burning your mouth.