I still remember the first time I tried to make traditional cream puffs. The kitchen looked like a flour bomb had detonated, I had egg whites in my hair, and the puffs themselves resembled sad, deflated balloons. My guests politely nibbled the edges while I mentally planned my escape to a remote island where no one had ever heard of choux pastry. Fast forward to last weekend when I served this Cream Puff Cake to the same friends, and they literally scraped their plates clean, moaning with joy. The plot twist? This version is actually easier than the original disaster, and dare I say, even more delicious.
Picture this: it's Sunday afternoon, you're still in your pajamas at 3 PM because why not, and the craving for something indulgent hits like a freight train. Not just any dessert, but something that feels like a warm hug from your favorite bakery, minus the overpriced coffee and judgmental barista. This cake delivers all the cloud-like creaminess of a perfect cream puff, but instead of fussy individual pastries that require piping bags and prayers, you get one glorious slab of vanilla-scented heaven that feeds a crowd or satisfies your most ambitious solo dessert dreams.
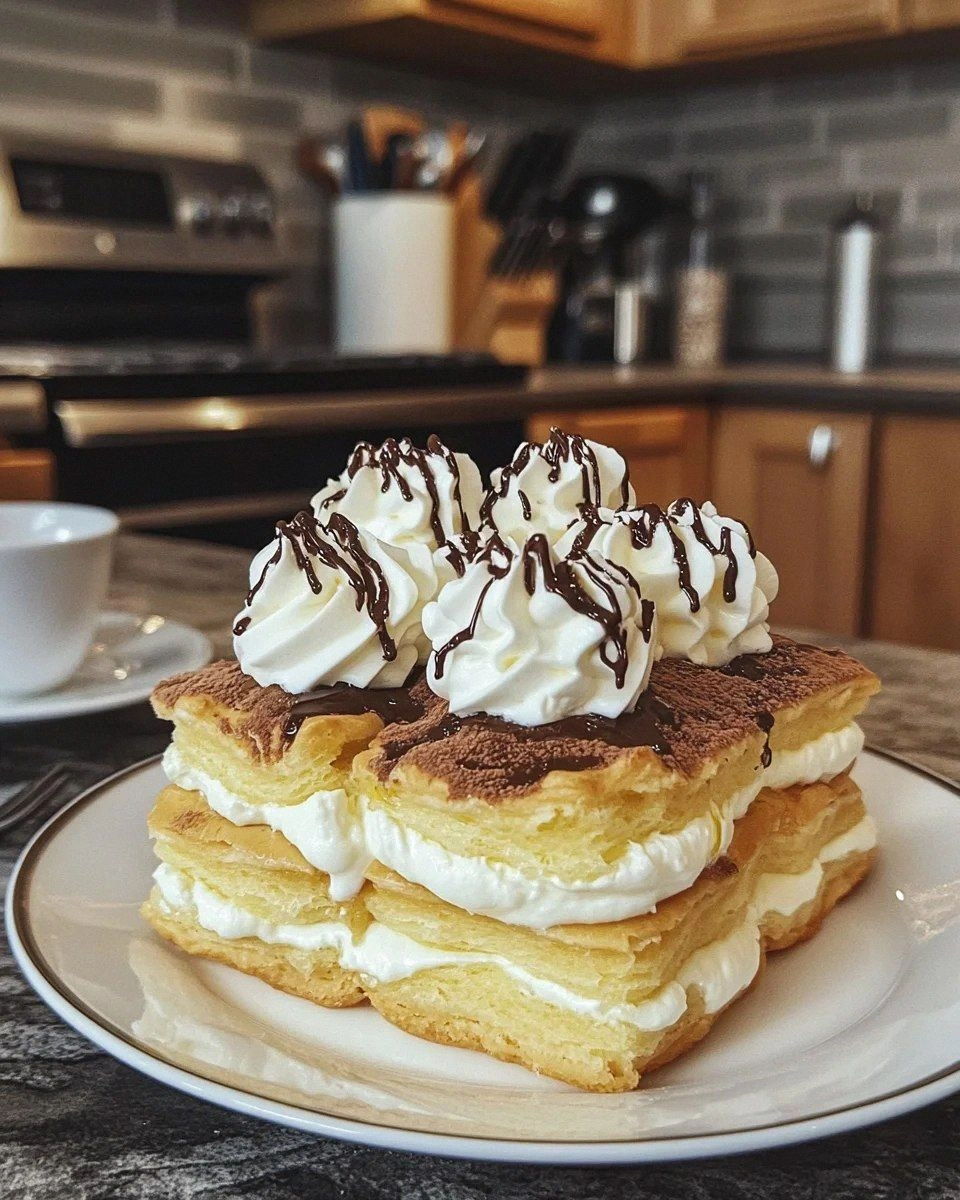
The magic happens when the golden, buttery base meets the silky vanilla pudding layer, all crowned with clouds of fresh whipped cream that melts on your tongue like snowflakes in July. But here's where it gets wild — the "cake" part isn't actually cake at all. It's more like a giant cream puff shell baked in a sheet pan, creating these perfect little pockets that hold the custard like edible treasure chests. The first bite is pure revelation: crispy edges that shatter delicately, giving way to creamy centers that taste like they took hours to perfect.
What makes this version absolutely irresistible is the way it breaks all the rules while respecting tradition. You get the classic flavors everyone craves — that nostalgic vanilla pudding that tastes like childhood summers and grandmother's kitchens — but delivered in a format that actually works for real life. No special equipment, no fancy techniques, no culinary degree required. Just pure, unadulterated dessert joy that comes together faster than you can say "Where's my mixing bowl?" Let me walk you through every single step — by the end, you'll wonder how you ever made it any other way.
What Makes This Version Stand Out
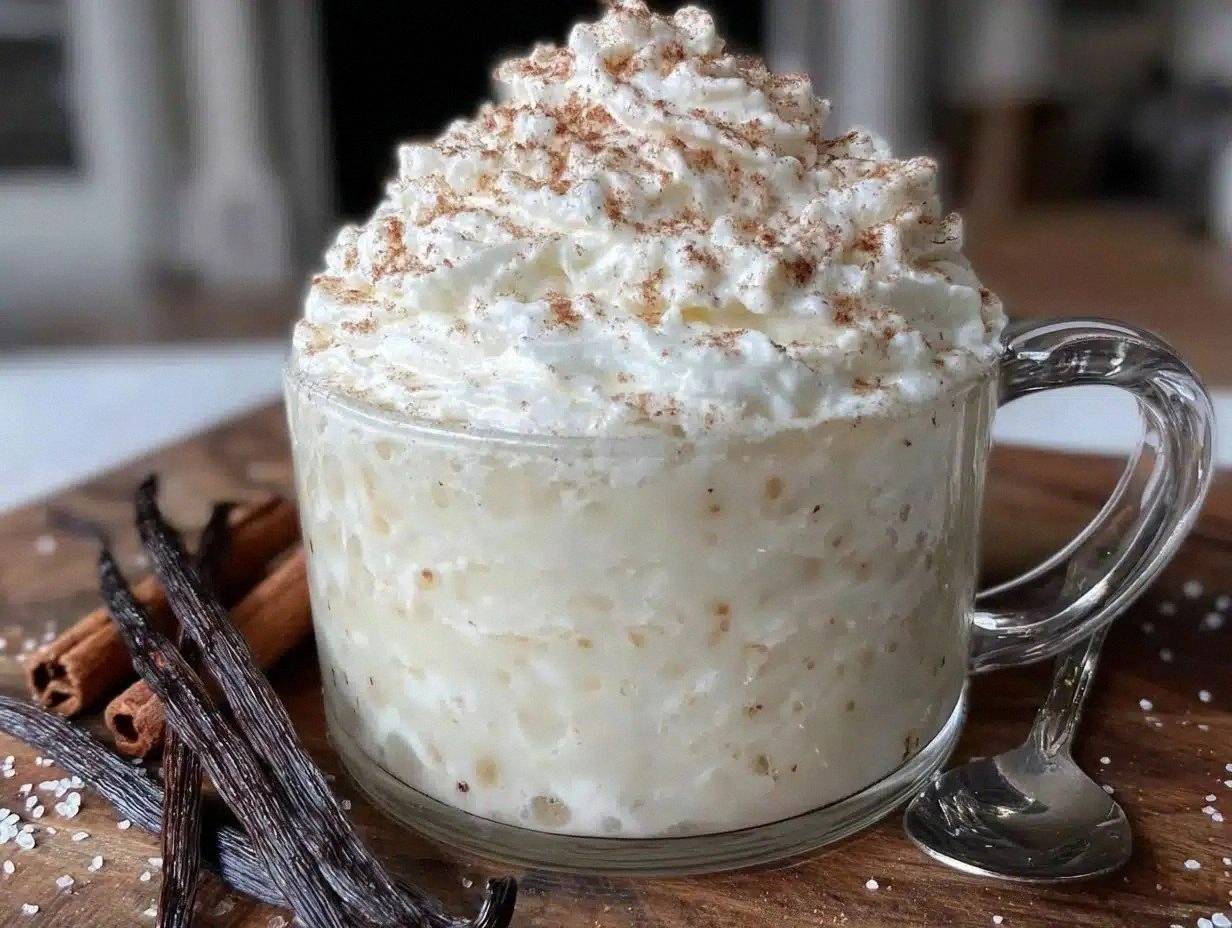
Flavor Explosion: This isn't your typical bland cream puff filling. The vanilla pudding layer gets a double hit of flavor from both vanilla extract and vanilla bean paste, creating depth that makes your taste buds do a happy dance. The subtle caramel notes from the golden base complement the sweet custard in ways that'll make you close your eyes involuntarily with each bite.
Texture Paradise: Most cream puff cakes turn soggy and sad after a few hours, but this version maintains its magical contrast. The base stays crisp on the edges while the center becomes tender and cake-like, creating a textural experience that's absolutely addictive. It's like having three different desserts in one pan.
Weeknight Friendly: Traditional cream puffs require precise timing, perfect temperatures, and the patience of a saint. This cake version is practically foolproof — if you can stir ingredients in a pot and press dough into a pan, you can nail this recipe. I dare you to taste this and not go back for seconds.
Make-Ahead Marvel: Here's where this recipe really shines. You can bake the base and pudding a day ahead, then assemble with fresh whipped cream right before serving. The flavors actually improve as they meld together, making this the ultimate stress-free dessert for dinner parties or potlucks.
Crowd-Pleasing Powerhouse: I'll be honest — I ate half the batch before anyone else got to try it. But when I finally shared it at book club, even the friend who claims to "not really like sweets" asked for the recipe. This cake has converted more dessert skeptics than I can count.
Ingredient Flexibility: While the classic version is perfect as-is, this recipe welcomes creativity like an old friend. Swap the vanilla for chocolate pudding, add citrus zest to the base, or fold berries into the whipped cream. The foundation is solid enough to support your wildest dessert dreams.
Visual Drama: Despite its simplicity, this cake looks impressive enough for special occasions. The golden base with its pockmarked surface creates visual interest, while the smooth pudding layer and billowy cream topping make it worthy of any bakery display case.
Inside the Ingredient List
The Flavor Foundation
Butter isn't just butter here — it's the backbone of flavor that makes this cake taste like it came from a Parisian patisserie. I always use European-style butter with higher fat content because it creates these incredible nutty, almost caramel-like notes as the base bakes. The water content is lower, which means your base gets crispier and stays that way longer. If you can only find regular butter, no worries, just don't substitute with margarine unless you want to break my heart and ruin the flavor profile completely.
All-purpose flour might seem boring, but it's the unsung hero that gives the base its structure. The protein content is just right — enough to hold everything together but not so much that it becomes tough. I learned the hard way that cake flour makes the base too delicate and bread flour makes it chewy like pizza dough. Stick with regular AP flour for the Goldilocks effect that's just right.
The Creamy Dream Team
Whole milk is non-negotiable for the pudding layer. I've tried making it with 2% milk in a pinch, and while it works, you lose that luxurious mouthfeel that makes this dessert special. The fat in whole milk creates a pudding that coats your spoon like velvet and sets up perfectly every time. If you're feeling extra indulgent, replace half the milk with heavy cream for pudding so rich it should come with a warning label.
Egg yolks are the secret to pudding that tastes like it came from a fancy restaurant. They add richness, help thicken the custard, and create that beautiful golden color that makes everyone think you're a pastry wizard. Don't even think about using egg substitute or skipping them — the pudding will be flat, pale, and sad. Save the whites for an omelet later and use the yolks here.
The Unexpected Star
Vanilla bean paste might seem like an unnecessary splurge, but trust me on this one. It gives you those gorgeous little black specks that scream "gourmet" while delivering vanilla flavor that's deeper and more complex than extract alone. If you can't find it, use the best vanilla extract you can afford — the cheap artificial stuff will make your pudding taste like a scented candle. Picture yourself pulling this out of the oven, the whole kitchen smelling incredible, and knowing every penny spent on good vanilla was worth it.
The Final Flourish
Heavy cream for whipping should be cold, cold, cold. I keep mine in the coldest part of the fridge until the moment I need it. The difference between properly whipped cream and the sad, weepy stuff is temperature and patience. Add a touch of powdered sugar and real vanilla extract, and you'll have whipped cream that makes the store-bought stuff taste like sweetened air. Most recipes get this completely wrong — they overwhip it until it turns to butter or underwhip until it's pourable.
The Method — Step by Step
- Start by preheating your oven to 400°F — this high temperature is crucial for creating the steam that gives the base its characteristic lift. While it heats, place your butter and water in a medium saucepan over medium heat. Okay, ready for the game-changer? Don't walk away from the stove here. You want the butter completely melted and the mixture just starting to simmer around the edges, but not at a rolling boil. This gentle heat ensures the butter doesn't separate and the water doesn't evaporate too much.
- Once the butter is melted and the liquid is hot, add your flour all at once. Yes, all of it — this is no time for hesitation. Stir vigorously with a wooden spoon until the mixture forms a ball that pulls away from the sides of the pan. This should take about 2-3 minutes and will look like you're making play dough. The dough will be smooth and slightly shiny, and you'll know it's ready when it leaves a thin film on the bottom of the pan. This step cooks out the raw flour taste and creates the structure for our base.
- Remove the pan from heat and let it cool for about 5 minutes — patience here prevents scrambled eggs in the next step. Add the eggs one at a time, beating well after each addition. The first egg will seem impossible to incorporate, but keep stirring. By the third egg, you'll have a smooth, glossy dough that drops from the spoon in a thick ribbon. This is the moment of truth — too much egg and your base will be custardy, too little and it'll be dense.
- Press the dough evenly into your greased 9x13 pan, using wet fingers to prevent sticking. Don't worry about making it perfect — the dough will spread and create its own beautiful texture as it bakes. The surface should look like gently rolling hills, not a flat desert. These peaks and valleys will catch the pudding later, creating those perfect cream-filled pockets we want.
- Bake for 25-30 minutes until the top is golden brown and the edges are crisp. The center might look slightly softer — that's perfect. It'll continue cooking from residual heat. If you've ever struggled with this, you're not alone — and I've got the fix. The base should be well-browned but not burnt, with a hollow sound when you tap it gently. Overbaking leads to a tough texture that no amount of pudding can save.
- While the base cools, start your pudding by whisking together sugar, cornstarch, and salt in a medium saucepan. This dry mixing prevents lumps later — trust me, I've served lumpy pudding to guests and wanted to disappear into the floor. In a separate bowl, whisk the egg yolks with about half the milk until smooth. This tempers the yolks so they don't scramble when they hit the hot mixture.
- Slowly pour the egg mixture into the dry ingredients while whisking constantly. Then add the remaining milk and cook over medium heat, stirring constantly with a wooden spoon. This next part? Pure magic. The mixture will seem thin forever, then suddenly thicken all at once. When you can draw a line through it on the back of the spoon that holds its shape, it's done. Remove from heat immediately and stir in butter and vanilla.
- Pour the hot pudding over the cooled base, spreading it evenly to the edges. Work quickly — as the pudding cools, it sets up and becomes harder to spread smoothly. Use an offset spatula or the back of a spoon, working from the center outward. Don't worry if it looks like too much pudding — it will settle and create the perfect ratio with the base. Refrigerate for at least 2 hours to set completely.
- Just before serving, whip the cream with powdered sugar and vanilla until it holds stiff peaks. Be careful not to overwhip — grainy whipped cream ruins the whole experience. Spread it gently over the pudding layer, creating beautiful swirls and peaks that make it look like you spent hours on presentation. Garnish with a dusting of cocoa powder or chocolate shavings if you're feeling fancy.
- Cut into squares with a sharp knife dipped in hot water for clean slices. The first piece is always tricky — after that, it cuts like a dream. Serve chilled for the best texture contrast, but not ice-cold — about 30 minutes out of the fridge is perfect. Watch your guests' eyes light up when they hit that perfect bite: crisp base, creamy pudding, and airy whipped cream all in one forkful.
That's it — you did it. But hold on, I've got a few more tricks that'll take this to another level...
Insider Tricks for Flawless Results
The Temperature Rule Nobody Follows
Room temperature eggs incorporate more smoothly into the dough, creating a better texture in the final product. I take my eggs out of the fridge about 30 minutes before I start, or if I'm impatient (which is always), I place them in a bowl of warm water for 10 minutes. Cold eggs can cause the butter to solidify in little lumps, leading to a greasy base that never quite sets right. A friend tried skipping this step once — let's just say it didn't end well, and she ended up with something that resembled scrambled eggs floating in dough.
Why Your Nose Knows Best
Don't just rely on the timer — your sense of smell is your best guide here. When the base is perfectly baked, your kitchen will fill with this incredible toasted butter and vanilla aroma that's almost nutty. If you smell something burning, it's already too late, but if you catch it right when that heavenly smell wafts through the house, you've hit the sweet spot. That sizzle when it hits the pan? Absolute perfection.
The 5-Minute Rest That Changes Everything
After you spread the pudding on the base, let it sit at room temperature for exactly 5 minutes before refrigerating. This prevents condensation from forming on top, which can make your whipped cream slide off later. It's a tiny step that makes a huge difference in the final presentation. Plus, those 5 minutes give you just enough time to lick the pudding spoon clean — chef's privilege, after all.
The Crispness Keeper
Want to keep that base crispy even after assembly? Brush it lightly with melted chocolate before adding the pudding. The chocolate creates a moisture barrier that prevents the pudding from soaking in and making the base soggy. Use dark chocolate for the best flavor contrast — it adds depth without making the dessert too sweet. This is especially genius if you're making this ahead for an event.
The Serving Temperature Sweet Spot
This cake is best served slightly cooler than room temperature — about 65°F if you want to get technical. Too cold and the flavors are muted, too warm and the whipped cream starts to weep. If you've stored it in the fridge, let it sit out for 15-20 minutes before serving. The difference in flavor is remarkable — the vanilla becomes more pronounced, the butter notes more complex, and the whole experience more luxurious.
Creative Twists and Variations
This recipe is a playground. Here are some of my favorite ways to switch things up:
Chocolate Lover's Dream
Replace the vanilla pudding with chocolate, but here's the twist — use Dutch-processed cocoa powder for a deeper, more sophisticated flavor. Add a teaspoon of espresso powder to enhance the chocolate notes without making it taste like coffee. Top with chocolate shavings and a dusting of cocoa powder for a dessert that's pure chocolate heaven. The contrast between the light base and rich chocolate creates a perfect balance that won't overwhelm.
Summer Berry Bliss
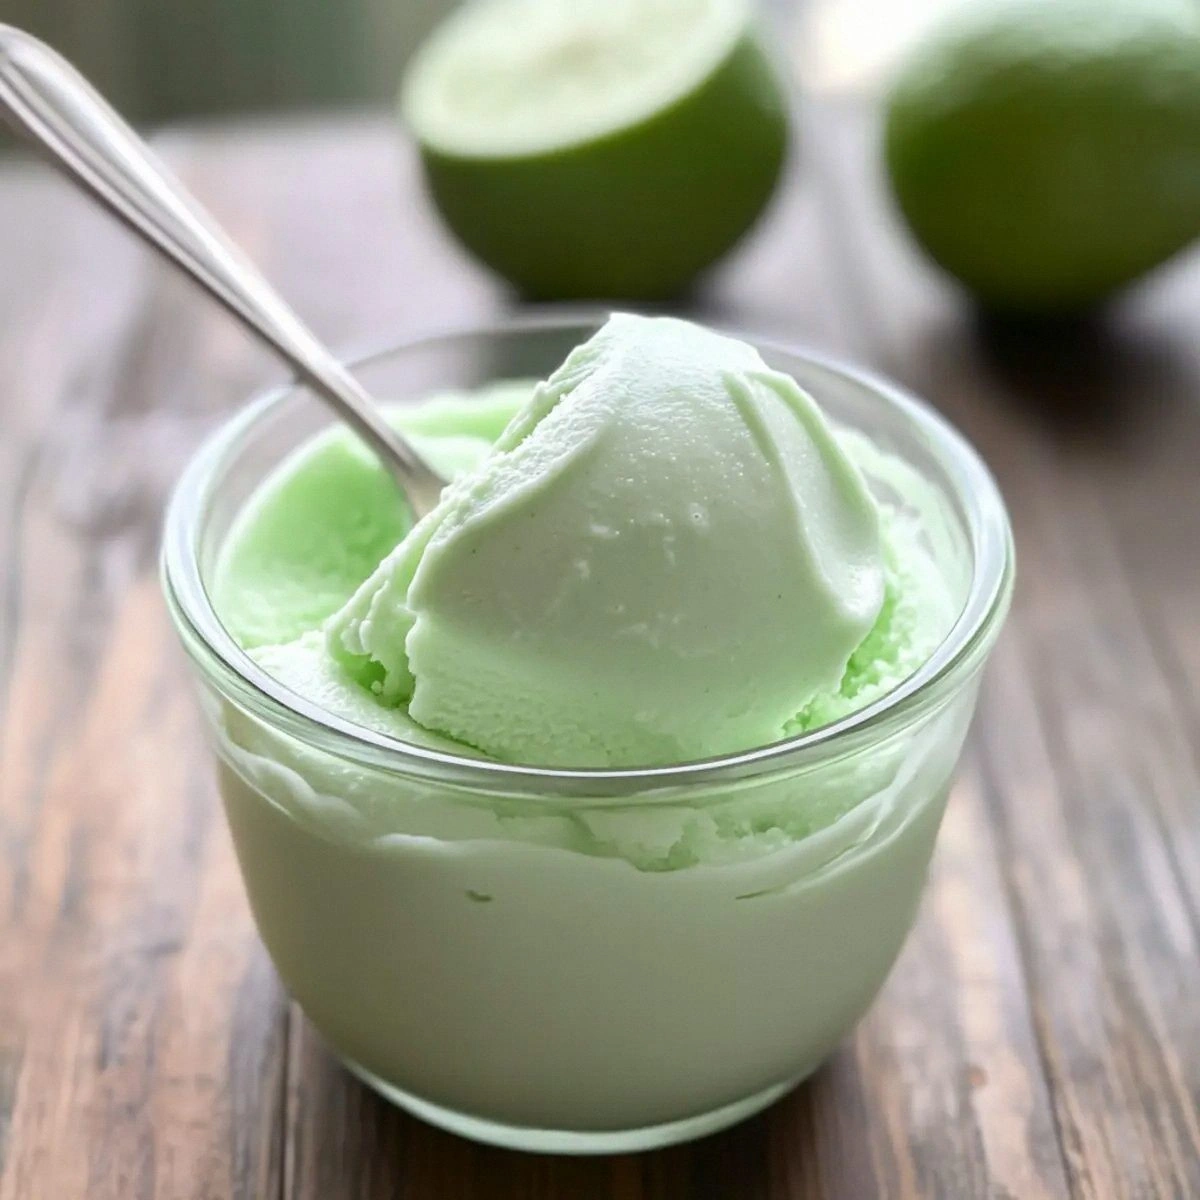
Fold fresh raspberries or sliced strawberries into the whipped cream for a pop of color and tartness that cuts through the richness. The berries add moisture, so add them just before serving to prevent weeping. A hint of lemon zest in the pudding brightens everything up and makes this perfect for warm weather gatherings. It's like strawberry shortcake met cream puffs and had a beautiful baby.
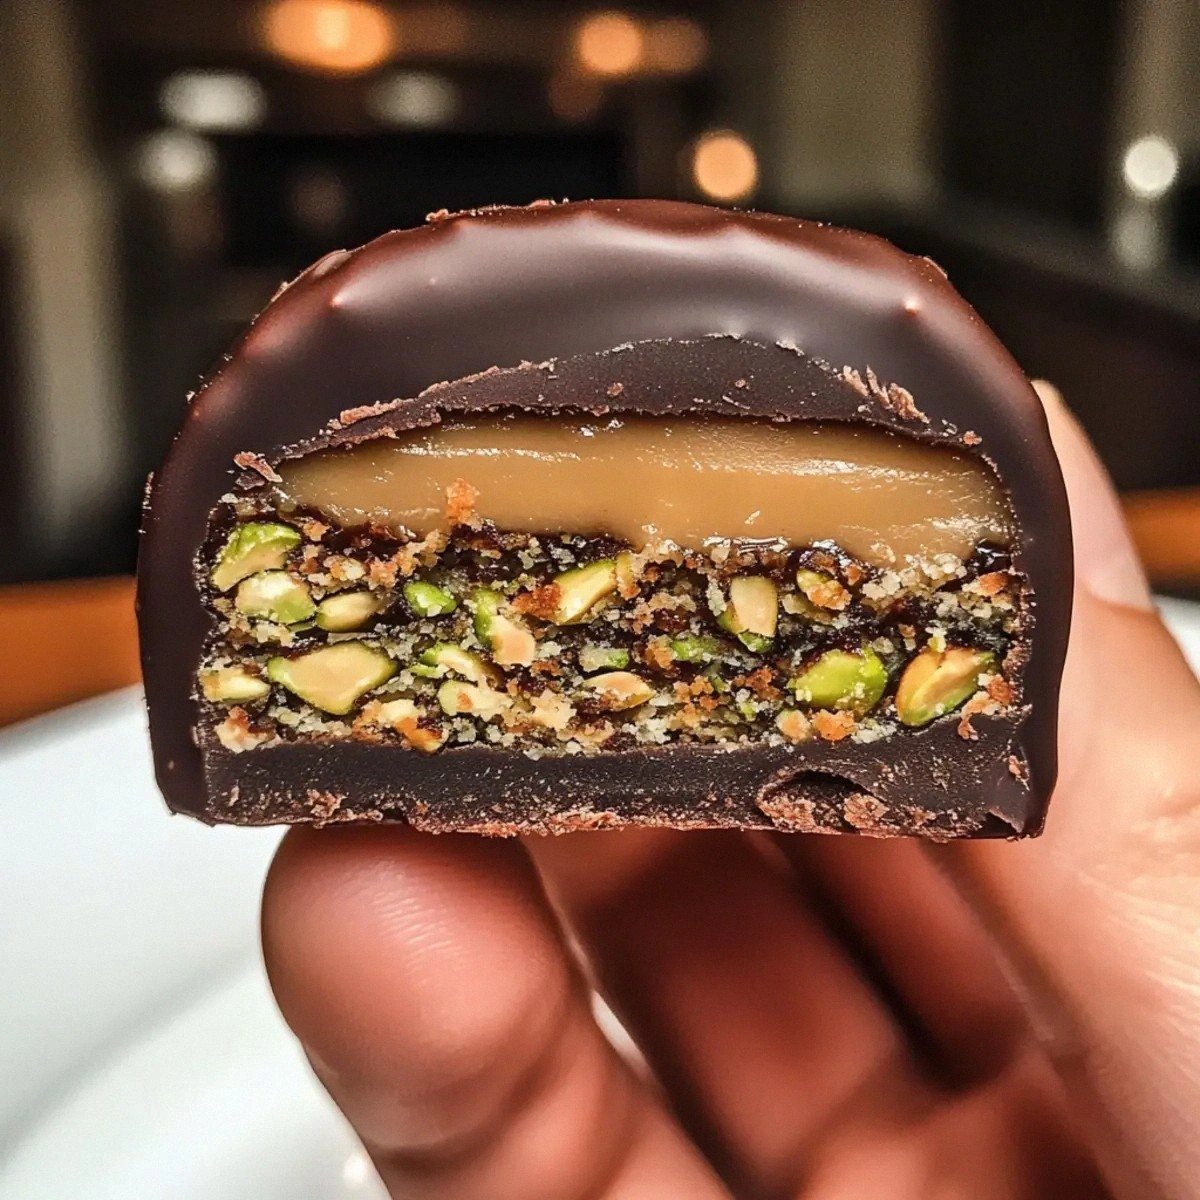
Salted Caramel Indulgence
Drizzle homemade salted caramel between the pudding and whipped cream layers for a sophisticated twist. The salt enhances all the other flavors while the caramel adds buttery depth. Make extra caramel for serving — guests love being able to add more to their individual pieces. This version has converted more "I don't like sweets" people than I can count.
Tropical Escape
Add coconut milk (half the regular milk amount) to the pudding for a subtle tropical flavor. Top with toasted coconut flakes and serve with fresh mango or pineapple on the side. A dash of rum extract in the whipped cream completes the vacation vibe. Close your eyes while eating and you can almost hear the waves crashing.
Nutty Perfection
Fold toasted chopped almonds or pecans into the base dough for added crunch and flavor. The nuts toast as the base bakes, creating these incredible toasty pockets throughout. Top with praline sauce instead of chocolate for a turtle-inspired version. The combination of creamy and crunchy textures makes this absolutely addictive.
Holiday Magic
Add peppermint extract to the whipped cream and crushed candy canes on top for a festive Christmas version. Use green and red sprinkles in the pudding for a fun surprise when you cut into it. This has become my go-to for holiday potlucks — it's impressive, feeds a crowd, and the colors make everyone smile. The peppermint actually aids digestion, so you can justify that second piece.
Storing and Bringing It Back to Life
Fridge Storage
Cover the pan tightly with plastic wrap, pressing it gently against the surface of the whipped cream to prevent it from absorbing fridge odors. Stored properly, this cake keeps for up to 3 days, though the base will gradually soften. For best results, place a few paper towels under the pan to absorb excess moisture. The flavor actually improves on day two as everything melds together beautifully.
Freezer Friendly
You can freeze the base separately for up to 2 months — wrap it tightly in plastic wrap and foil. The pudding and whipped cream don't freeze well, so make those fresh. To serve, thaw the base at room temperature for an hour, then proceed with the recipe. If you're planning ahead for a big event, this is a game-changer that saves tons of time.
Best Reheating Method
While this cake is served cold, sometimes you want to refresh it after fridge storage. Let it sit at room temperature for 20-30 minutes to take the chill off. If the whipped cream has deflated, simply add a fresh dollop on top. Add a tiny splash of water before storing leftovers — it steams back to perfection and prevents the base from becoming too dry.