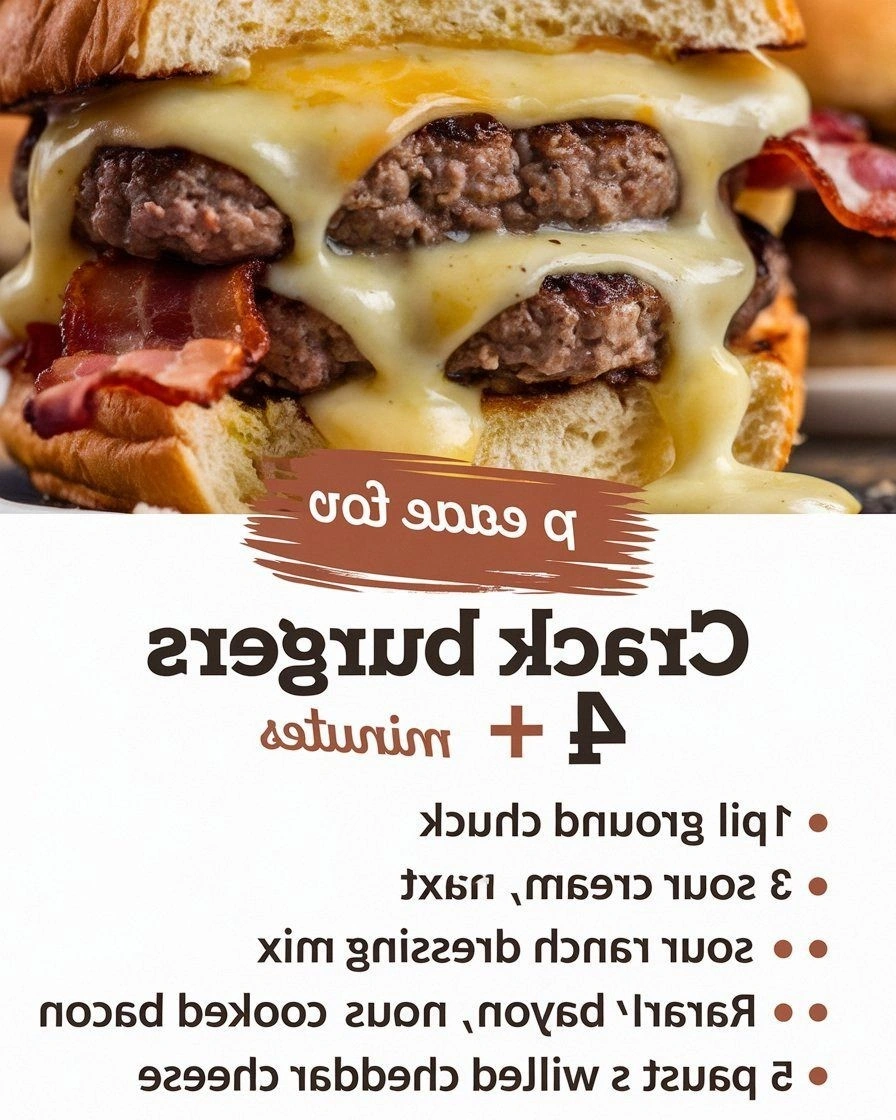
I was standing in my kitchen, staring at a half‑cooked burger patty that had turned out as dry as a desert, when my roommate burst in, eyes wide, shouting, “You’ve gotta try this.” It was the moment that sparked the creation of the ultimate Crack Burger, a version that flips every other recipe on its head. From the first sizzling sound that crackles like fireworks to the aroma of caramelized onions that drifted through the air, every sense was engaged. The texture was a revelation—crisp edges that shatter like thin ice, a juicy center that melts in your mouth, and a flavor profile that lingers like a well‑played guitar solo. I dared you to taste this and not go back for seconds, and that dare became the spark that turned a kitchen mishap into a culinary triumph.
Picture this: the skillet is hot, the patty is sizzling, and the air is filled with a savory perfume that makes your mouth water. The sound of the meat searing is a rhythmic drumbeat, a signal that the magic is happening. The first bite is a burst of umami, a gentle crunch from the crust, followed by a melt of cheese that drips like molten chocolate. The lettuce crunch adds a fresh contrast, and the pickles introduce a bright, tangy bite that cuts through the richness. Every element is in perfect harmony, creating a symphony of textures and flavors that feels both comforting and adventurous.
What makes this version stand out isn’t just the ingredients; it’s the philosophy behind each step. I’ve spent years experimenting with ratios and techniques, and I’ve discovered that the secret lies in balancing the fat content, seasoning depth, and cooking method. The result is a burger that is hands down the best version you'll ever make at home, with a crust that’s crisped to perfection while the inside remains tender and juicy. The bold claim isn’t just hype—it’s a promise that this burger will become a staple in your culinary repertoire.
If you’ve ever struggled to get the right balance of flavor and texture, you’re not alone. I’ve been there, watching my burger flop on the grill, and I’ve learned the tricks that turn a disappointment into a masterpiece. Picture yourself pulling this out of the pan, the whole kitchen smelling incredible, and seeing your friends’ faces light up with delight. Stay with me here—this is worth it. Let me walk you through every single step, and by the end, you’ll wonder how you ever made it any other way.
What Makes This Version Stand Out
- Taste: The seasoning blend is a symphony of salt, pepper, garlic, onion, paprika, and a whisper of brown sugar that creates a savory depth that lingers on the palate.
- Texture: The crust forms a caramelized barrier that locks in juices, while the inside stays moist and tender, delivering that perfect bite.
- Ingredient Quality: Using a blend of chuck and sirloin gives the burger a robust flavor and an ideal fat ratio that keeps it juicy.
- Cooking Method: Pan‑searing at high heat followed by a quick finish in the oven ensures even cooking and a crisp exterior.
- Make‑Ahead Potential: The patties can be pre‑formed and frozen, allowing you to assemble and cook fresh on the day of serving.
- Crowd Reaction: Friends and family rave about the flavor, and I dare you to taste this and not go back for seconds.
Inside the Ingredient List
The Flavor Base
Ground beef is the heart of the Crack Burger. A 50/50 mix of chuck and sirloin provides the ideal balance of fat and lean meat, ensuring the patty stays juicy while still having enough fat to develop a flavorful crust. If you skip the mix and use lean only, the burger will turn out dry and lack depth. For the best results, choose fresh, unseasoned beef and let it sit at room temperature for 15 minutes before seasoning.
The Seasoning Blend
This isn’t just a sprinkle of salt and pepper; it’s a carefully measured mix that includes garlic powder, onion powder, paprika, and a touch of brown sugar. The brown sugar caramelizes during cooking, adding a subtle sweetness that balances the savory notes. If you omit the sugar, the burger will taste flat. Swapping paprika for smoked paprika introduces a smoky undertone, while using fresh minced garlic gives a sharper bite.
The Texture Crew
Fresh toppings like crisp lettuce, juicy tomato, tangy pickles, and creamy cheese are essential for contrast. Lettuce provides crunch, tomatoes add juiciness, pickles introduce acidity, and cheese offers a creamy, melty finish. Skipping any of these will diminish the overall experience. A quick hack: slice the tomato thinly to prevent it from releasing too much water during cooking.
The Final Flourish
Burger buns are more than just a vessel; they should be toasted to add a nutty flavor and a satisfying crunch. Using brioche or potato buns gives a subtle sweetness that pairs well with the savory patty. If you’re looking for a low‑carb option, consider a lettuce wrap or a keto-friendly bun. Remember, the bun should complement, not overpower, the burger.
Everything's prepped? Good. Let's get into the real action.
The Method — Step by Step
- Step 1: Prepare the Patties. Divide the ground beef into four equal portions, about 6 ounces each. Gently form each into a patty about 3/4 inch thick, making a shallow indentation in the center with your thumb. This trick keeps the burgers flat and prevents them from bulging during cooking. Let them rest at room temperature for 10 minutes to ensure even cooking.
- Step 2: Season the Patties. In a small bowl, combine 1 teaspoon of salt, ½ teaspoon of black pepper, 1 teaspoon of garlic powder, 1 teaspoon of onion powder, ½ teaspoon of paprika, and 1 tablespoon of brown sugar. Rub this blend evenly over each patty, ensuring the seasoning penetrates the meat. The sugar will caramelize, adding a sweet crust that balances the savory notes.
- Step 3: Preheat the Skillet. Heat a cast‑iron skillet over medium‑high heat until it shimmers. Add a splash of neutral oil (like canola or grapeseed) and let it swirl around the pan. The skillet should be hot enough that a drop of water sizzles and evaporates instantly. This high heat is key to achieving that coveted crust.
- Step 4: Sear the Patties. Place the patties in the skillet, pressing gently to ensure even contact. Let them sear for 3 minutes on one side before flipping. The surface should develop a deep golden brown crust; if it’s still pale, give it another minute. This step locks in juices and creates that satisfying crunch.
- Step 5: Add Cheese. After flipping, place a slice of cheese on each patty. The cheese should melt into the meat, forming a gooey, savory coating. The combination of cheese and the caramelized crust is pure bliss. Watch as the cheese starts to bubble, a clear sign that it’s melting perfectly.
- Step 6: Finish in the Oven. Transfer the skillet to a preheated oven at 400°F (200°C). Bake for 5 minutes to finish cooking the patties without overcooking. This gentle finish ensures the interior stays juicy while the exterior remains crisp.
- Step 7: Toast the Buns. While the burgers finish, split the buns and toast them in a separate skillet or toaster oven until golden brown. Toasting adds a nutty flavor and prevents the buns from becoming soggy when they come into contact with the juicy patty.
- Step 8: Assemble the Burgers. Spread a thin layer of mayo or your favorite sauce on the bottom bun. Add a lettuce leaf, a tomato slice, a few pickle slices, and the patty. Finish with a drizzle of sauce and cap it with the top bun. The layers should stack nicely, each bite delivering a new combination of textures and flavors.
That’s it—you did it. But hold on, I've got a few more tricks that'll take this to another level. Keep reading for insider tips that will elevate your burger game to championship status.
Insider Tricks for Flawless Results
The Temperature Rule Nobody Follows
The key to a perfect crust is a skillet that’s hot enough to sear without burning. I’ve learned that a temperature of 400–425°F is ideal. If you test the heat by sprinkling a few drops of water, they should dance and evaporate almost instantly. This rule ensures that the exterior locks in juices while the interior stays tender.
Why Your Nose Knows Best
Before flipping the patties, let them sit undisturbed until you hear that satisfying crackle. The aroma of caramelized beef will rise, signaling that the crust is ready. Trusting your senses—especially your nose—ensures you never overcook or undercook the burger.
The 5‑Minute Rest That Changes Everything
Once the burgers are out of the oven, let them rest for five minutes on a cutting board. This step allows the juices to redistribute, preventing them from spilling onto the plate. A rest is a small investment of time that pays off in mouthwatering flavor.
The Quick Flip Trick
When you flip the patty, press down slightly with a spatula to flatten it. This ensures even contact with the pan, leading to a uniform crust. A friend tried skipping this step once, and the result was a lopsided burger that didn’t cook evenly.
The Cheese Layer Secret
If you prefer a smokier flavor, add a sprinkle of smoked paprika to the cheese before it melts. The heat will release the paprika’s aroma, creating a subtle smoky undertone that complements the savory beef. I’ve used this trick in the past, and the result was a burger that had depth beyond the usual.
Creative Twists and Variations
This recipe is a playground. Here are some of my favorite ways to switch things up:
BBQ Bacon Burger
Swap the regular cheese for cheddar and add two slices of smoky bacon. Drizzle with your favorite BBQ sauce for a sweet‑savory kick that’s perfect for summer cookouts.
Mediterranean Delight
Replace lettuce with arugula, add sliced olives, and top with a dollop of tzatziki. The creamy yogurt pairs beautifully with the robust beef, creating a Mediterranean twist.
Mushroom Swiss Supreme
Sauté sliced mushrooms in butter and garlic, then layer them on the patty with Swiss cheese. The earthy mushrooms add depth, while the Swiss melts into a creamy layer.
Spicy Jalapeño Kick
Add sliced jalapeños to the patty mixture and top with pepper jack cheese. The heat from the jalapeños and the creamy cheese create a bold, spicy flavor profile.
Vegan Plant‑Based Version
Use a high‑protein plant‑based patty, season it the same way, and top with vegan cheese, lettuce, tomato, and pickles. The texture is surprisingly close to the real thing, and the flavor is just as satisfying.
Storing and Bringing It Back to Life
Fridge Storage
Store assembled burgers in an airtight container in the refrigerator for up to 2 days. Keep the buns separate to prevent sogginess. If you’re storing pre‑assembled, wrap the buns in parchment paper to maintain crispness.
Freezer Friendly
For longer storage, wrap each patty individually in plastic wrap and place in a freezer bag. Freeze for up to 3 months. Thaw overnight in the refrigerator before reheating.
Best Reheating Method
Reheat frozen patties in a skillet over medium heat, adding a splash of water to the pan to create steam. Cover for 5 minutes, then finish with a quick sear to restore the crust. Add a tiny splash of water before reheating to keep the patty moist and steam it back to perfection.