I was standing in my kitchen, staring at a half‑melted chocolate puddle that had decided to turn my countertop into a crime scene, when a friend dared me: “Make something that tastes like a million bucks, but without turning on the oven.” I laughed, I scoffed, and then I remembered that old no‑bake cheesecake recipe I’d tucked away in a dusty folder. The idea of a dessert that required no heat, no fuss, and yet could make you feel like you’d just hit the sweet lottery was too tempting to ignore. So I rolled up my sleeves, grabbed a bowl, and set out to create the ultimate no‑bake marvel that would make even the most skeptical sweet tooth swoon.
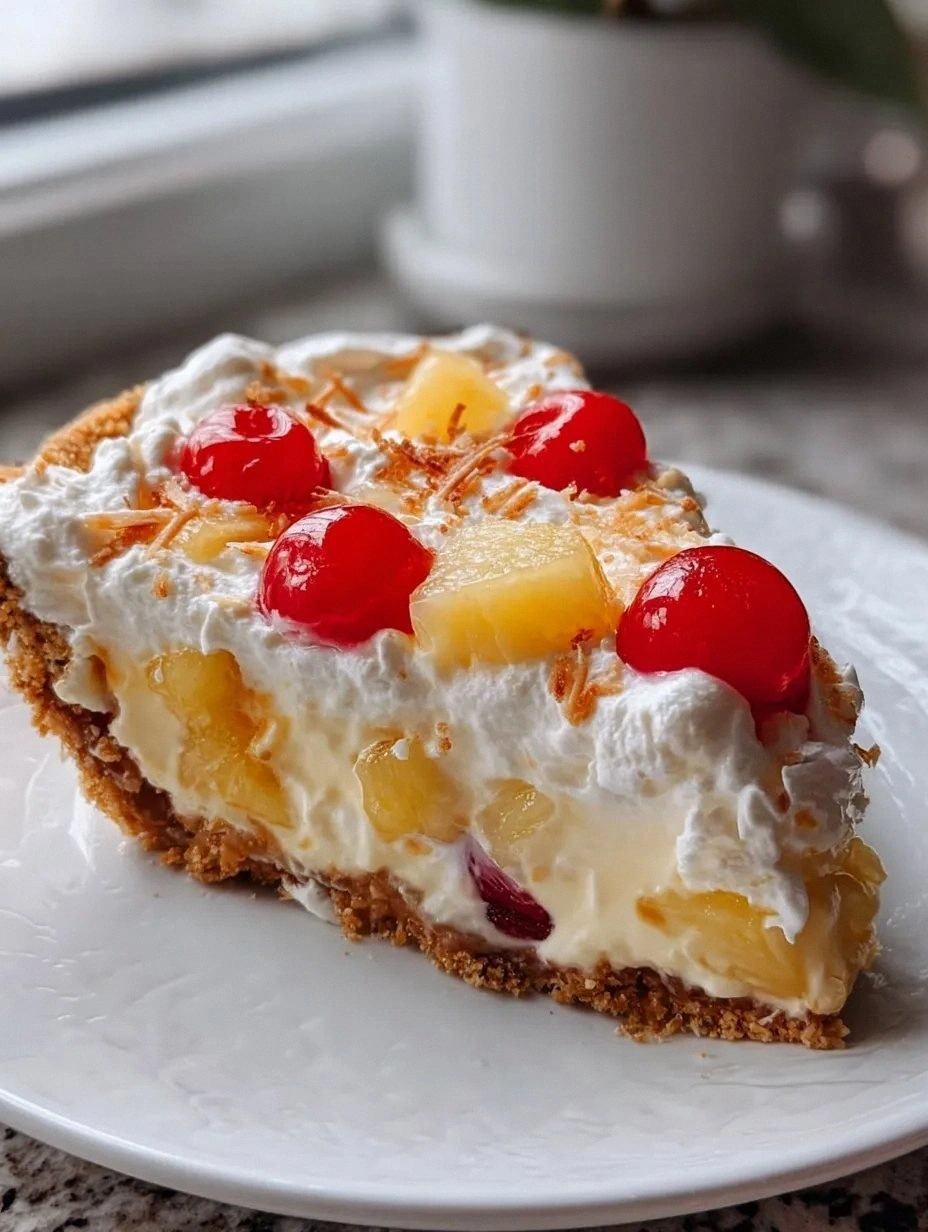
Picture this: a buttery crust that crumbles like a fresh‑baked cookie, a silky filling that glides across your tongue like liquid gold, and a glossy topping that catches the light like a freshly polished trophy. The aroma that fills the room is a heady mix of toasted graham, sweet vanilla, and a whisper of citrus that makes your nose do a little happy dance. When you finally slice into it, the layers hold together perfectly, each bite delivering a symphony of textures—crunch, cream, and a faint snap of caramelized sugar. The whole experience feels like winning a lottery ticket you didn’t even know you bought.
Most no‑bake pies I’ve tried either fell apart like a soggy sandcastle or tasted as flat as a pancake left out too long. This version, however, is a game‑changer because it balances flavor, texture, and stability without any baking. I’m talking about a crust that stays firm, a filling that sets just right, and a topping that adds a surprise crunch without melting into a puddle. The secret? A pinch of cornstarch in the filling and a dash of citrus zest that brightens everything, plus a quick chill that locks the structure in place. I dare you to taste this and not go back for seconds.
There’s also a surprise ingredient that most recipes skip: a splash of high‑quality dark chocolate that’s folded in at the very end, giving the pie a luxurious sheen and a depth of flavor that feels like a hidden jackpot. Let me walk you through every single step — by the end, you’ll wonder how you ever made it any other way.
What Makes This Version Stand Out
- Flavor Explosion: The combination of tangy lemon, sweet condensed milk, and a hint of dark chocolate creates a layered taste that feels like a fireworks show in your mouth.
- Texture Harmony: A crisp, buttery crust meets a velvety, set filling and a light, airy whipped topping, delivering three distinct sensations in every forkful.
- Zero Oven Required: No need to heat up the kitchen; everything sets in the fridge, making it perfect for hot summer days or when you’re short on time.
- Ingredient Quality: Using real butter, premium dark chocolate, and full‑fat cream cheese elevates the humble no‑bake pie to a five‑star dessert.
- Crowd‑Pleaser: Guests often ask for the recipe before they’ve even taken the first bite, and the leftovers disappear faster than you can say “second helping.”
- Make‑Ahead Magic: The pie can be assembled up to 24 hours ahead, allowing flavors to meld and the crust to firm up for a flawless slice.
- Simple Steps: Even a kitchen novice can pull this off with confidence, thanks to clear, timed steps and a few helpful hacks.
- Versatile Base: Swap the graham cracker crust for Oreo or almond flour for a gluten‑free twist without sacrificing structure.
Inside the Ingredient List
The Flavor Base
The heart of this pie lives in the sweetened condensed milk, which acts like liquid gold, delivering an intense caramel sweetness that balances the tang of lemon juice. If you substitute evaporated milk, you’ll lose that deep, buttery richness and the filling will feel thin. The lemon zest and juice are not just for brightness; they cut through the sweetness, preventing the dessert from becoming cloying. A good tip is to zest the lemon before juicing it—this ensures you capture the aromatic oils that sit just beneath the peel.
If you’re allergic to dairy, you can swap the condensed milk for a coconut‑based sweetened condensed alternative, but the flavor profile will shift toward tropical notes. For a lower‑sugar version, try using a reduced‑sugar condensed milk, though the texture may be slightly less glossy. The key is to keep the liquid ratio consistent so the filling sets properly.
The Texture Crew
Cream cheese is the anchor that gives the filling its body, providing that classic cheesecake silkiness. Opt for full‑fat cream cheese; low‑fat versions tend to curdle when mixed with the acidic lemon. The cornstarch is the unsung hero—it thickens the mixture without the need for cooking, creating a custard‑like firmness once chilled. Skipping it will result in a runny center that refuses to hold its shape on the plate.
Whipped topping (or stabilized whipped cream) adds a light, airy crown that contrasts beautifully with the dense filling. If you prefer a richer finish, fold in a dollop of mascarpone for extra creaminess. Remember to fold gently—over‑mixing will deflate the air you worked hard to incorporate.
The Unexpected Star
Dark chocolate, melted and swirled into the filling just before chilling, brings a subtle bitterness that balances the overall sweetness, turning the pie into a sophisticated dessert rather than a sugar rush. Choose a chocolate with at least 70% cocoa for the best flavor contrast. If you’re not a chocolate fan, a caramel drizzle or a sprinkle of toasted coconut can serve as an alternative, but you’ll miss that luxurious sheen.
The Final Flourish
The crust is a simple blend of graham cracker crumbs, melted butter, and a touch of sugar, pressed into a pan to form a sturdy base. For a gluten‑free version, substitute with almond flour and coconut sugar; the flavor becomes nutty and the texture stays crisp. When selecting graham crackers, go for the honey‑sweetened variety—they add a subtle depth that plain crackers lack.
Everything’s prepped? Good. Let’s get into the real action…
The Method — Step by Step
Preheat your oven to 350°F (175°C) for just five minutes. While the oven warms, combine 2 cups of graham cracker crumbs, 1/2 cup melted butter, and 2 tablespoons of granulated sugar in a large bowl. Press the mixture firmly into the bottom of a 9‑inch springform pan, using the back of a measuring cup to smooth it out. Power transition: This quick bake creates a dry barrier that prevents sogginess later. Let the crust cool while you prep the filling.
In a separate mixing bowl, beat 8 ounces of room‑temperature cream cheese until smooth and creamy—about two minutes on medium speed. Add 1 cup of sweetened condensed milk and continue beating until fully incorporated. The mixture should look glossy and slightly thickened.
Stir in the zest of one large lemon and 2 tablespoons of freshly squeezed lemon juice. The lemon will brighten the entire dessert, so don’t skimp on the zest; it’s where the flavor lives. Next, whisk in 1 tablespoon of cornstarch; this is the secret that will set your filling without heat.
Now, melt 1/4 cup of dark chocolate (70% cocoa) in a microwave‑safe bowl, heating in 20‑second bursts and stirring in between until smooth. Gently fold the melted chocolate into the cream cheese mixture, creating a marbled effect. The chocolate should be warm but not hot, or it will melt the cream cheese.
Fold in 1 cup of whipped topping (or stabilized whipped cream) with a spatula, using a gentle folding motion. This adds lightness and prevents the filling from becoming too dense. The mixture should be airy and hold soft peaks.
Pour the filling over the pre‑baked crust, spreading it evenly with a spatula. Tap the pan lightly on the counter to release any trapped air bubbles. Watch Out: If you see large pockets of air, use the tip of a butter knife to gently poke them out before chilling.
Cover the pan with plastic wrap and place it in the refrigerator for at least 4 hours, preferably overnight. This chilling time allows the cornstarch to set the filling firmly, and the crust to absorb just enough moisture without becoming soggy.
When you’re ready to serve, run a thin knife around the edge of the springform pan to release the sides, then carefully remove the ring. Top each slice with a drizzle of caramel sauce and a sprinkle of toasted almond slivers for added crunch. Future pacing: Picture yourself cutting into that glossy slice, the aroma of lemon and chocolate filling the room—pure victory.
That’s it — you did it. But hold on, I’ve got a few more tricks that'll take this to another level. Trust me, the next section is pure magic.
Insider Tricks for Flawless Results
The Temperature Rule Nobody Follows
Never pour a hot filling onto a cold crust. The temperature shock can cause the crust to crack, especially if you’ve baked it just before. Let the crust cool completely to room temperature, then chill it for 10 minutes before adding the filling. This tiny pause makes a massive difference in structural integrity.
Why Your Nose Knows Best
When the chocolate is melted, it should emit a faint, nutty aroma—not a burnt smell. If you detect any bitterness, the chocolate is over‑heated and will impart a harsh flavor. Trust your senses; a quick sniff can save you from a disastrous batch.
The 5‑Minute Rest That Changes Everything
After folding the whipped topping into the filling, let the mixture sit for five minutes before spreading it over the crust. This short rest lets the air bubbles rise to the surface, resulting in a smoother top layer that looks professionally plated.
The Secret of the Lemon Zest
Zest only the outermost layer of the lemon peel. The white pith underneath is bitter and will ruin the delicate balance. Use a microplane for the finest zest; it integrates seamlessly and releases essential oils during mixing.
The Chill‑Flip Technique
If you’re in a hurry, you can speed up the setting process by placing the pie on a metal baking sheet while it chills. The metal conducts cold more efficiently, cutting the chilling time in half. Just be sure the sheet is covered with parchment to avoid any mess.
Creative Twists and Variations
This recipe is a playground. Here are some of my favorite ways to switch things up:
Berry Burst
Fold in 1 cup of fresh raspberries or strawberries into the filling before chilling. The fruit adds a tart contrast and a burst of color that makes the pie look like a celebration on a plate.
Coffee Kick
Replace the lemon juice with 2 teaspoons of instant espresso powder dissolved in a tablespoon of hot water. The coffee notes deepen the chocolate flavor, turning the pie into an after‑dinner treat for caffeine lovers.
Nutty Delight
Add 1/3 cup of toasted hazelnut pieces to the crust mixture and sprinkle a handful on top before serving. The nuts bring a crunchy texture and a buttery richness that pairs beautifully with the chocolate.
Tropical Twist
Swap the lemon zest for 1 tablespoon of finely grated lime zest and fold in 1/2 cup of toasted coconut flakes into the topping. This version transports you to a beachside cabana with every bite.
Salted Caramel Swirl
Drizzle a homemade salted caramel sauce over the top just before serving and sprinkle flaky sea salt. The salty‑sweet combo elevates the pie to a gourmet level that will wow any crowd.
Storing and Bringing It Back to Life
Fridge Storage
Cover the pie tightly with plastic wrap and store it in the refrigerator for up to 4 days. The crust stays crisp thanks to the initial bake, and the filling remains creamy.
Freezer Friendly
Wrap the entire pie (still in the springform pan) in a double layer of foil, then place it in a freezer‑safe bag. It freezes well for up to 2 months. Thaw overnight in the fridge before serving.
Best Reheating Method
Since this is a no‑bake dessert, you’ll rarely need to reheat it, but if you want a slightly softer texture, let it sit at room temperature for 20 minutes before serving. Adding a tiny splash of milk or water to the surface and gently swirling it with a spoon will revive the silky mouthfeel.