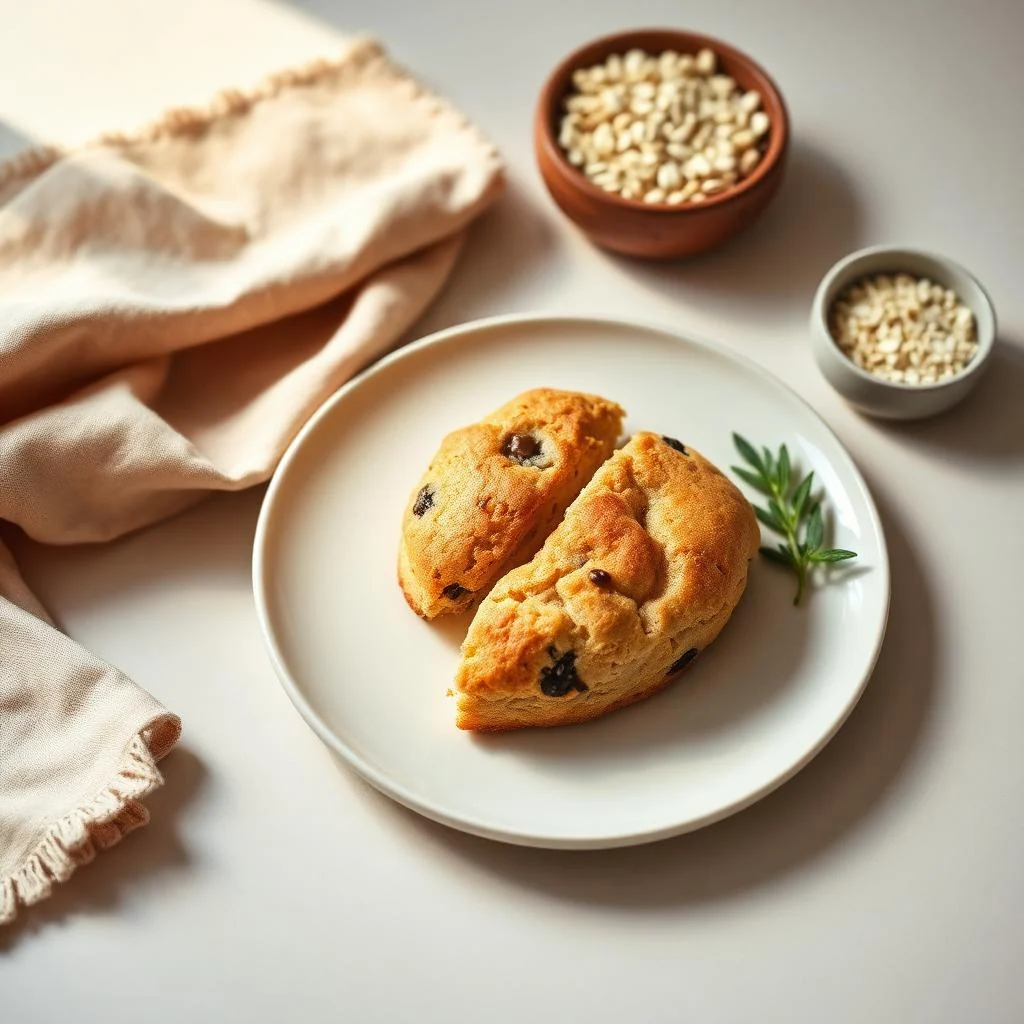
Gluten Free Scones
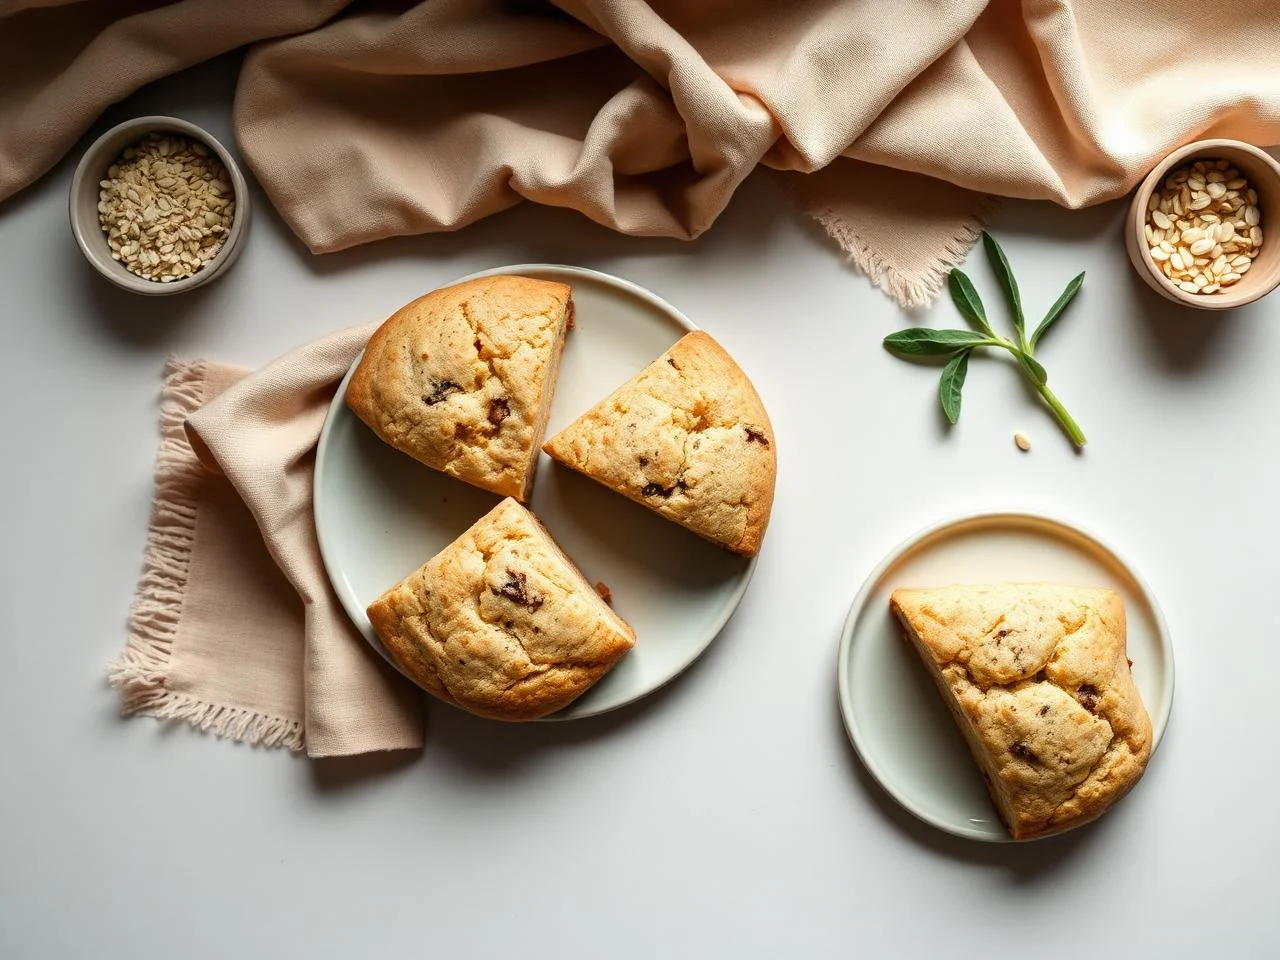
I still remember the first time I tried to make gluten-free scones after being diagnosed with celiac disease. It was a disaster - they were dense, gritty, and tasted more like cardboard than the tender, flaky treats I was used to. But I was determined to get it right, and after months of experimentation, I finally landed on a recipe that works beautifully.
The key to making great gluten-free scones is to use a balanced flour blend, hydrate the mixture properly, and don't overwork the dough. With these simple tips and a bit of patience, you can enjoy freshly baked, tender, and delicious gluten-free scones in the comfort of your own home.
This recipe is perfect for anyone who loves scones but needs to avoid gluten, whether due to celiac disease, a gluten intolerance, or simply a preference for gluten-free baking. And the best part? These scones are so good that everyone will love them, regardless of their dietary needs.
So, if you're ready to give gluten-free scones a try, keep reading for my step-by-step guide on how to make them. From the ingredients and equipment you'll need to the tips and tricks for achieving the perfect texture, I've got you covered.
Whether you're a seasoned baker or just starting out, this recipe is designed to be easy to follow and fun to make. So go ahead, get baking, and enjoy the warm, comforting goodness of freshly baked gluten-free scones!
Why You’ll Love This Recipe
- These gluten-free scones are easy to make and require minimal special equipment.
- They're perfect for breakfast, afternoon tea, or as a snack any time of day.
- The recipe is highly adaptable and can be customized with your favorite flavors and ingredients.
- Gluten-free scones are a great option for those with celiac disease or gluten intolerance.
- They're also a delicious and satisfying treat for anyone looking for a gluten-free baking option.
- The recipe makes a generous batch of scones, perfect for sharing with friends and family.
- Gluten-free scones can be made ahead of time and frozen for later use.
Why This Recipe Works
The reason this recipe works so well is that it uses a combination of rice flour, tapioca starch, and xanthan gum to create a balanced and tender crumb. The rice flour provides structure and texture, while the tapioca starch helps to absorb excess moisture and prevent the scones from becoming too dense. The xanthan gum, meanwhile, helps to strengthen the gluten-free flours and create a more cohesive dough.
By hydrating the mixture properly and allowing it to rest for 20-30 minutes, we give the starches time to fully absorb the liquid and the gluten-free flours time to relax and become more pliable. This results in a tender, flaky texture that's similar to traditional scones.
Another key factor in this recipe is the use of cold ingredients, particularly the butter and cream. By keeping these ingredients cold, we can create a flaky, layered texture that's characteristic of great scones. And by not overworking the dough, we can prevent the scones from becoming tough and dense.
Overall, this recipe is a great example of how gluten-free baking can be just as delicious and satisfying as traditional baking. With the right ingredients, techniques, and a bit of patience, you can create amazing gluten-free scones that everyone will love.
Ingredients You’ll Need
To make these delicious gluten-free scones, you'll need a few key ingredients, including a balanced flour blend, cold butter and cream, and a bit of sugar and salt. You'll also need some xanthan gum to help strengthen the gluten-free flours and create a more cohesive dough.
When shopping for ingredients, be sure to choose a high-quality gluten-free flour blend that contains a mix of rice flour, tapioca starch, and potato starch. You can also make your own flour blend at home using these ingredients, but be sure to use a digital scale to get the ratios just right.
- 1 1/2 cups (190g) gluten-free flour blendA balanced flour blend is essential for making great gluten-free scones. Look for a mix that contains rice flour, tapioca starch, and potato starch, or make your own at home using these ingredients.
- 1/4 cup (50g) granulated sugarA bit of sugar helps to balance out the flavor of the scones and adds a touch of sweetness.
- 1/2 teaspoon saltSalt enhances the flavor of the scones and helps to bring out the other ingredients.
- 1/2 teaspoon xanthan gumXanthan gum helps to strengthen the gluten-free flours and create a more cohesive dough.
- 1/2 cup (115g) cold unsalted butter, cut into small piecesCold butter is essential for creating a flaky, layered texture in the scones.
- 3/4 cup (180ml) heavy creamHeavy cream adds moisture and tenderness to the scones, and helps to create a rich, creamy flavor.
- 1 large eggThe egg helps to bind the ingredients together and adds moisture and richness to the scones.
- 1 teaspoon vanilla extractVanilla extract adds a touch of sweetness and flavor to the scones.
- 1/2 cup (60g) dried currantsDried currants add natural sweetness and chewiness to the scones.
- 1/4 cup (30g) chopped fresh parsleyFresh parsley adds a bright, fresh flavor to the scones and a bit of color to the finished product.

Equipment You’ll Need
How to Make Gluten Free Scones
- 1In a large mixing bowl, whisk together the gluten-free flour blend, granulated sugar, salt, and xanthan gum.
- 2Add the cold butter to the dry ingredients and use a pastry blender or fork to work it into the mixture until it resembles coarse crumbs.
- 3In a separate bowl, whisk together the heavy cream, egg, and vanilla extract.
- 4Add the wet ingredients to the dry ingredients and stir until the mixture forms a shaggy dough.
- 5Fold in the dried currants and chopped fresh parsley.
- 6Turn the dough out onto a floured surface and gently knead it a few times until it comes together.
- 7Pat the dough into a circle that is about 1 inch (2.5cm) thick.
- 8Use a biscuit cutter or the rim of a glass to cut out scones.
- 9Gather the scraps, re-form the dough, and cut out additional scones.
- 10Place the scones on the prepared baking sheet, leaving about 1 inch (2.5cm) of space between each scone.
- 11Brush the tops of the scones with a little extra heavy cream and sprinkle with granulated sugar.
- 12Bake the scones in a preheated oven at 400°F (200°C) for 15-20 minutes, or until they are golden brown and firm to the touch.
- 13Remove the scones from the oven and let them cool on a wire rack for 10-15 minutes before serving.
Expert Tips
- Make sure to use cold ingredients, especially the butter and cream, to create a flaky, layered texture in the scones.
- Don't overwork the dough, as this can lead to tough, dense scones.
- Use a digital scale to measure the ingredients accurately and ensure the best results.
- If you don't have xanthan gum, you can omit it or substitute it with guar gum.
- To freeze the scones, place them on a baking sheet lined with parchment paper and put them in the freezer until they are frozen solid. Then, transfer them to a freezer-safe bag or container and store them in the freezer for up to 2 months.
- To reheat frozen scones, bake them in a preheated oven at 350°F (180°C) for 5-10 minutes, or until they are warm and tender.
Common Mistakes to Avoid
- Using warm or room temperature ingredients, which can lead to a tough, dense texture.
- Overworking the dough, which can cause the scones to become tough and dense.
- Not using a balanced flour blend, which can result in scones that are gritty or crumbly.
- Not hydrating the mixture properly, which can lead to scones that are dry and crumbly.
- Not letting the scones rest for 10-15 minutes before serving, which can cause them to be too crumbly or fall apart.
- Not using a digital scale to measure the ingredients accurately, which can lead to inconsistent results.
Variations and Substitutions
- Add some dried fruit, such as cranberries or cherries, to the dough for extra flavor and texture.
- Use different types of milk, such as almond or soy milk, to create a non-dairy version of the scones.
- Add some grated cheese, such as cheddar or parmesan, to the dough for an extra burst of flavor.
- Use different types of sugar, such as honey or maple syrup, to create a unique flavor profile.
- Add some chopped nuts, such as walnuts or pecans, to the dough for extra texture and flavor.
- Use different types of extract, such as almond or coconut, to create a unique flavor profile.
- Create a savory version of the scones by omitting the sugar and adding some chopped herbs or spices.
What to Serve With Gluten Free Scones
These gluten-free scones are perfect for serving with a warm cup of coffee or tea, and they're also delicious with a pat of butter or a dollop of jam. You can also serve them with a variety of sweet or savory toppings, such as clotted cream, honey, or chopped nuts.
Some other ideas for serving the scones include:
Make-Ahead, Storage, Freezing and Reheating
To store the scones, let them cool completely on a wire rack and then place them in an airtight container. You can store them at room temperature for up to 2 days, or freeze them for up to 2 months.
To freeze the scones, place them on a baking sheet lined with parchment paper and put them in the freezer until they are frozen solid. Then, transfer them to a freezer-safe bag or container and store them in the freezer.
To reheat frozen scones, bake them in a preheated oven at 350°F (180°C) for 5-10 minutes, or until they are warm and tender. You can also reheat them in the microwave, but be careful not to overheat them.
It's also a good idea to freeze the scones as soon as possible after baking, as this will help to preserve their texture and flavor. Simply place them in a single layer on a baking sheet lined with parchment paper and put them in the freezer until they are frozen solid. Then, transfer them to a freezer-safe bag or container and store them in the freezer.
Frequently Asked Questions
What type of flour blend should I use for gluten-free scones?
A balanced flour blend that contains a mix of rice flour, tapioca starch, and potato starch is best for making gluten-free scones. You can also make your own flour blend at home using these ingredients, but be sure to use a digital scale to get the ratios just right.
Can I use a different type of sugar in the recipe?
Yes, you can use different types of sugar in the recipe, such as honey or maple syrup. However, keep in mind that using a different type of sugar may affect the flavor and texture of the scones.
Can I freeze the scones?
Yes, you can freeze the scones. Simply place them on a baking sheet lined with parchment paper and put them in the freezer until they are frozen solid. Then, transfer them to a freezer-safe bag or container and store them in the freezer for up to 2 months.
How do I reheat frozen scones?
To reheat frozen scones, bake them in a preheated oven at 350°F (180°C) for 5-10 minutes, or until they are warm and tender. You can also reheat them in the microwave, but be careful not to overheat them.
Can I make the scones ahead of time?
Yes, you can make the scones ahead of time. Simply bake them as directed and then let them cool completely on a wire rack. You can then store them in an airtight container at room temperature for up to 2 days or freeze them for up to 2 months.
Can I use a different type of milk in the recipe?
Yes, you can use different types of milk in the recipe, such as almond or soy milk. However, keep in mind that using a different type of milk may affect the flavor and texture of the scones.
Can I add different ingredients to the dough?
Yes, you can add different ingredients to the dough, such as dried fruit or nuts. However, keep in mind that adding different ingredients may affect the flavor and texture of the scones.
What is the best way to store the scones?
The best way to store the scones is to let them cool completely on a wire rack and then place them in an airtight container. You can store them at room temperature for up to 2 days or freeze them for up to 2 months.
Ingredients
- 1 1/2 cups (190g) gluten-free flour blend
- 1/4 cup (50g) granulated sugar
- 1/2 teaspoon salt
- 1/2 teaspoon xanthan gum
- 1/2 cup (115g) cold unsalted butter, cut into small pieces
- 3/4 cup (180ml) heavy cream
- 1 large egg
- 1 teaspoon vanilla extract
- 1/2 cup (60g) dried currants
- 1/4 cup (30g) chopped fresh parsley
Instructions
- In a large mixing bowl, whisk together the gluten-free flour blend, granulated sugar, salt, and xanthan gum.
- Add the cold butter to the dry ingredients and use a pastry blender or fork to work it into the mixture until it resembles coarse crumbs.
- In a separate bowl, whisk together the heavy cream, egg, and vanilla extract.
- Add the wet ingredients to the dry ingredients and stir until the mixture forms a shaggy dough.
- Fold in the dried currants and chopped fresh parsley.
- Turn the dough out onto a floured surface and gently knead it a few times until it comes together.
- Pat the dough into a circle that is about 1 inch (2.5cm) thick.
- Use a biscuit cutter or the rim of a glass to cut out scones.
- Gather the scraps, re-form the dough, and cut out additional scones.
- Place the scones on the prepared baking sheet, leaving about 1 inch (2.5cm) of space between each scone.
- Brush the tops of the scones with a little extra heavy cream and sprinkle with granulated sugar.
- Bake the scones in a preheated oven at 400°F (200°C) for 15-20 minutes, or until they are golden brown and firm to the touch.
- Remove the scones from the oven and let them cool on a wire rack for 10-15 minutes before serving.