I was halfway through a marathon of cookie recipes when the kitchen turned into a battlefield. A batch of chocolate chip cookies had collapsed into a sticky mess, and my friends were rolling their eyes. Then, a craving hit me like a bolt of lightning—peanut butter, marshmallow, chocolate. I knew I had to salvage the situation and create something that would make everyone forget the fiasco.
Picture this: the air is thick with the sweet scent of caramelized sugar, the sound of butter sizzling, the sight of golden edges crisping into a perfect crunch. The first bite melts on the tongue, a silky peanut butter wave, followed by a sweet, airy marshmallow surge, and finally a chocolate finish that lingers like a sweet after‑taste. It’s the kind of flavor that turns ordinary evenings into celebrations.
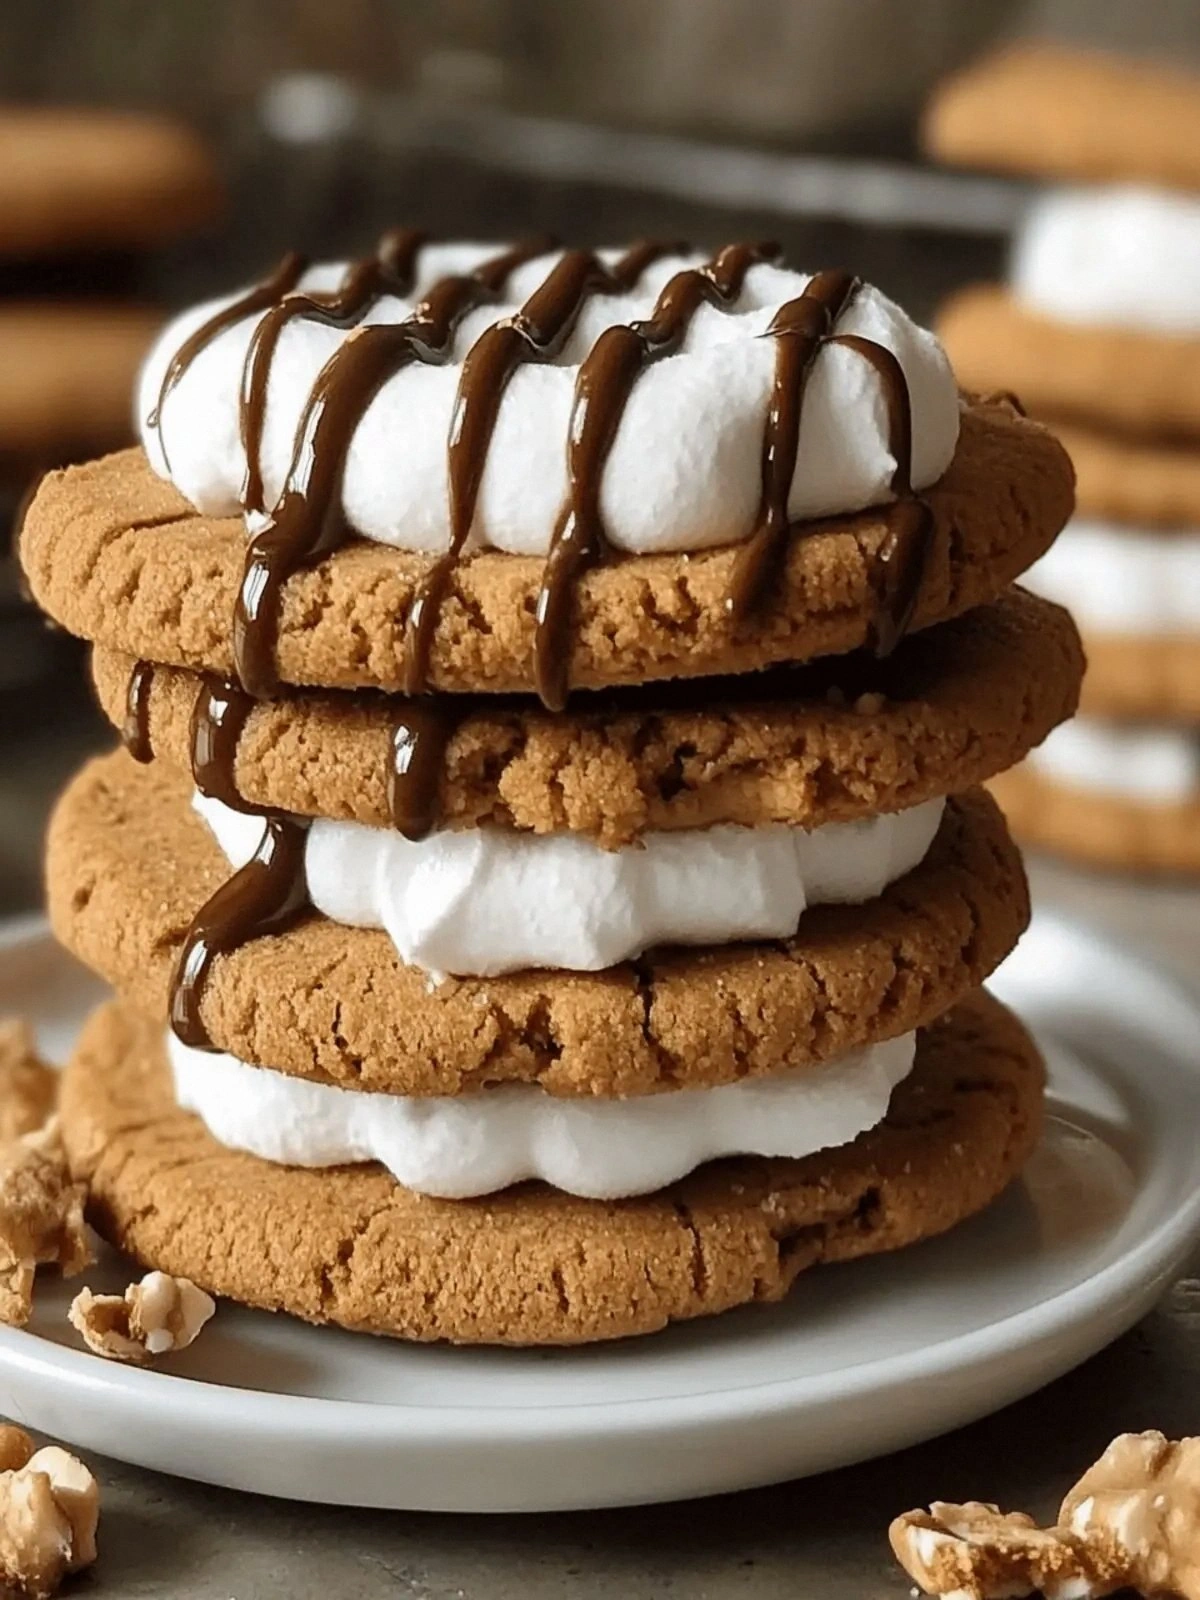
What makes this version stand out is not just the combination of ingredients but the technique I discovered that elevates everything. I’ve taken a classic s’more and turned it into a cookie that’s chewy, buttery, and packed with that signature peanut butter kick. I’m talking about a cookie that’s as satisfying as a hug and as addictive as a midnight snack.
And here’s the kicker—there’s a secret ingredient that most people overlook. It’s not a fancy spice or a trendy topping; it’s a simple tweak that transforms the texture into something that feels like a cloud. Ready? Let’s dive in.
What Makes This Version Stand Out
- Flavor: The double hit of creamy peanut butter and marshmallow fluff creates a depth that classic s’mores can’t match. It’s like a peanut butter sandwich that’s been kissed by marshmallow clouds.
- Texture: The cookie is chewy in the center with a crisp, buttery edge that snaps like a delicate wafer. It’s a satisfying contrast that keeps you coming back.
- Simplicity: Only eleven ingredients, none of which require special equipment. You can whip this up in an hour with a standard oven.
- Uniqueness: The addition of milk chocolate chips inside the cookie gives a melt‑in‑your‑mouth surprise that elevates the entire experience.
- Crowd‑pleaser: Whether you’re hosting a game night or a quiet Sunday, these cookies are guaranteed to be a hit.
- Ingredient Quality: Using high‑quality peanut butter and real marshmallow fluff makes the difference between “good” and “great.”
- Cooking Method: The baking technique ensures the peanut butter stays soft and the chocolate chips melt without seizing.
- Make‑ahead: These cookies can be baked ahead and reheated to reclaim that freshly‑baked aroma.
Inside the Ingredient List
The Flavor Base
Creamy Peanut Butter: The star of the show, it brings a rich, nutty undertone that permeates every bite. Skipping it would turn the cookie into a bland, sugar‑only dessert. If you’re allergic, swap for a high‑quality almond butter, but expect a slightly different flavor profile.
Unsalted Butter: Provides the buttery richness that balances the sweetness. Using salted butter would add an unexpected saltiness that might overpower the peanut butter. Opt for European butter if you want a creamier texture.
Granulated Sugar: Gives the cookie its sweet backbone and helps achieve the perfect golden brown crust. If you prefer a lower glycemic index, try a sugar substitute that behaves similarly in baking.
The Texture Crew
Light Brown Sugar: Adds moisture and a subtle molasses flavor that deepens the cookie’s taste. It also keeps the cookies chewy. If you don’t have brown sugar, you can mix 1 cup white sugar with 1 tablespoon molasses.
Egg: Acts as the binding agent, keeping the cookie together while adding a hint of richness. For a vegan version, replace the egg with ¼ cup unsweetened applesauce.
Vanilla Extract: Enhances all the flavors and adds a warm, aromatic note. Use pure vanilla for the best experience; imitation can leave a chemical aftertaste.
The Unexpected Star
Marshmallow Fluff: This gooey component creates the signature s’more texture inside the cookie. Without it, the cookies would lack that chewy, sweet center. If you’re looking for a healthier twist, consider using a homemade marshmallow made with natural sweeteners.
Milk Chocolate Chips: They melt into pockets of chocolate that add a luxurious finish. If you prefer dark chocolate, use dark chocolate chips for a richer bite. For a nutty twist, add chopped hazelnuts.
The Final Flourish
All-Purpose Flour: The structure of the cookie. If you’re gluten‑free, swap with a 1:1 gluten‑free blend. The texture will be slightly denser but still delightful.
Baking Powder: Gives the cookie a gentle lift so it doesn’t sink. Don’t skip this—cookies will be flat and dense. If you’re using a low‑sodium baking soda, add a pinch of acid to activate it.
Kosher Salt: Balances the sweetness and enhances the peanut butter flavor. Using table salt would make the cookie too salty. A pinch is enough—just enough to bring out the flavors.
Everything's prepped? Good. Let's get into the real action...
The Method — Step by Step
- Preheat the oven to 350°F (175°C) and line a baking sheet with parchment paper. The parchment prevents sticking and ensures even baking. I always set a timer for 12 minutes—no more, no less. The cookies will be golden and ready to pull out of the oven at the perfect moment.
- In a large bowl, beat the unsalted butter, granulated sugar, and light brown sugar until light and fluffy. Use a stand mixer or hand mixer on medium speed. The mixture should look like a pale, airy cloud. This step is crucial for achieving the right crumb.
- Add the egg and vanilla extract, mixing until fully incorporated. The wet ingredients bind the dry. I add a splash of milk to loosen the batter if it’s too thick. This is the moment where the peanut butter will start to mingle.
- In a separate bowl, whisk together the all‑purpose flour, baking powder, and kosher salt. Sifting the dry ingredients ensures no lumps. This step guarantees even distribution of leavening agents.
- Fold the dry mixture into the wet until just combined. Over‑mixing will create a tough cookie. The dough should be soft but cohesive. At this point, the dough will have a slightly sticky feel.
- Gently fold in the creamy peanut butter, marshmallow fluff, and milk chocolate chips. The peanut butter adds a silky texture, while the marshmallow fluff creates a gooey center. The chocolate chips melt into pockets of goo when baked.
- Drop rounded tablespoons of dough onto the prepared baking sheet, spacing them 2 inches apart. The dough will spread slightly, so give them room. I use a small ice cream scoop for consistency.
- Bake for 12-14 minutes, or until the edges are golden and the centers are set. The cookies should emit a sweet, buttery aroma. Remove from oven and let cool on the sheet for 5 minutes before transferring to a wire rack.
- Let the cookies cool completely before serving. They will firm up slightly, revealing that gooey, chocolate‑filled center. If you want a crispier texture, leave them on the rack for an extra 10 minutes.
That's it — you did it. But hold on, I've got a few more tricks that'll take this to another level.
Insider Tricks for Flawless Results
The Temperature Rule Nobody Follows
Many bakers bake at a high temperature to get a quick crust, but that can dry out the interior. Baking at 350°F allows the peanut butter and marshmallow to meld without burning. I’ve seen cookies that look perfect but taste dry—stay at 350°F and you’ll avoid that pitfall.
Why Your Nose Knows Best
The aroma of baking peanut butter and chocolate is a natural indicator of doneness. When the smell becomes sweet and nutty, the cookies are ready. If you’re unsure, insert a toothpick into the center; if it comes out with a few crumbs, it’s done.
The 5-Minute Rest That Changes Everything
Letting the cookies rest on the sheet for 5 minutes before transferring to a rack allows the edges to set and prevents them from cracking. I’ve had cookies that broke apart because they were moved too early. The short rest gives the structure time to firm up.
Chilling the Dough Makes a Difference
If you’re baking a large batch, chill the dough for at least 30 minutes. This reduces spreading and keeps the cookies round. A chilled dough also helps the chocolate stay in place instead of melting into the cookie.
Using Real Marshmallow Fluff
Most store‑bought marshmallow fluff is ultra‑processed. Look for a brand that uses natural ingredients. A homemade version adds a subtle vanilla note and a cleaner texture.
Stirring in a Pinch of Sea Salt
Adding a pinch of sea salt on top of each cookie before baking enhances the peanut butter flavor and balances the sweetness. I’ve found that this simple addition makes the cookies taste more complex.
Creative Twists and Variations
Nutty Crunch Variation
Swap the milk chocolate chips for chopped walnuts or pecans. The added crunch gives a delightful contrast and a nutty depth that pairs well with the peanut butter base. Perfect for a fall snack.
Caramel Swirl Edition
Fold in a few spoonfuls of caramel sauce into the dough before baking. The caramel swirls create pockets of gooey sweetness that complement the peanut butter. This version feels indulgent and decadent.
Dark Chocolate Delight
Replace the milk chocolate chips with dark chocolate chips for a bittersweet finish. The richer chocolate pairs beautifully with the peanut butter, creating a sophisticated flavor profile.
Coconut Coconut Surprise
Add shredded coconut to the dough for a tropical twist. The coconut adds texture and a subtle sweetness that balances the peanut butter. It’s a great option for those who love a beachy flavor.
Spiced Peanut Butter
Stir in a pinch of cinnamon or cayenne pepper with the peanut butter. The spice adds warmth and a subtle kick that elevates the cookie’s flavor. Ideal for a cozy winter treat.
Vegan Version
Use plant‑based butter, a flax egg, and a vegan marshmallow fluff. The texture stays chewy, and the peanut butter flavor remains intact. This version is a crowd‑pleaser for those following a plant‑based diet.
Storing and Bringing It Back to Life
Fridge Storage
Store in an airtight container at room temperature for up to 5 days. The cookies will stay soft and chewy. If they begin to harden, place them in the oven at 300°F for 5 minutes to restore softness.
Freezer Friendly
Wrap each cookie individually in plastic wrap and place in a freezer bag. They can be frozen for up to 3 months. Thaw at room temperature for 30 minutes before serving.
Best Reheating Method
Add a tiny splash of water to a pan, cover, and heat on low until the cookies are warm. The water creates steam, rehydrating the cookie and bringing back the gooey center. Alternatively, microwave on low for 10 seconds.