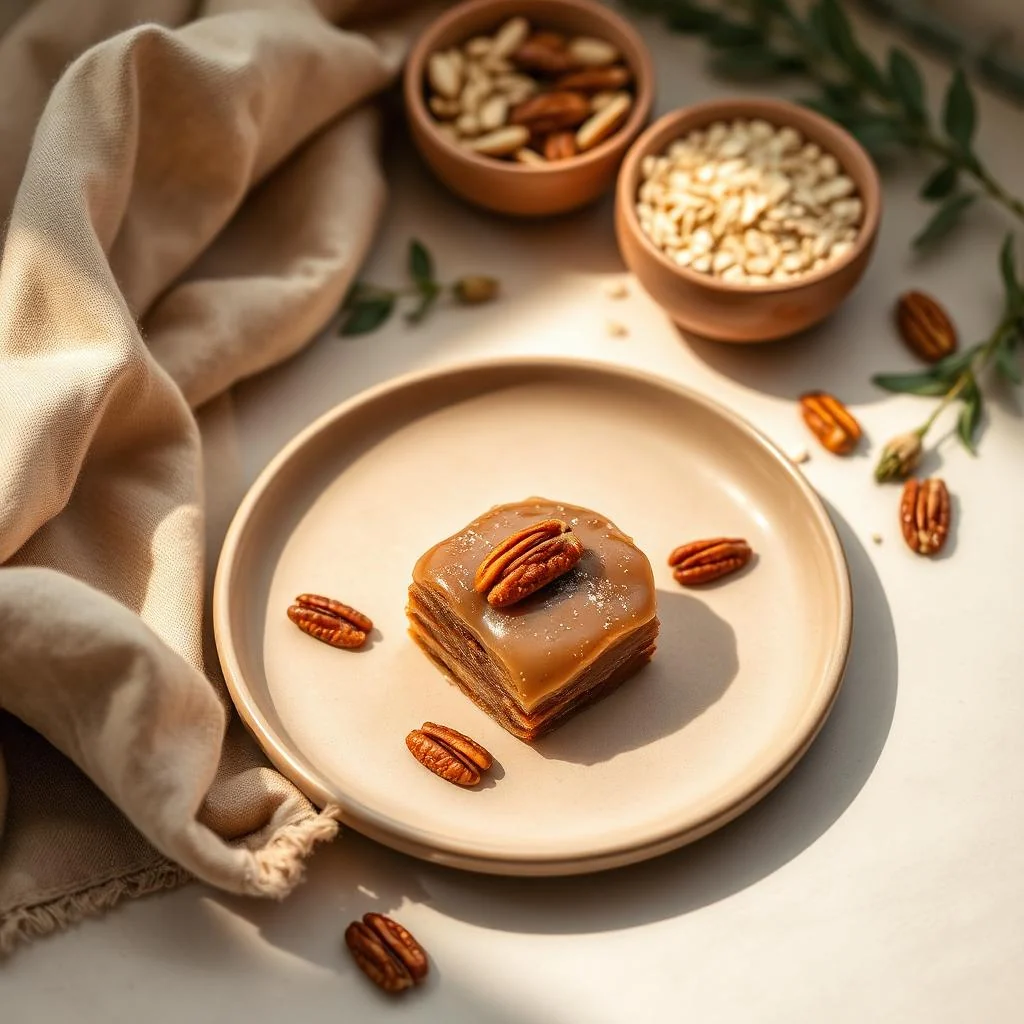
Pecan Pralines
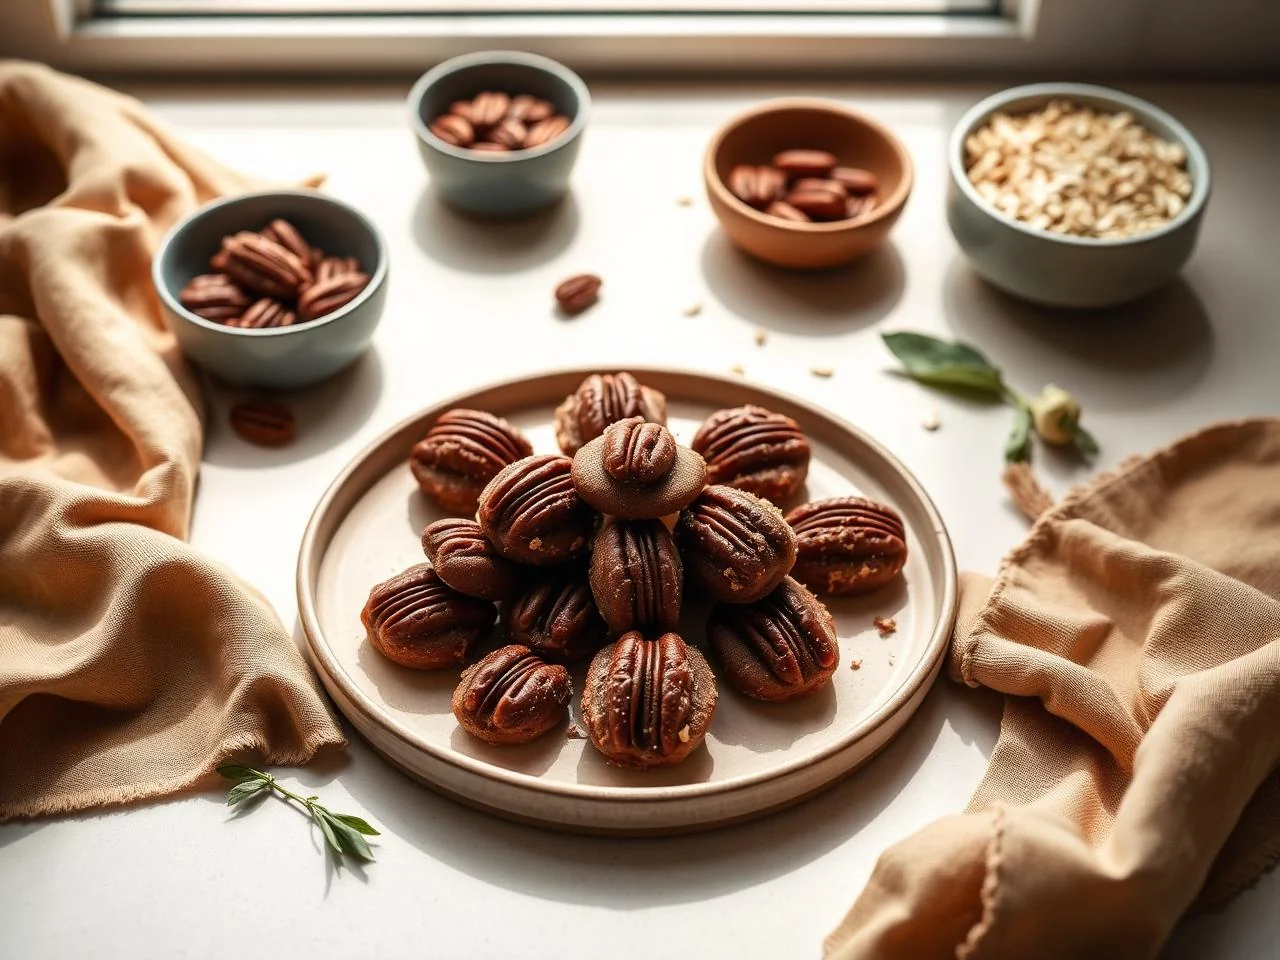
Pecan pralines have always been a favorite of mine, with their rich, caramelized flavor and satisfying crunch. As a gluten-free home cook, I was determined to create a recipe that would rival the traditional version, and I'm thrilled to share it with you today.
What makes this recipe special is the combination of a balanced sugar mixture, the perfect ratio of pecans to caramel, and a few simple but crucial techniques to ensure a smooth, creamy texture. Whether you're a seasoned cook or a beginner, you'll love the ease and dependability of this recipe.
I remember making pecan pralines with my grandmother as a child, and the smell of caramelized sugar and toasted pecans always brings back fond memories. This recipe is perfect for gift-giving, snacking, or serving at parties and gatherings.
In this recipe, we'll cover the basics of making pecan pralines from scratch, including tips for selecting the right pecans, creating the perfect caramel mixture, and cooking the pralines to the ideal temperature. With this recipe, you'll be able to create delicious, gluten-free pecan pralines that are sure to impress your friends and family.
So, let's get started and make some delicious pecan pralines! With this recipe, you'll be able to enjoy the rich, caramelized flavor of pecan pralines in the comfort of your own home, without any of the hassle or uncertainty of traditional recipes.
Why You’ll Love This Recipe
- This recipe is easy to make and requires minimal ingredients
- The pecan pralines are perfect for gift-giving or snacking
- The recipe is gluten-free, making it accessible to those with dietary restrictions
- The pralines have a rich, caramelized flavor and a satisfying crunch
- The recipe is dependable and produces consistent results
- The pecan pralines are perfect for serving at parties and gatherings
- The recipe is easy to customize with different types of nuts or flavorings
Why This Recipe Works
The key to making great pecan pralines is in the caramelization process. By cooking the sugar mixture to the perfect temperature, we create a rich, caramelized flavor that's both sweet and nutty. The pecans add a satisfying crunch and a touch of bitterness to balance out the sweetness of the caramel.
Another important factor is the ratio of pecans to caramel. Too much caramel and the pralines will be too sweet and sticky, while too few pecans and they'll be too dry and crumbly. In this recipe, we've found the perfect balance of pecans to caramel, ensuring that each bite is a perfect combination of flavors and textures.
The type of sugar used is also crucial. We're using a combination of granulated sugar and light corn syrup, which helps to prevent the caramel from crystallizing and creates a smooth, creamy texture. The corn syrup also helps to inhibit the growth of crystals, which can make the caramel grainy or crunchy.
Finally, the cooking time and temperature are critical. By cooking the pralines to the ideal temperature, we ensure that they're perfectly caramelized and have a smooth, creamy texture. In this recipe, we'll be cooking the pralines to an internal temperature of 235°F, which is the perfect temperature for caramelization.
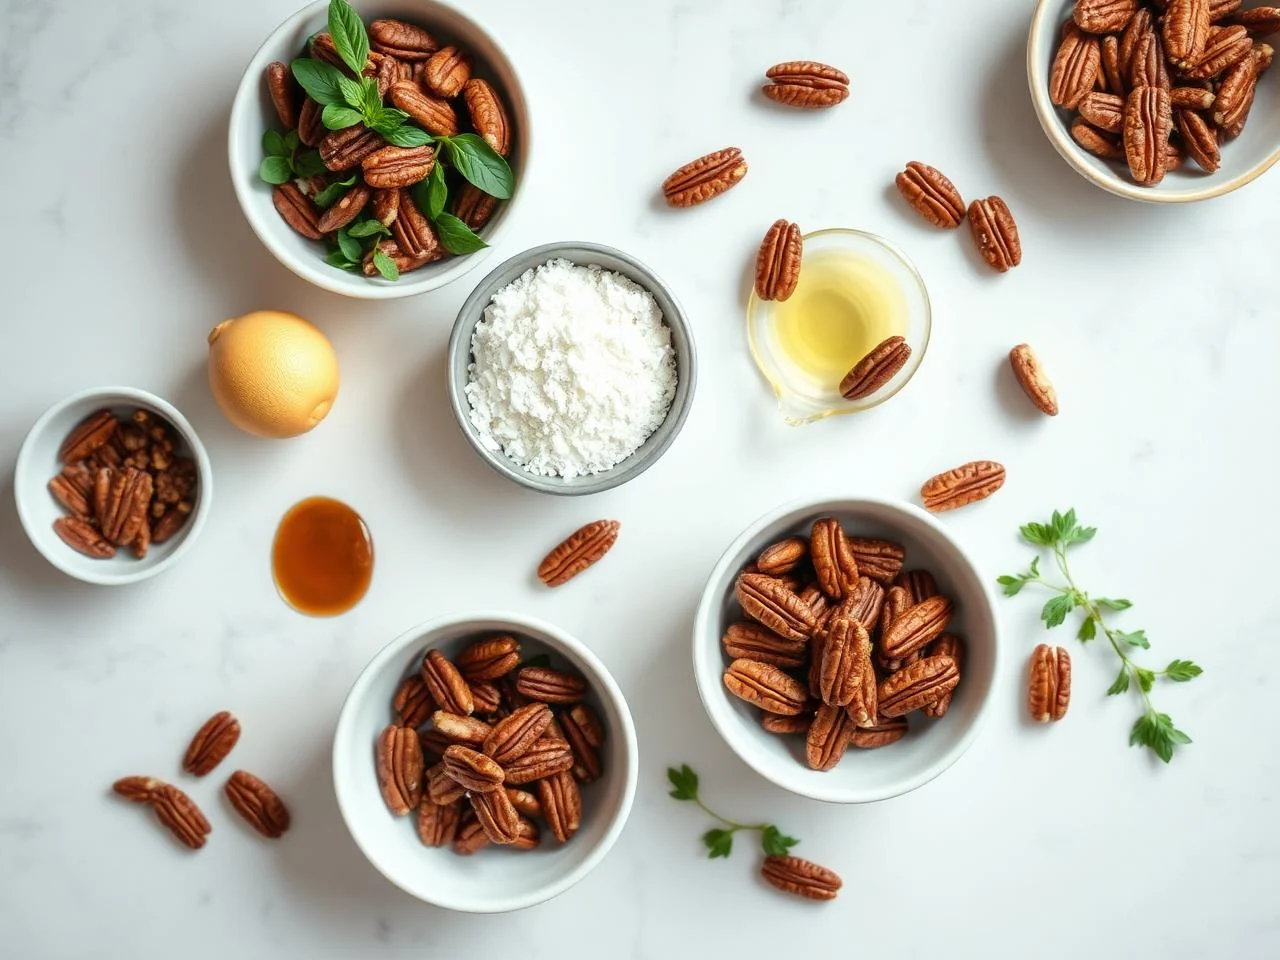
Ingredients You’ll Need
To make these delicious pecan pralines, you'll need a few simple ingredients, including pecans, sugar, light corn syrup, and water. The quality of the ingredients is important, so be sure to choose fresh, high-quality pecans and real granulated sugar.
In this recipe, we'll be using a combination of granulated sugar and light corn syrup to create a smooth, creamy caramel. The corn syrup helps to prevent the caramel from crystallizing and creates a smooth, creamy texture. We'll also be using a small amount of water to help dissolve the sugar and create a smooth caramel mixture.
- 1 cup (120g) pecan halvesFresh, high-quality pecans are essential for this recipe. Look for pecans that are plump and have a rich, nutty flavor. You can also use other types of nuts, such as almonds or hazelnuts, but pecans are traditional and provide the best flavor.
- 1 cup (200g) granulated sugarReal granulated sugar is necessary for this recipe, as it provides a rich, caramelized flavor. Do not use artificial sweeteners or sugar substitutes, as they can affect the texture and flavor of the pralines.
- 1/2 cup (120ml) light corn syrupLight corn syrup helps to prevent the caramel from crystallizing and creates a smooth, creamy texture. It's essential for this recipe, so do not omit it or substitute it with a different type of syrup.
- 1/2 cup (120ml) waterWater is necessary to help dissolve the sugar and create a smooth caramel mixture. Use fresh, cold water for the best results.
- 1/4 teaspoon saltA small amount of salt enhances the flavor of the pralines and helps to balance out the sweetness of the caramel. Use a high-quality salt, such as kosher or sea salt, for the best flavor.
- 1 tablespoon (15g) unsalted butterUnsalted butter adds a rich, creamy flavor to the pralines and helps to create a smooth, creamy texture. Use high-quality, European-style butter for the best flavor.
- 1 teaspoon vanilla extractVanilla extract adds a subtle, creamy flavor to the pralines and helps to balance out the sweetness of the caramel. Use high-quality, pure vanilla extract for the best flavor.
- 1/2 teaspoon xanthan gumXanthan gum helps to create a smooth, creamy texture and prevents the caramel from becoming too grainy or crunchy. It's essential for this recipe, so do not omit it or substitute it with a different type of gum.
- 1/4 teaspoon baking sodaBaking soda helps to balance out the acidity of the caramel and creates a smooth, creamy texture. It's essential for this recipe, so do not omit it or substitute it with a different type of leavening agent.
- 1/4 teaspoon cream of tartarCream of tartar helps to stabilize the caramel and prevents it from becoming too dark or bitter. It's essential for this recipe, so do not omit it or substitute it with a different type of stabilizer.
Equipment You’ll Need
How to Make Pecan Pralines
- 1In a large heavy-bottomed saucepan, combine the sugar, light corn syrup, and water. Place the saucepan over medium heat and stir until the sugar has dissolved, creating a smooth caramel mixture.
- 2Bring the caramel mixture to a boil, then reduce the heat to medium-low and simmer for about 10 minutes, or until the mixture reaches 235°F on a candy thermometer. This is the ideal temperature for caramelization, and it's essential for creating a smooth, creamy texture.
- 3Remove the saucepan from the heat and carefully stir in the pecan halves. The pecans will start to toast and fragrance the caramel, creating a rich, nutty flavor.
- 4Let the mixture cool slightly, until it reaches 225°F. This is an important step, as it helps to prevent the caramel from becoming too dark or bitter.
- 5Stir in the unsalted butter, vanilla extract, xanthan gum, baking soda, and cream of tartar. The butter will help to create a smooth, creamy texture, while the vanilla extract adds a subtle, creamy flavor.
- 6Pour the caramel mixture onto a parchment-lined baking sheet, spreading it out into a thin layer. Let it cool and set at room temperature, or until it reaches 115°F on an instant-read thermometer. This is an important step, as it helps to prevent the caramel from becoming too sticky or chewy.
- 7Once the caramel has set, use a sharp knife or cookie cutter to cut it into desired shapes. You can also simply break it into pieces, if you prefer a more rustic texture.
- 8Place the pralines on a wire rack set over a piece of parchment paper, allowing any excess caramel to drip off. This helps to create a smooth, even texture and prevents the pralines from becoming too sticky or messy.
- 9Let the pralines cool and set completely, or until they reach room temperature. This is an important step, as it helps to prevent the caramel from becoming too soft or sticky.
- 10Once the pralines are set, you can store them in an airtight container at room temperature for up to 5 days. You can also freeze them for up to 2 months, if you prefer a longer shelf life.
Expert Tips
- To ensure that the caramel sets properly, it's essential to not stir the mixture too much. This can cause the caramel to become too grainy or crunchy, which can affect the texture of the pralines.
- If you don't have a candy thermometer, you can test the caramel by dropping a small amount of the mixture into cold water. If it forms a soft ball that flattens when removed from the water, it's ready. If it doesn't form a ball, continue cooking the caramel and testing it until it reaches the correct consistency.
- To prevent the pralines from becoming too sticky or messy, it's essential to let them cool and set completely before storing them. You can also dust them with powdered sugar, if you prefer a sweeter flavor.
- If you're having trouble getting the caramel to set, try cooking it to a higher temperature or using a different type of sugar. This can help to create a smoother, creamier texture and prevent the caramel from becoming too grainy or crunchy.
- To customize the pralines, you can add different types of nuts or flavorings to the caramel mixture. This can help to create a unique and delicious flavor that's all your own.
- To make the pralines more gift-worthy, you can package them in decorative tins or jars and add a ribbon or gift tag. This can help to create a beautiful and delicious gift that's perfect for any occasion.
- To ensure that the pralines remain fresh, it's essential to store them in an airtight container at room temperature. You can also freeze them for up to 2 months, if you prefer a longer shelf life.
Common Mistakes to Avoid
- Not cooking the caramel to the correct temperature, which can cause it to be too soft or sticky
- Stirring the caramel too much, which can cause it to become too grainy or crunchy
- Not letting the pralines cool and set completely, which can cause them to become too sticky or messy
- Using low-quality ingredients, which can affect the flavor and texture of the pralines
- Not using a candy thermometer, which can make it difficult to determine when the caramel is ready
- Not testing the caramel regularly, which can cause it to become too dark or bitter
Variations and Substitutions
- Adding different types of nuts, such as almonds or hazelnuts, to the caramel mixture
- Using different types of sugar, such as brown sugar or honey, to create a unique flavor
- Adding flavorings, such as vanilla or cinnamon, to the caramel mixture
- Using different types of milk, such as almond or soy milk, to create a non-dairy version
- Adding a pinch of salt to balance out the sweetness of the caramel
- Using a different type of leavening agent, such as baking powder, to create a lighter texture
- Adding a teaspoon of espresso powder to create a mocha flavor
What to Serve With Pecan Pralines
Pecan pralines are perfect for serving as a snack or dessert. You can enjoy them on their own, or pair them with a cup of coffee or tea for a delicious treat. They're also great for gift-giving, as they can be packaged in decorative tins or jars and add a ribbon or gift tag.
Some other ideas for serving pecan pralines include using them as a topping for ice cream or yogurt, or crushing them and using them as a crust for cheesecakes or other desserts. You can also use them as a garnish for cocktails or other drinks, or as a sweet treat to enjoy on their own.
Make-Ahead, Storage, Freezing and Reheating
To store pecan pralines, it's essential to keep them in an airtight container at room temperature. This will help to prevent them from becoming too sticky or messy, and will keep them fresh for up to 5 days. You can also freeze them for up to 2 months, if you prefer a longer shelf life.
To freeze the pralines, simply place them in a single layer on a baking sheet and put them in the freezer. Once they're frozen, you can transfer them to an airtight container or freezer bag and store them in the freezer for up to 2 months.
To thaw the pralines, simply leave them at room temperature for a few hours or overnight. You can also reheat them in the microwave or oven, if you prefer a warmer treat.
It's also important to note that pecan pralines can be made ahead of time and stored in an airtight container at room temperature for up to 5 days. This makes them a great option for gift-giving or for serving at parties and gatherings.
Frequently Asked Questions
What is the ideal temperature for caramelizing sugar?
The ideal temperature for caramelizing sugar is between 230°F and 240°F. This will create a smooth, creamy caramel with a rich, nutty flavor.
How do I prevent the caramel from becoming too grainy or crunchy?
To prevent the caramel from becoming too grainy or crunchy, it's essential to not stir the mixture too much. This can cause the caramel to become too grainy or crunchy, which can affect the texture of the pralines.
Can I use a different type of sugar to make the pralines?
Yes, you can use different types of sugar to make the pralines. However, keep in mind that different types of sugar can affect the flavor and texture of the pralines. For example, brown sugar will give the pralines a richer, more caramel-like flavor, while white sugar will give them a lighter, more delicate flavor.
How do I store the pralines to keep them fresh?
To store the pralines, it's essential to keep them in an airtight container at room temperature. This will help to prevent them from becoming too sticky or messy, and will keep them fresh for up to 5 days. You can also freeze them for up to 2 months, if you prefer a longer shelf life.
Can I make the pralines ahead of time and store them in the fridge?
Yes, you can make the pralines ahead of time and store them in the fridge. However, keep in mind that the pralines will become softer and more sticky if they're stored in the fridge. It's best to store them at room temperature, or to freeze them for up to 2 months.
How do I reheat the pralines if they become too hard or sticky?
If the pralines become too hard or sticky, you can reheat them in the microwave or oven. Simply place them in the microwave for 10-15 seconds, or in the oven at 350°F for 5-10 minutes. This will help to soften the pralines and restore their texture.
Can I customize the pralines with different flavorings or nuts?
Yes, you can customize the pralines with different flavorings or nuts. For example, you can add a teaspoon of vanilla extract or a pinch of cinnamon to the caramel mixture, or use different types of nuts such as almonds or hazelnuts.
How do I package the pralines for gift-giving?
To package the pralines for gift-giving, simply place them in a decorative tin or jar and add a ribbon or gift tag. You can also include a card or gift note with the pralines, if you prefer.
Can I make the pralines in advance and store them for later use?
Yes, you can make the pralines in advance and store them for later use. Simply store them in an airtight container at room temperature, or freeze them for up to 2 months. This makes them a great option for gift-giving or for serving at parties and gatherings.
Ingredients
- 1 cup (120g) pecan halves
- 1 cup (200g) granulated sugar
- 1/2 cup (120ml) light corn syrup
- 1/2 cup (120ml) water
- 1/4 teaspoon salt
- 1 tablespoon (15g) unsalted butter
- 1 teaspoon vanilla extract
- 1/2 teaspoon xanthan gum
- 1/4 teaspoon baking soda
- 1/4 teaspoon cream of tartar
Instructions
- In a large heavy-bottomed saucepan, combine the sugar, light corn syrup, and water. Place the saucepan over medium heat and stir until the sugar has dissolved, creating a smooth caramel mixture.
- Bring the caramel mixture to a boil, then reduce the heat to medium-low and simmer for about 10 minutes, or until the mixture reaches 235°F on a candy thermometer. This is the ideal temperature for caramelization, and it's essential for creating a smooth, creamy texture.
- Remove the saucepan from the heat and carefully stir in the pecan halves. The pecans will start to toast and fragrance the caramel, creating a rich, nutty flavor.
- Let the mixture cool slightly, until it reaches 225°F. This is an important step, as it helps to prevent the caramel from becoming too dark or bitter.
- Stir in the unsalted butter, vanilla extract, xanthan gum, baking soda, and cream of tartar. The butter will help to create a smooth, creamy texture, while the vanilla extract adds a subtle, creamy flavor.
- Pour the caramel mixture onto a parchment-lined baking sheet, spreading it out into a thin layer. Let it cool and set at room temperature, or until it reaches 115°F on an instant-read thermometer. This is an important step, as it helps to prevent the caramel from becoming too sticky or chewy.
- Once the caramel has set, use a sharp knife or cookie cutter to cut it into desired shapes. You can also simply break it into pieces, if you prefer a more rustic texture.
- Place the pralines on a wire rack set over a piece of parchment paper, allowing any excess caramel to drip off. This helps to create a smooth, even texture and prevents the pralines from becoming too sticky or messy.
- Let the pralines cool and set completely, or until they reach room temperature. This is an important step, as it helps to prevent the caramel from becoming too soft or sticky.
- Once the pralines are set, you can store them in an airtight container at room temperature for up to 5 days. You can also freeze them for up to 2 months, if you prefer a longer shelf life.